Tag Archives: chicken

BUTTERMILK-BRAISED ROAST CHICKEN

It’s been six weeks since our stove and oven quit working. The saga of the long delay will have to wait for another blog – when and if the stove gets repaired. This time I will deal with how someone who likes to cook copes without a stove.

Six weeks is a long time to go without cooking for some households, at least ours.  During this time, we have eaten some delicious meals at Carol’s house, and for that we thank her. We have eaten at some little neighborhood restaurants across the street. But we have also depended upon our supply of plug-in appliances, along with a slow cooker that we borrowed from Carol. Waffles with the waffle iron, panini from the George Forman grill, and rice from the rice cooker have all been on the menu. The main thing I have done, though, is to use the slow cooker. It works beautifully and confirms all of the enthusiasm for its utility for busy people. You toss some things in the pot, turn it on, leave it unattended for a few hours, and return to a delicious dish just waiting to be served. The only problem, in my hands at least, is that everything comes out looking and tasting like stew. I know that there are myriad cookbooks filled with interesting recipes. I know that there are even some enthusiasts who claim you can bake a cake! I have not succumbed.

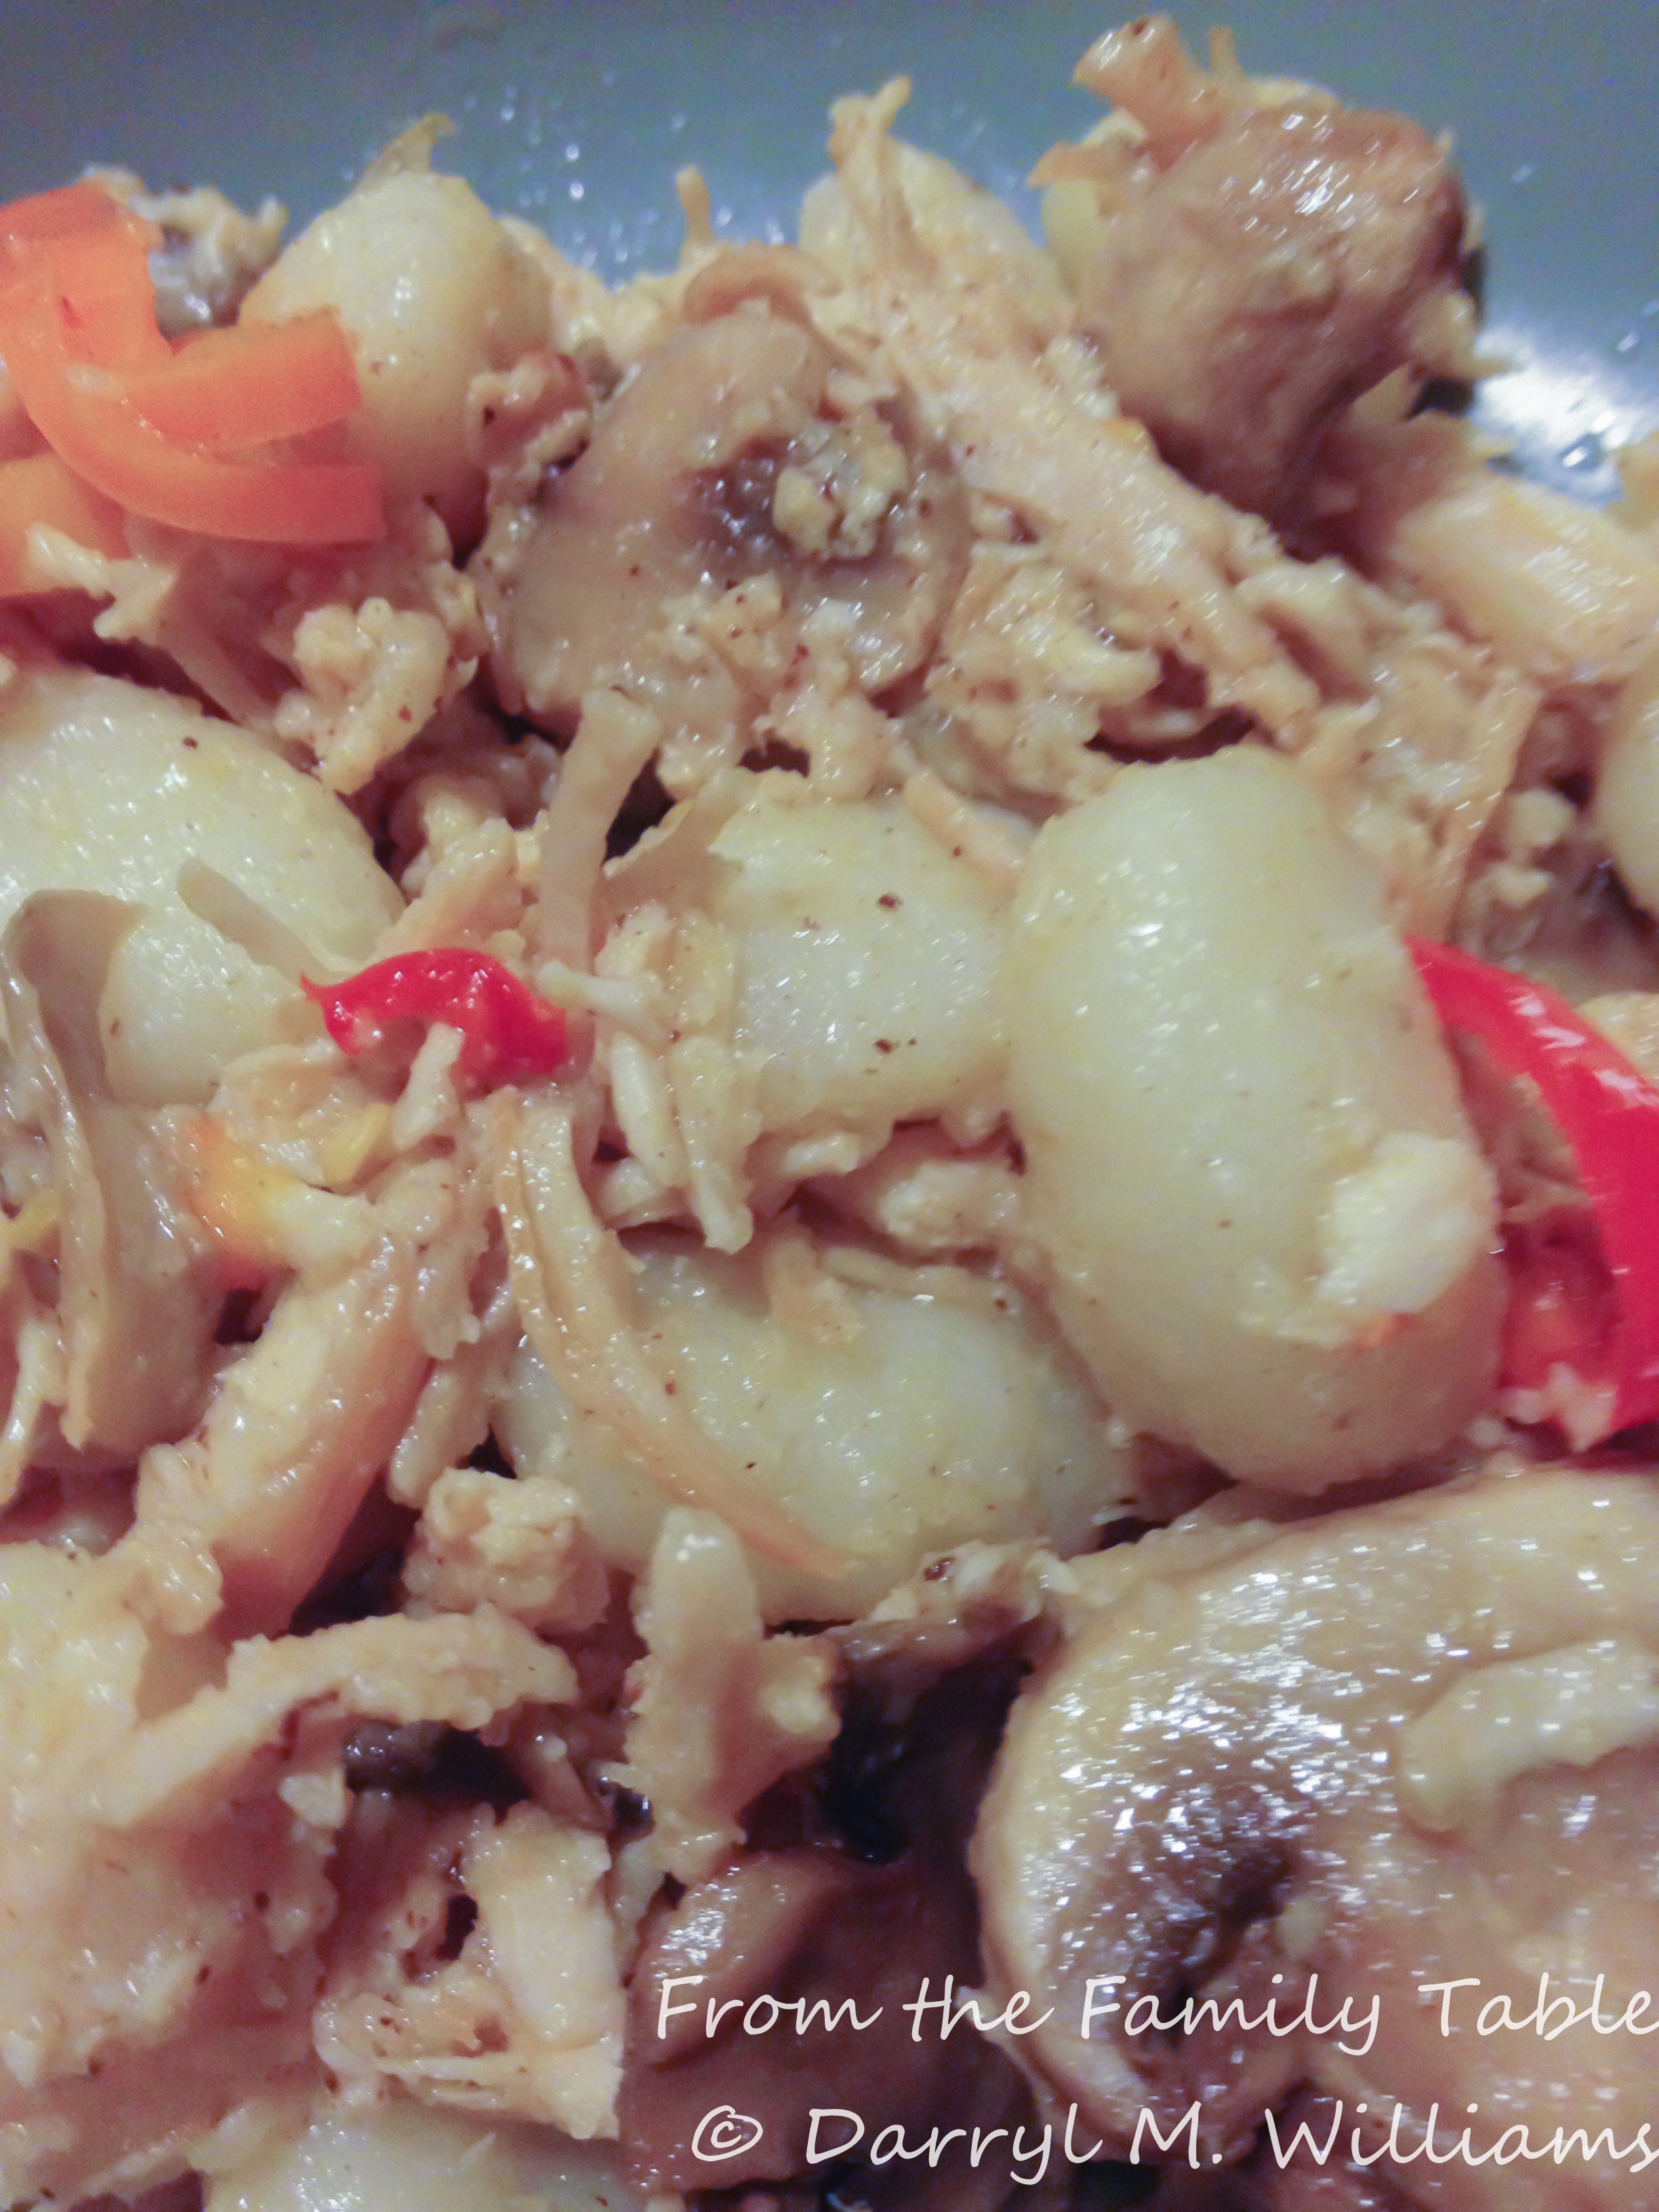
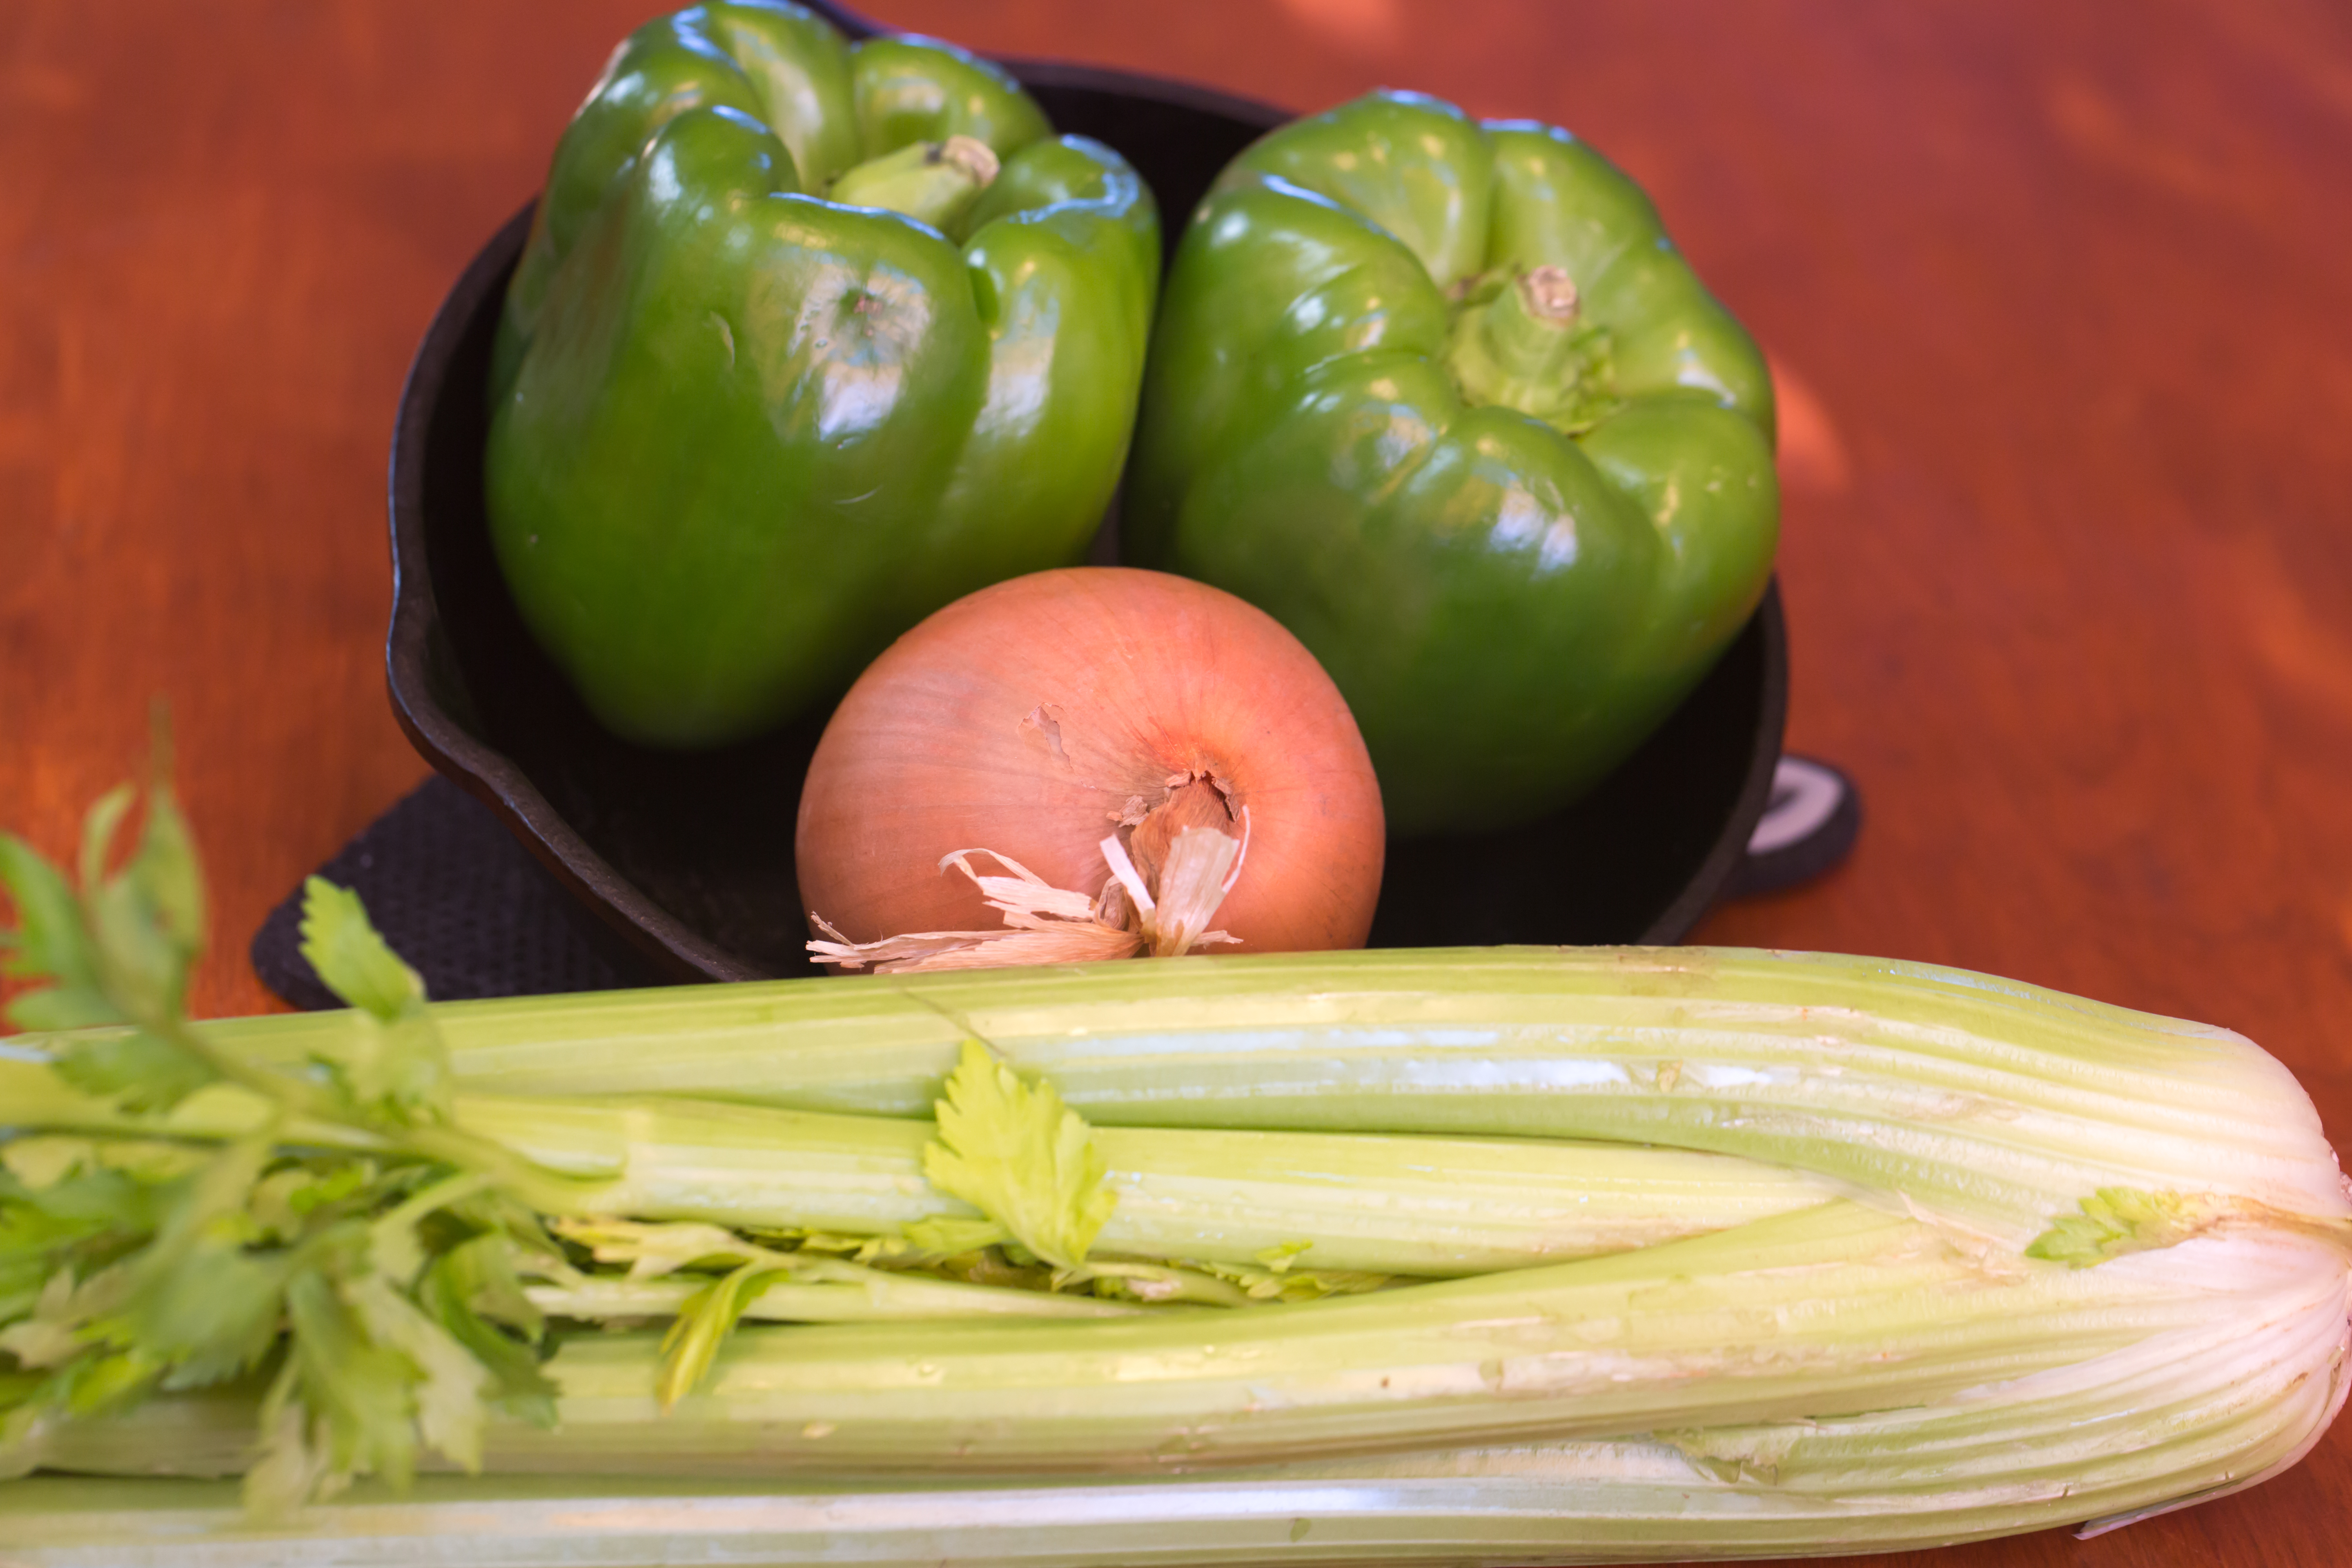
The one appliance I haven’t used since the demise of household fire is our Sunbeam rotisserie. I have written about it in the past; it really does do a good job of roasting things as if they were on a spit. It’s my turn for Sunday family dinner, so I thought it would be a good time to get out the rotisserie. It also seemed like the opportune time to try out Sarah and Evan’s recipe for roasted chicken that appeared in this month’s issue of Food and Wine. (Check out “Winner, Winner” on page 46 of the October, 2017 issue.) Since Douglas fir trees don’t grow at this altitude in Southern California, I substituted rosemary. Also, since the original recipe was for oven roasting, I have made a few changes to accommodate the absence of the stove and the demands of the rotisserie. Otherwise, everything is the same. The chicken is brined over night in a bath of buttermilk, salt, sugar, garlic and rosemary with the secret ingredient of porcini mushroom powder. The mushroom powder adds distinct umami to the mixture. The final touch of roasted garlic oil is also an important taste profile. Without a stove, I had to use the microwave to heat the garlic slices in olive oil.  Surprisingly, the garlic browned, although I am sure it could easily burn and become bitter. In any event, the process worked well, and the family had a pleasant Sunday dinner.

I will be glad when we get our stove back.

RECIPE

Buttermilk-Brined Roast Chicken

Ingredients

  • Kosher salt
  • 11 garlic cloves, 9 smashed and 2 thinly sliced
  • 2 tablespoons sugar
  • 2 tablespoons rosemary leaves
  • 1 bay leaf
  • ½ cup dried porcini mushrooms
  • 1 quart buttermilk
  • 1 chicken, 3 to 5 pounds
  • 2 teaspoons unsalted butter, softened
  • 2 tablespoons extra virgin olive oil

Method

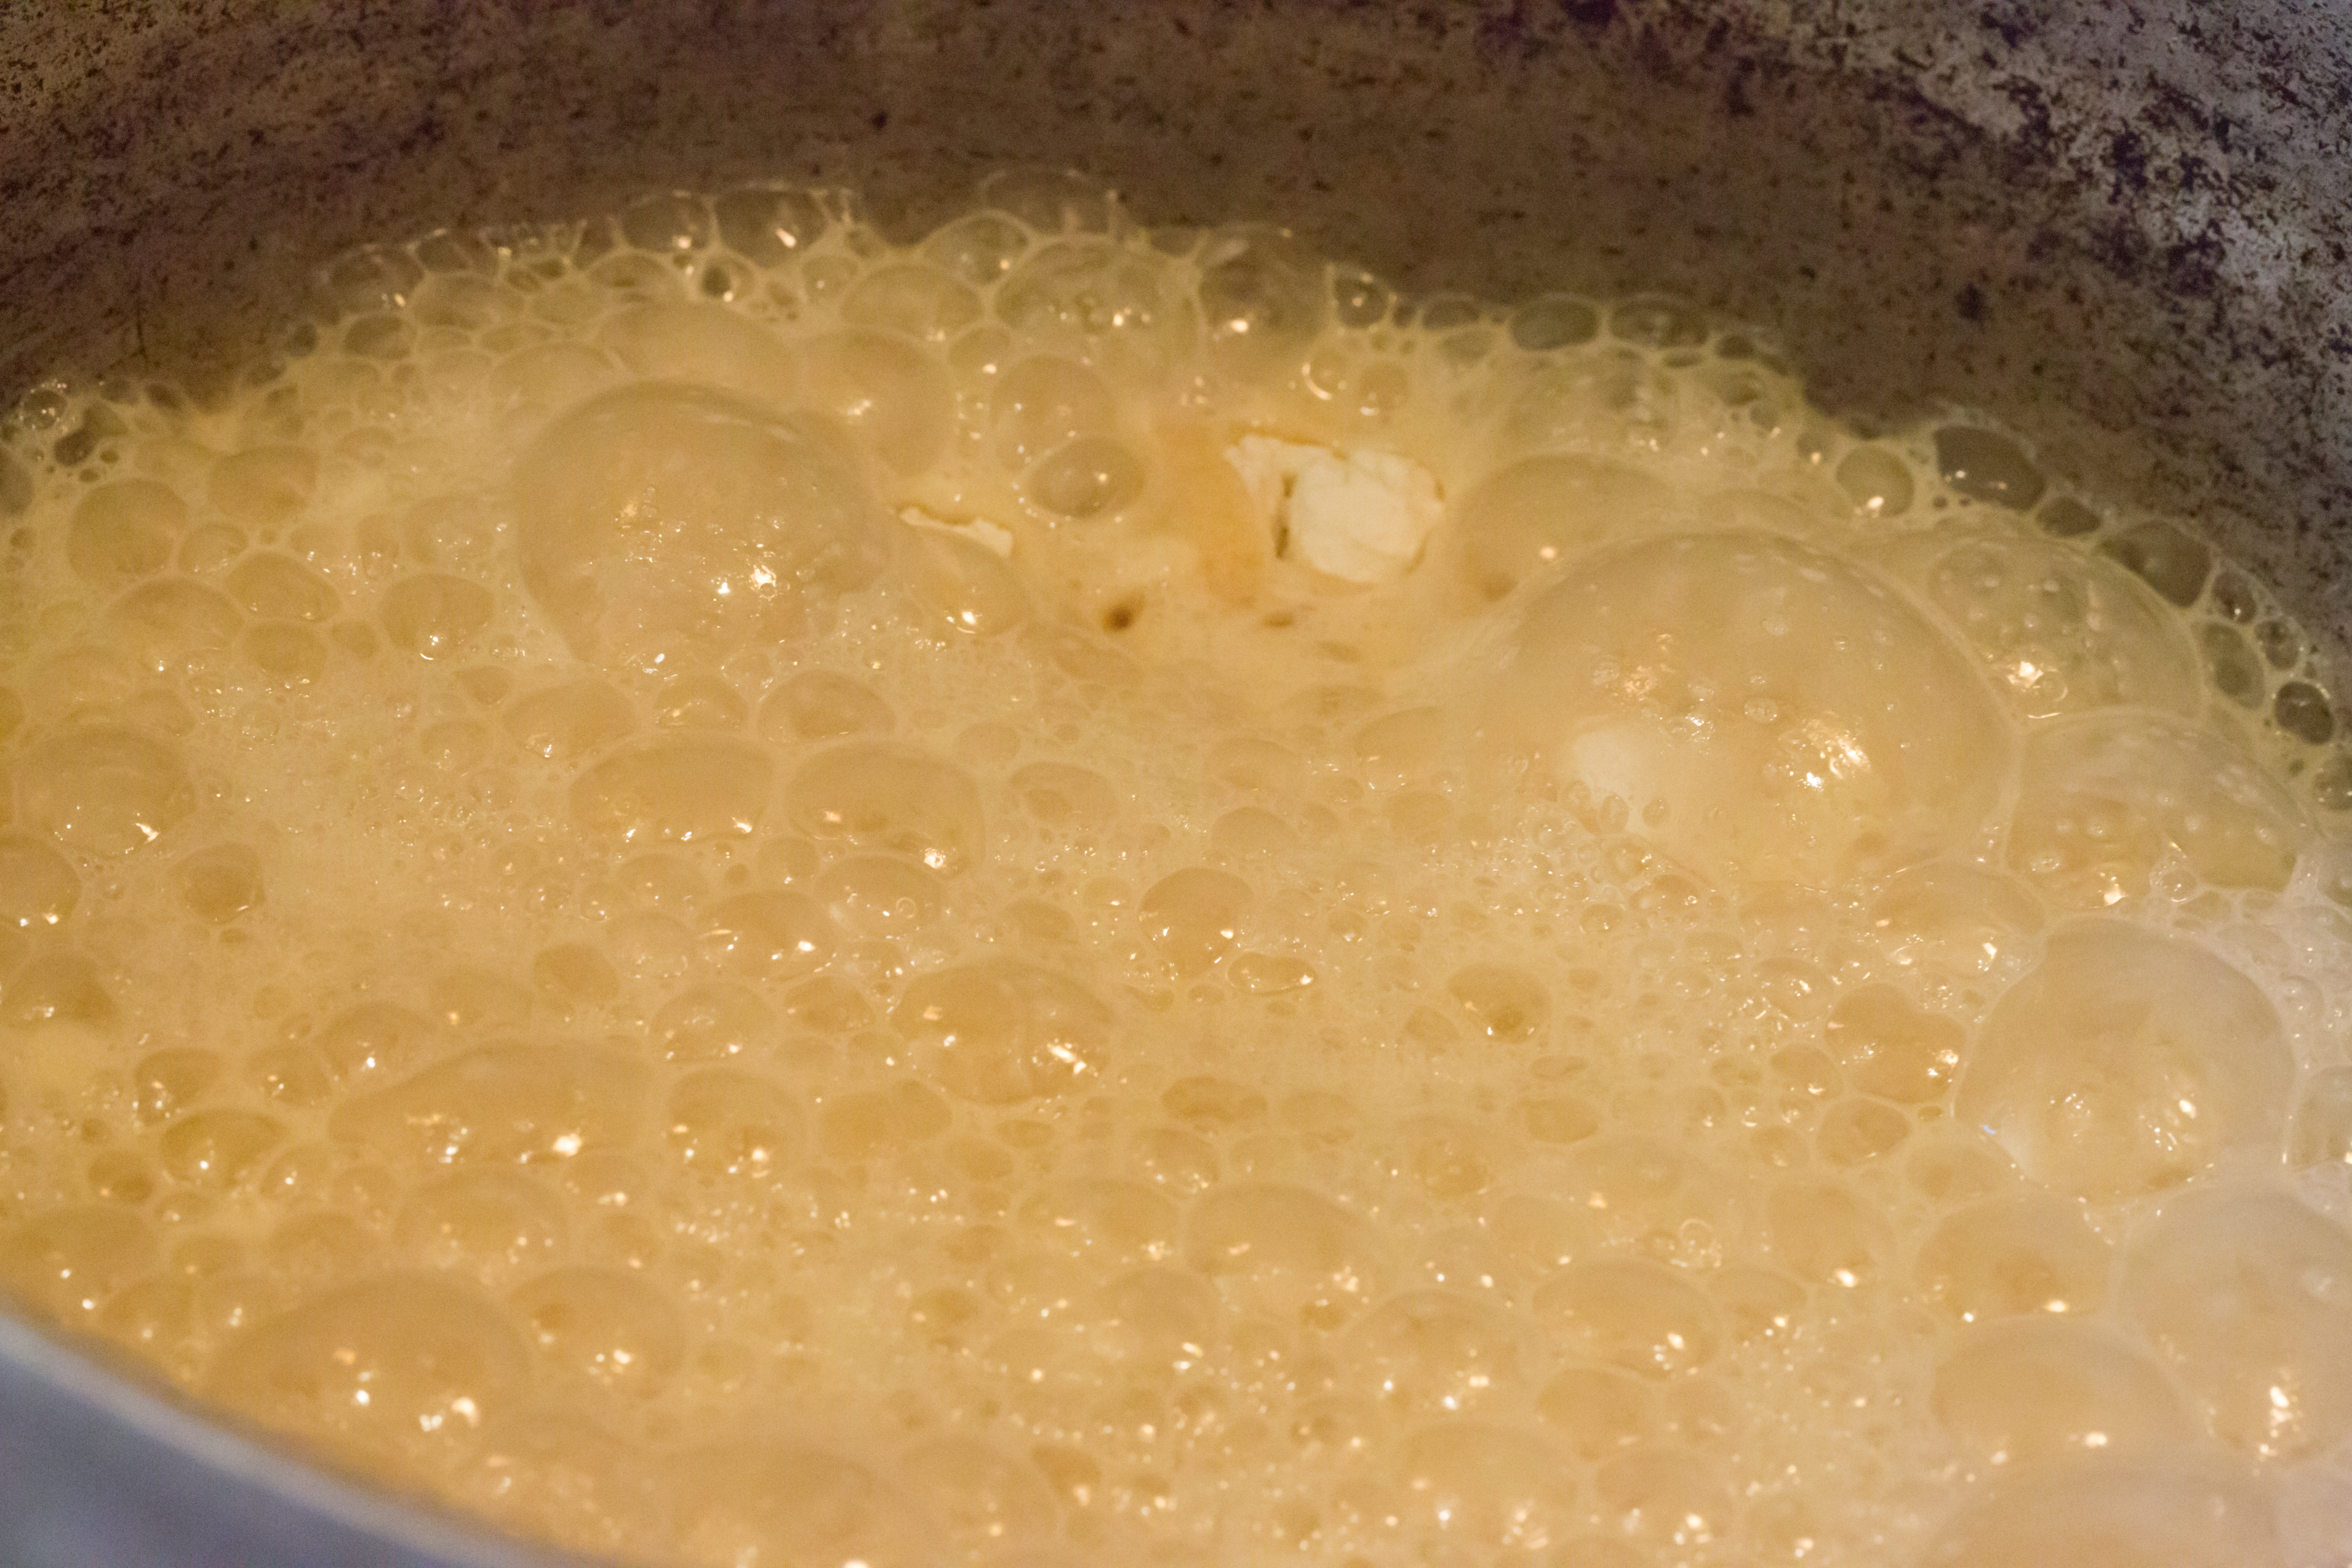
  1. Combine ¼ cup Kosher salt, smashed garlic, sugar, rosemary and bay leaves in a large microwave-proof bowl. Stir in 2 cups of water. Heat in the microwave on high for 6 minutes. Remove from the microwave, stir to dissolve any undissolved sugar and salt. Add 2 cups of water and cool.
  2. Transfer the mixture to a large container big enough to hold the brine and the chicken. (I used an 8 quart plastic bread-proofing container.)
  3. Grind the porcini mushrooms to a powder using an electric spice grinder.
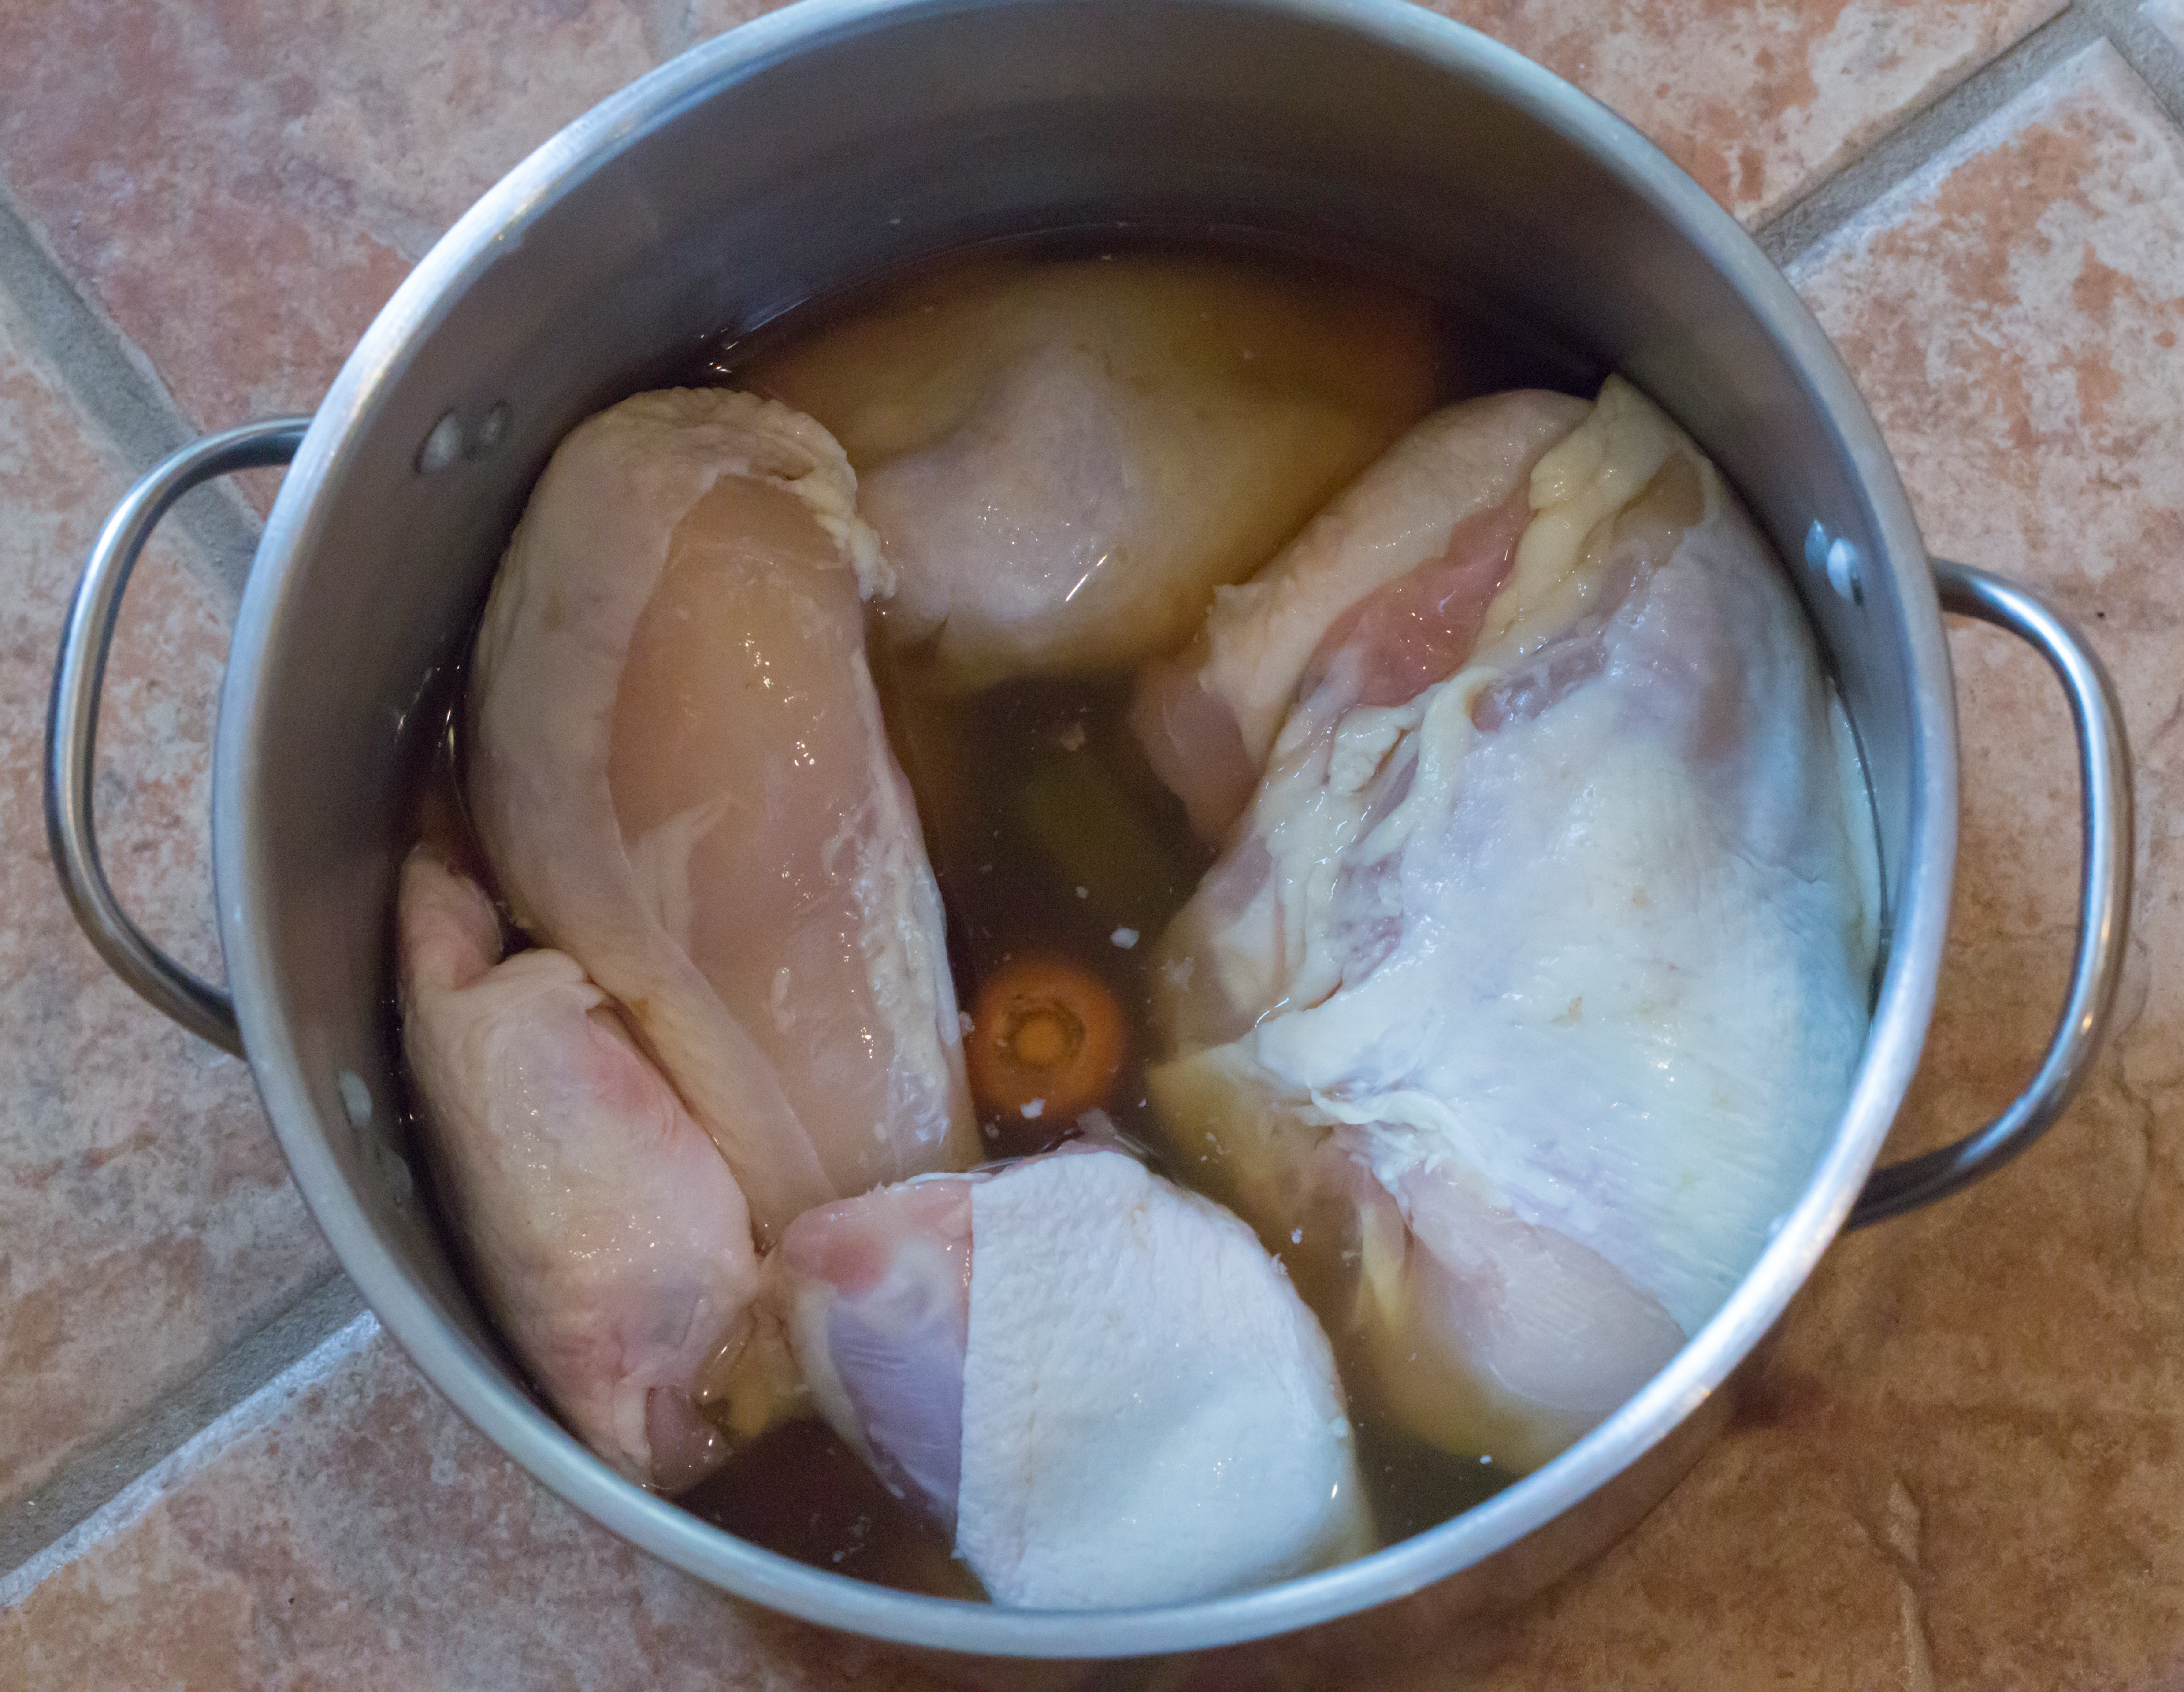
  4. Whisk the ground mushrooms and buttermilk into the salt and sugar mixture. Place the chicken in the mixture, cover, and refrigerate overnight. Be sure to remove any giblets that have been packaged inside the chicken.
  5. When you are ready to roast the chicken, remove it from the buttermilk brine, drain it well, and pat it dry with paper towels. With kitchen string, truss the bird: tie the legs together; tuck the wings behind the back and tie them firmly. You should wind up with a compact package that will fit easily on the rotisserie spit. Season all over with salt.
  6. Arrange the chicken on the spit so that it is firmly seated and will not come in contact with the heating element. Cover the rotisserie with the protective lid and turn on the spit.
  7. After 15 minutes, stop the rotisserie, brush the chicken all over with the softened butter.  Restart the rotisserie, and roast for an additional 50 minutes or until the temperature of the thickest part of the breast reaches 165°F as measured with an instant-read probe thermometer.
  8. Transfer the roasted chicken to a cutting board. Cover loosely with aluminum foil and let rest for 15 minutes.
  9. Meanwhile, combine the sliced garlic and olive oil in a small microwave-proof cup or bowl. Heat the bowl in the microwave on high for 2 minutes. The garlic should brown. Check to make sure it does not burn. Remove from the microwave.
  10. Remove the trussing from the bird. Cut into serving pieces. Brush lightly with the garlic oil. Serve immediately, passing the remaining oil at the table.
Advertisement

1 Comment

Filed under Food, Photography, Recipes

YIN-YANG CHILI

In spite of the wild weather in Southern California, Peter and René braved a drive down the 5. One of their daughters is a big Harry Potter fan. The purpose of the trip was to celebrate her birthday with a visit to Universal Studios and Harry Potter Land. It turned out to be a great visit. They helped with hanging pictures and moving heavy furniture. But the highlight was the gathering around the family table at Carol’s house. The star offering before dinner was what Carol called a cheese tart. There will be more about it in a later post, but it was beautiful and delicious with layers and layers of filo (and butter) filled with four different cheeses and then baked.

Dinner turned out to be a wonderful gathering with simple food and lots of laughter. Carol specifically wanted to keep it simple, so she made a salad and chili. She asked me to make something else because she planned to cook her chili without onions in deference to her and her allium-averse family. I could appease the onion lovers. She wound up making black bean chili with tender chunks of beef rather than the usual ground beef. So I decided to cook white chili with chicken and white beans. The result posed a dilemma for some of the folks around the table: they couldn’t choose between black and white; they wound up opting for both. I made some southern buttermilk cornbread, and Carol made a delicious lemonade birthday cake for the celebrant. It was an outstanding family gathering, and no one wanted to break it up, but Harry Potter beckoned early in the morning. It was a long drive across LA.

Here’s the recipe for White Chili. There are those in our family who cannot tolerate any spiciness, so this recipe uses only mild green chiles. But you can pep it up with hot green chiles or hot sauce. You can also put a bottle of hot sauce on the table so that each person can adjust according to his or her preference.yin-yang

RECIPEimg_0899

White Chili

Ingredients

  • 1 pound great northern beans
  • 1 teaspoon baking soda
  • 2 large boneless chicken breasts
  • 1 quart chicken stock
  • 1 large carrot cut into thirds
  • 1 stalk celery, cut into thirds
  • ½ large onion
  • 2 tablespoons canola oil
  • 1 large onion, chopped
  • 1 7 ounce can chopped green chiles
  • 2 tablespoons flour
  • ½ teaspoon garlic powder
  • 1 teaspoon ground cumin
  • 2 tablespoons dried Mexican oregano
  • salt and pepper
  • Siracha, to taste (optional)
  • 2 tablespoons yellow cornmeal

Method

  1. The night before, place the beans in 2 quarts of water to which has been added the baking soda. Bring to the boil, boil for 2 minutes, cover, and remove from the heat. Let the beans soak overnight.
  2. In a large cooking pot, place the chicken breasts in the chicken stock along with the carrot, celery, and onion. Bring to the boil. Boil gently for 25 – 30 minutes until the chicken is cooked through. Remove the chicken to a plate. Cool and strain the cooking liquid, and set aside. Rinse and dry the pot.
  3. Heat the oil in the clean pot over medium-low heat. Add the onions, stir, and cover. Sweat for 5 minutes. Do not brown the onions. Add the green chiles and cook, uncovered for an additional 5 minutes. Stir in the flour and cook for another few minutes to remove the raw taste of the flour. Add the reserved cooking liquid along with the garlic powder and cumin. Crumble the oregano between your hands and add to the pot. Adjust the seasoning with salt and pepper.
  4. Drain the beans and stir into the soup. Return to the boil and boil slowly until the beans are tender.
  5. Cut the chicken into ½ inch cubes and add to the mixture. Adjust the seasoning again. Add the optional Siracha to taste.
  6. Stir in the cornmeal and simmer for another 5 minutes until the soup is thickened.
  7. Serve immediately. You may wish to add garnishes such as Fritos chips, chopped onion, chopped cilantro leaves, grated cheddar or Monterey jack cheese, and sour cream.

12 Comments

Filed under Food, Recipes

SANTA FE STYLE CHICKEN AND WAFFLES

Chicken and waffles has become a trendy dish often featured in trendy restaurants. Supposedly it had its origins in soul food. There are definitely clues that reinforce that attribution: fried chicken and waffles is apparently a stand-by in Baltimore, there is a temple of the dish in South Los Angeles, and at least two places in Harlem have built their reputation on fried chicken and waffles. Honestly, I have never understood the enthusiasm. I love fried chicken as much as the next person, and waffles can be a terrific breakfast or dinner. But crisp fried chicken and sweet-sticky maple syrup together just doesn’t sound like a combination I want to give a try.

Turns out there is another version of chicken and waffles. It traces its origins to the Pennsylvania Dutch area around Lancaster, Pennsylvania. The dish is essentially the filling for chicken pot pie served on top of a waffle. To me, that is an interesting concept, and one that sounds like it might be delicious. My mother’s family traces its origins from Pennsylvania Dutch country through Wisconsin, Iowa, and eventually South Dakota. My wife’s family hails from Wilmington, Delaware, just a short drive to Lancaster. I don’t remember chicken and waffles ever showing up on either family table.

That made me think that maybe a Southwestern version of chicken and waffles incorporating some regional ingredients would make a good alternative to either of the better known traditions. Blue cornmeal waffles seemed like a good starting place. Green chiles and piñon nuts would serve as tasty additions. To brighten up an otherwise monochromatic dish, I topped it all with pico de gallo. For that, you probably have your own recipe. If you don’t, I’ve added one without the kick (There is a serious medical reaction to capsaicin in our household) but you are encouraged to zip it up to your own tastes.  So here it is: Santa Fe Style Chicken and Waffles with blue cornmeal waffles and green chile chicken sauce. If you can’t find blue cornmeal at your local store, you can order some from Talon de Gato farms. Otherwise, substituting yellow or white cornmeal is perfectly acceptable.

RECIPES

Blue Cornmeal Waffles with Pine Nuts

Ingredients

  • 1 cup all-purpose flour
  • 1 cup blue cornmeal
  • 2 teaspoons baking powder
  • ½ teaspoon baking soda
  • ¾ teaspoon salt
  • 2 cups buttermilk
  • ¼ cup maple syrup
  • 5 tablespoons unsalted butter, melted
  • 2 large eggs, separated
  • ½ cup pine nuts

Method

  1. In a large bowl, combine the dry ingredients: flour, cornmeal, baking powder, baking soda, and salt.
  2. In a separate medium bowl, combine the buttermilk, maple syrup, and melted butter. Whisk in the separated egg yolks until completely incorporated
  3. In a small bowl, beat the separated egg whites to stiff peaks. Fold into the batter in thirds.
  4. Stir in the pine nuts.
  5. Spoon into a heated waffle iron using slightly more than the amount recommended by the manufacturer. Bake until golden brown. Bake the remaining batter.

Green Chile Chicken Sauce

Ingredients

  • 2 tablespoons vegetable oil (chicken fat if you have it)
  • 1 large onion, diced
  • 4 ounces canned chopped green chiles (choose your heat)
  • 3 tablespoons all-purpose flour
  • 2 cups chicken stock + more as needed
  • 1 tablespoon dried Mexican oregano
  • ½ teaspoon ground cumin
  • salt and pepper
  • 1 whole chicken breast, cooked and shredded

Method

  1. In medium saucepan, heat the oil over medium-low heat. Add the onions, cover and sweat the onions for 5 minutes, stirring occasionally so as not to brown.
  2. When the onions are translucent, stir in the green chiles and cook, uncovered for an additional 5 minutes.
  3. Stir in the flour and cook for 5 additional minutes to remove the raw flavor of the flour. Add the chicken stock, stirring to remove any lumps. The sauce should be about as thick as a medium white sauce.
  4. Add the oregano by crumbling it between your hands over the pan. Add cumin and adjust seasoning with salt and pepper.
  5. Stir in the shredded chicken and simmer for 15 minutes more, or until the mixture is heated through.

Pico de Gallo

Ingredients

  • 1 large ripe tomato, seeded and coarsely chopped
  • 3 scallions including green tops, chopped
  • ½ onion, coarsely chopped
  • ¼ cup chopped green bell pepper (substitute jalapeño for more heat)
  • ¼ cup coarsely chopped cilantro leaves
  • juice of 1 large lime
  • salt and pepper

Method

  1. Combine all of the ingredients in a small bowl. Adjust seasoning with salt and pepper
  2. Cover tightly and refrigerate for at least 30 minutes. Serve.

Assembly

Place two waffles on each plate. Top with about 1½ cups of the green chile chicken sauce. Garnish with pico de gallo. Serve immediately with more optional Cholula sauce, if desired.

9 Comments

Filed under Food, Photography, Recipes

PARTS IS PARTS: HOW TO SAVE THE WISHBONE

During our daughter’s recent visit we made one of her favorite meals going back to when she was a toddler: fried chicken, mashed potatoes, cream gravy, green beans, and homemade biscuits. Carol was pleased with the menu, but she also had a special request. She loves the wishbone and the ritual of making a wish. The problem is that these days chicken is mostly sold already cut up, and the breast is simply split down the middle so that the wishbone is destroyed.  For fried chicken, I almost always buy a whole chicken and cut it up. I think that it tastes fresher and crispier. (although I know that is just my food snobbery showing through) That way, the wishbone is preserved.

Carol asked the friendly and helpful butcher at her local grocery store if he could cut up a chicken so that she could save the wishbone. He allowed that he didn’t know how to do that. Carol wanted me to make a video to show him the process. That seemed a little extreme, but I agreed to let her take some still shots of the process to show her butcher the next time she visited his shop.

During our “shoot”, Carol suggested that I should include the demonstration in my blog.  My initial reactions was, “What!!!???” Then it occurred to me that if a butcher at a full-service shop doesn’t know how to do it, there are probably a lot of other folks who also don’t know how to do it. Breaking down a chicken is not a lost art like writing in Sanskrit. On the other hand, it is a fading kitchen skill that is disappearing because of plastic wrap and mass marketing. So here is my version of cutting up a chicken to preserve the wishbone.  ALERT!!  There are some very graphic images in the demonstration. If you are squeamish, my advice is to forego the rest of the blog and just buy chicken in shrink-wrapped packages. The bonus for reading on is that you will wind up with nine pieces of chicken while still having the back for chicken soup.

HOW TO CUT UP A CHICKEN TO PRESERVE THE WISHBONE

  1. Remove the chicken from the wrapping. There is disagreement about whether you should rinse the chicken or not. Do whatever you feel more comfortable about. Just make sure that you have removed the neck and and organ parts from the body cavity. Place the chicken on a cutting board that can be easily and thoroughly cleaned afterwards.image
  2. Have available a sharp chef’s knife and poultry shears. A paring knife and/or boning knife are also useful.
  3. First cut: With chef’s knife, make a cut in the crease between one of the thighs and the body of the chicken. Cut down smoothly as you pull the leg away from the body. You will cut down to the bone and expose the joint between the body and thigh. Pull the thigh down and cut through the joint, continuing until the thigh has separated from the body.
  4. Locate the joint between the thigh and drumstick on the separated leg. With your index finger you will feel a slight indentation between the thigh and drumstick. That indicates the joint inside. With the chef’s knife, cut through the joint until you have separated the thigh and drumstick.
  5. Repeat steps 3 and 4 on the other leg.
  6. Separate one of the wings by using the chef’s knife to cut into the breast about 1 inch away from the joint between the wing and breast. Cut through the joint, and the wing should separate from the rest of the chicken. Cut off the wing tip at the joint.
  7. Repeat step 6 on the other wing.
  8. To separate the breast from the back, use the chef’s knife or poultry shears to cut horizontally between the openings made by removing the wings and the opening at the tail. Cut on both sides, and then spread the two pieces apart and cut any bones or skin that are holding the two halves together. Set aside the back to make chicken stock and/or chicken soup. The meat on the back will be ample for a rich chicken soup.IMG_4130.JPG [507492] Separating back
  9. You will now have the whole chicken breast on the cutting board. In the next steps you will cut it into three pieces, one with the intact wishbone.
  10. Run your index finger up and down the center of the chicken breast. You should feel the keel bone. As your finger moves in the direction of where the neck was, you will feel the keel bone disappear and only soft tissue will remain. That spot is where you want to make a horizontal cut. On a younger, smaller bird, you will be able to cut completely through the breast with your chef’s knife. With a larger bird, you will need to use your poultry shears. Cut through completely and you will have a U-shaped piece with the wishbone intact. Set aside.
  11. Turn the remaining piece of the breast over. Slice through the thin membrane overlying the keel bone and with your fingers or a boning knife, scrape the breast meat free of the keel bone on both sides until you reach the level where the keel bone is joined to the overlying skin. Cut the keel bone away from the skin, and you will have two equal-sized portions of breast meat. Divide them with the chef’s knife along the seam made by the removed keel bone.
  12. With your fingers or a paring knife or boning knife, remove any bones remaining on the two equal-sized portions of breast meat. IMG_4133.JPG [509981] Removing bones from breast
  13. You will now have 9 pieces of chicken for frying: 2 drumsticks, 2 thighs, 2 wings, and 3 pieces of breast meat. In addition, you will have the back for stock or soup along with the liver, heart, gizzard, and neck to use as you wish.

P.S.: A special thanks to Carol for suggesting this topic.

10 Comments

Filed under Food, Photography, Recipes

KING RANCH CHICKEN

We have gone to Colorado to visit my sister-in-law who is recovering from a hospital stay. Since she grew up in Texas, we thought some easy-to-eat Texas comfort food would welcome her back home.

If you have ever lived in Texas, you have probably eaten King Ranch Chicken. If you have never lived in Texas, it’s likely you have not even heard of the dish. King Ranch Chicken is served at Texas weddings, funerals, conferences, and of course women’s luncheons. It has even been suggested that the Texas State Legislature should designate KRC as the official State Casserole. A major function of the legislature seems to be to recognize the official state bird, fish, tree, etc. Some wags would  suggest that that is the most important thing they do.

In spite of all this fame, it is unknown how KRC got its name. One thing seems certain: it was not invented on the legendary King Ranch in Far South Texas. That assertion has been steadfastly denied by the wife of one of the past owners. A more likely explanation seems to me to be that it was invented and named by a home cook in the 1940s or 1950s during the heyday of The Joy of Cooking and Betty Crocker when a can of condensed soup was the key to elegance. Perhaps the inventor developed the recipe for her local Junior League cookbook. Versions of the recipe are certainly legion in all sorts of community cookbooks.

The first time I remember eating KRC was at a noon conference for students at a West Texas university many years ago. I don’t recall the topic of the conference, but I do remember that not a speck of the KRC remained. I also remember that it was tasty, gooey, and a little bit spicy.

There are probably as many recipes for KRC as there are Texas home cooks, but there are six key components: chicken of course, corn tortillas (though recent recipes substitute Doritos – a heresy as far as I’m concerned), cheese (some recipes swear by Velveeta), canned cream of mushroom soup, canned cream of chicken soup, and Ro*Tel. If you absolutely can’t stand the thought of canned soup, you can substitute your own homemade béchamel, but then your KRC would not be completely authentic.

Ro*Tel is another Texas invention. It was created during the 1930s in a small town near the Texas-Mexico border and not far from the King Ranch. It is a secret mix of tomatoes, green chiles, and spices. It is a key ingredient of queso dip and for years was only available in Texas. The tiny company was eventually sold to Con Agra, so now Ro*Tel should be available in every grocery store.

This version of the recipe includes two other ingredients that are not always in the recipe, but in my opinion they are both essential to Tex-Mex cooking: Mexican oregano and ground cumin. If you are not accustomed to their flavors you may find them objectionable. In that case, leave then out. Mexican oregano is different from Mediterranean oregano, and the best comes as leaves, stems, and flowers that you crush between the palms of your hands,

Some folks think KRC is too mushy. If you worry about that, cut back on the liquid. One of the beauties of KRC is that you can make the recipe your own. Then you will enjoy widespread fame throughout your neighborhood.

RECIPE

King Ranch Chicken

Ingredients

  • 1 whole chicken
  • 18 day-old corn tortillas
  • 2 tablespoons vegetable oil
  • 1 medium yellow onion, diced
  • 6 crimini mushrooms, torn into pieces
  • 10.5 ounce can condensed cream of mushroom soup
  • 10.5 ounce can condensed cream of chicken soup
  • 1 can Ro*Tel
  • 4 ounces canned chopped green chiles
  • 1 cup chicken stock (optional)
  • 2 tablespoons Mexican oregano, crushed
  • 1 teaspoon ground cumin
  • salt and pepper
  •  4 ounces Cheddar cheese, grated
  • 4 ounces Monterey Jack cheese, grated
  • sour cream
  • green bell pepper, seeded and sliced into rounds (optional)
  • red bell pepper, seeded and sliced into rounds (optional)

Method

  1. In a large pot, cover the chicken with salted water and bring to the boil. Cook at a low boil for 45 minutes or until the chicken is completely cooked. Cool until it is easy to handle. Then remove the skin, bones, fat, and any gristle. Cut the chicken meat into bite-sized pieces or shred with two forks. Set aside.
  2. Toast the tortillas for 15-20 seconds on both sides in a dry, hot skillet. Cut the heated tortillas in half and set aside.
  3. In a large skillet, heat the oil over medium heat. Add the onions and stir for a few minutes until translucent. Then stir in the mushroom pieces and continue to cook until the mushrooms are heated through and well-cooked. Stir in the mushroom soup, chicken soup,, Ro*Tel, green chiles, optional chicken stock, oregano, and cumin. Adjust seasoning with salt and pepper. Stir well and simmer for 15 minutes. Remove from the heat and set aside for assembly of the casserole.
  4. Prepare a 9″ x 13″ x 4″ glass baking dish by spraying the inside with baking spray. Ladle a scant half cup of the soup mixture into the baking dish and spread across the bottom of the dish. Arrange 12 tortilla halves to completely cover the bottom of the dish.
  5. Arrange about half of the cut-up chicken to cover the tortillas. Then top with a little less than half of the soup mixture. Top with about one-third of the grated cheeses.
  6. Arrange another layer of tortilla halves, topped with the remaining chicken and more soup mixture, reserving about 3/4 cup for the top, and half the remaining cheeses. Dot with teaspoonfuls of sour cream.
  7. Arrange a final layer of tortilla halves. Top with the remaining soup mixture and cheeses.
  8. Decorate if desired with the optional bell pepper rings.
  9. Bake for one hour in the middle of an oven preheated to 350ºF, until the top is well-browned and bubbling. Remove from the oven, cool for 5 minutes, and serve immediately.

26 Comments

Filed under Food, Photography, Recipes

COOKING FOR THREE-YEAR-OLDS: GNOCCHI, CHICKEN, MUSHROOMS, PEPPERS, BEURRE NOISETTE

Susan and I just returned from another trip to San Francisco. We babysat our 10 months-  and 3 years-old grandsons while Sarah and Evan travelled to Dallas. They were invited to cook with the staff at a hot, new Dallas restaurant, FT33. Sarah and Evan and the local chef alternated dishes for an 8-course tasting menu with wine pairings. The place was sold out, and Sarah got to see Corey and Megan, school friends of our other daughter, along with a fellow member of her crew team at the University of Texas.

My cooking task was more challenging: I was charged with feeding the two little ones. Actually, the 10-month-old was not difficult. He is still drinking a lot of liquids, and he will eat anything else you put in front of him.

The three-year-old was another story. The first morning, he wouldn’t eat his cheerios until I added some milk, so the next morning I anticipated him and poured in the milk. That morning he decided he didn’t want milk, so I had to scrap the first bowl. The next morning I made French toast with maple syrup. He didn’t like it, but the 10-month-old polished it off.

My greatest failure turned out to be lunch. I put together some things for his lunch box for nursery school. My first thought was a peanut butter and jelly sandwich. What child doesn’t like PB&J? Besides, PB&J is not forbidden at his nursery school as it is in many places. As I was planning my menu, Sarah sent a text message that the toddler doesn’t like peanut butter. I made a quick change of plans and substituted some chèvre that I found in the fridge. Then, I reached for a jar of fig jam when he announced that he didn’t like jelly. For that, I substituted some hummus. I thought a goat cheese and hummus sandwich on whole wheat bread looked pretty tasty, so I packed it with freeze-dried strawberry slices, crispy apple chips, and a stick of string cheese. Imagine my disappointment when the lunch box came home at the end of the day with only the string cheese gone.

We took advantage of the kids being at nursery school by taking a little trip to the Embarcadero and enjoying a good lunch at the well-known Fog City Diner.

I was more successful with dinner one night. I found some packaged gnocchi and a cooked chicken breast in the refrigerator along with some mushrooms and colorful “snacking peppers”. I put it all together with some brown butter sauce, and it turned out to be a huge favorite with both kids.

RECIPE

Gnocchi, Chicken, Mushrooms, Peppers, and Beurre Noisette

Three-Year-Olds-1

Ingredients

  • ½ cup unsalted butter
  • juice of  ½ lime
  • ½ cooked chicken breast
  • 6 white button mushrooms, sliced
  • 1 each, red, orange, and yellow snacking peppers, sliced crosswise
  • 1 package prepared gnocchi
  • ½ cup grated Parmesan cheese
  • ½ cup grated Romano cheese
  • salt and pepper

Method

  1. In a small saucepan over low het, melt the butter. Heat gently until the milk solids float to the top and begin to brown. Skim off the solids with a tablespoon. Pour the melted butter into a small bowl, leaving any remaining solids on the bottom of the saucepan behind. Wipe the pan clean, return the clarified butter, and continue to heat over a low flame until it turns a nut-brown color. (hazelnut to be specific) Stir in the lime juice and set aside.
  2. Shred the cooked chicken with two table forks. Set aside.
  3. Sauté the sliced mushrooms in 2 tablespoons of the butter sauce over medium heat. Add the remaining butter sauce. Stir in the shredded chicken and pepper slices until heated through.
  4. In the meantime, boil the gnocchi in a pot of boiling salted water according to package instructions. Drain. Return to the pot, and stir in the butter sauce, mushrooms, chicken, peppers, and grated cheeses. Adjust seasoning with salt and pepper.
  5. Serve.

5 Comments

Filed under Food, Photography, Recipes, Restaurants, Travel

CASA DE HILLMONT SANCOCHO

Peter, our son, stopped by our daughter’s house in L.A. on his way down the coast to spend some holiday time with his mother-in-law. Before his visit he indicated that he wanted to cook dinner one night. It required some ingredients that we thought we could find at the Grand Central Market, including green and ripe plantains and yuca. The yuca was not to be had, but in the end Peter located some at the neighborhood grocery store.

The dish that Peter chose to cook had its origins when he was in graduate school. He found himself without housing and with very little money. Our daughter, Sarah, was in the undergraduate program at the same university. One of her teaching assistants, a doctoral candidate in mathematics from Colombia, announced in class one day that there was a vacancy in the house where he was living. Sarah passed the information to Peter, and Peter jumped at the opportunity. He wound up living in the garage for several months, rent-free. Then a bedroom opened up, and he became a permanent, rent-paying resident.

As with much collegiate housing, there was a steady stream of old and new tenants. Sarah even lived there for awhile. But the backbone of the place was the three Colombianos who lived there the longest: Carlos, Mario, and Andreas. They became good friends with our children, and an added benefit was that Sarah, the Spanish major, got to polish her language skills, Peter learned how to speak Spanish, and they both learned to cook Colombian foods. Peter still keeps in touch with Carlos, who is now a professor of mathematics at his home university.

Not surprisingly, the house came to be known as Casa de Hillmont after the street where it was located. And it had all sorts of unique features – the carpet with big holes, the reclining sofa we donated, unidentified insects (This was Texas, after all.) and the quirky landlady who made off with a bird bath. Mostly the food was standard college fare like ramen, but there were also Colombian classics like tostones, arepas, and sancocho. Here is Peter’s version of sancocho.

RECIPE

Casa de Hillmont Sancocho

Ingredients

  • 4 tablespoons cooking oil, divided
  • 1 medium white onion, chopped
  • 1 garlic clove, minced
  • 1 tomato, coarsely chopped
  • 4 to 6 pieces of chicken (thighs, drumsticks, breast)
  • 12 cups water
  • salt and pepper to taste
  • 1 green plantain, peeled and cut into pieces
  • 1 carrot, peeled and cut into large pieces
  • 4 medium potatoes, peeled and cut into chunks
  • 1 yuca root, peeled, core removed, and cut into large pieces
  • 4-6 pieces of corn on the cob
  • 1 ripe plantain, unpeeled and cut into 4-6 equal pieces
  • 1 generous handful of cilantro, finely chopped
  • cream
  • capers
  • avocado, diced

Method

  1. In a large skillet, heat 2 tablespoons of oil over medium-high heat. Add the onion, garlic, and tomato and saute for about 3 minutes. Set aside.
  2. Brown the chicken pieces in the remaining oil in a large pot. Add the onion, garlic, tomato mixture and saute for another 6 minutes. Add the water, and correct the seasonings with salt and pepper.
  3. Add the green plantain and carrot to the mixture, and bring to the boil. Simmer for about 20 minutes; then add the potatoes. Simmer for another 10 minutes or until the potatoes are soft.
  4. Add the yuca root, and simmer until the yuca is soft
  5. Boil the unpeeled ripe plantain in another pot until it is easily pierced with a fork. Drain and set aside.
  6. Add the chopped cilantro to the chicken stew.
  7. Serve by placing a piece of the ripe plantain in every soup bowl. Ladle chicken stew over the plantain.
  8. Pass cream, capers, and avocado separately to garnish the stew. You should have freshly made arepas on the side. (Another post)
  9. Serves 4 to 6.

4 Comments

Filed under Food, Photography, Recipes

IMPROMPTU PASTA

I’m in San Francisco right now, after the California Chili Cook-Off in Lodi. (More about that in another post.) Last night, Sarah, our chef-daughter, cooked dinner. Originally she planned to go to the grocery store, but ultimately decided to clear out her refrigerator. Needless to say, her made-up dish using leftovers and odds and ends turned out to be better than anything I could have cooked. The dish combines chicken and pork chop (left over from my chili cook-off venture) with pasta in a simple but delicious sauce seasoned with herbs de Santa Fe*. The side dish was a tomato and burrata salad with an herb vinaigrette. It was a delicious dinner with very little fuss.

* Herbs de Santa Fe is a mix of lavender, rosemary, thyme, savory, fennel seed, basil, and marjoram. You could substitute Italian seasoning.

Impromptu pasta

Impromptu pasta

Here’s the impromptu pasta recipe:

RECIPE

Impromptu Pasta

Ingredients

  • 3 tablespoons schmaltz (rendered chicken fat)
  • 2 pork chops, cubed
  • cooked chicken (breast and thigh), cubed
  • herbs de Santa Fe*
  • 1 pint hard apple cider
  • lemon juice
  • olive oil
  • kale, chopped
  • button mushrooms, sliced
  • red onion, diced
  • pasta cooked al dente, drained
  • salt and pepper
  • Parmesan

Method

  1. Heat the schmaltz in a medium sauté pan over medium-high heat. Add the pork and chicken, browning lightly. Stir in the herbs and hard cider and bring to a boil. Reduce the heat to a very slow boil and cook until the liquid is reduced by half. Add lemon juice to taste.
  2. Meanwhile, in a small sauté pan, heat the olive oil. Add the kale, mushrooms, and red onion. Sauté until  cooked through. Set aside.
  3. When the cider has reduced, stir in the sautéed kale, mushrooms, and red onion. Add enough pasta to suit your taste. Correct the seasoning with salt and pepper. Top with freshly grated Parmesan. Serve immediately.


2 Comments

Filed under Food, Recipes

POSOLE

Posole (po-so-lay) is decidedly Southwestern and maybe even uniquely Northern New Mexican, although it undoubtedly has some kinship to hominy from the American South. The word refers to at least wo different things.

First, it is one of the names used for nixtamalized corn. That’s dry corn treated with lye or an alkaline solution to remove the hard outer husk. It is a process that was developed by the peoples of the New World. You can read more about the process in one of my earlier posts about the history of corn. In other places, posole is called hominy.

Second, the word refers to a soup made with posole. In New Mexico the soup is popular during the Christmas-New Year holidays, but it is really a favorite during all the colder months of winter. For that matter, lots of people eat it all year long, sometimes instead of beans and rice. The soup has as many versions as there are cooks, but some things are constant: (1) posole, (2) chile (either red or green – you could probably even use both, (3) onions, (4) protein (chicken, pork, turkey – maybe even tofu and vegetarian), and (5) herbs and spices (cumin, cilantro, and Mexican oregano). Optional items include grated asadero or Monterrey jack cheese, sliced radishes, and diced avocado.

You can buy posole canned, frozen, partly cooked, and dry. For me the best version of the soup uses dry posole, but if you choose to use it you should be prepared for a long cooking time, much longer than described in most recipes.

Whatever version you choose, it is well worth the effort. For our family, it is a universal favorite that is required some time during a visit to Santa Fe.  So here’s the recipe for pork green-chile posole.

RECIPE

Pork Green-Chile Posole

Ingredients

  • 12 ounces dry posole
  • water
  • 2 tablespoons vegetable oil
  • 1½ pounds boneless pork shoulder, cubed (If you’re feeling festive, you can substitute chops)
  • 1 large yellow onion, chopped
  • 7 ounces fresh-roasted, frozen, or canned New Mexico green chiles
  • 3 tablespoons all-purpose flour
  • 2 pints chicken stock
  • 2 cloves garlic, pressed or chopped finely
  • 1 teaspoon ground cumin
  • 1 tablespoon dried Mexican oregano, crumbled in your hand
  • salt and pepper to taste
  • 2 cups grated asadero or Monterrey jack cheese (optional but highly recommended garnish)
  • 2 cups chopped fresh cilantro leaves (optional but highly recommended garnish)
  • 2 ripe avocados, peeled and diced (optional garnish)
  • ½ cup thinly sliced radishes (optional)
  • sour cream (optional)

Method

  1. Soak the dry posole over night in a large pot of water. Add more water if the posole absorbs it all.
  2. At least 6 hours before you plan to serve the soup, heat the oil over a medium-high flame in a large frying pan. Cast iron works well. Add the pork to the hot oil, being careful not to crowd it so you can get a good brown crust on the meat. Remove the browned meat to a plate with a slotted spoon.  Lower the flame to medium-low. Then add the chopped onion. Add more oil if needed. Cover and let the onions sweat for about 5 minutes, stirring them occasionally. Do not let them brown. Add the green chiles and cook for an additional 2-3 minutes. Stir in the browned meat and pressed garlic. Add the flour and stir to completely coat the meat and vegetables. Cook for an additional 5 minutes to lose the flavor of uncooked flour.
  3. Drain the soaked posole into a large bowl, reserving some of the soaking liquid. Transfer the meat and vegetable mixture to the soaking pot, add the chicken stock and enough of the soaking water to cover.  Bring the mixture to a boil, add the soaked posole, and adjust the liquid so that everything is completely covered.
  4. Add the cumin and crumbled Mexican oregano and reduce to the simmer. Adjust the seasoning with salt and pepper. Add water if necessary.
  5. Cook until the individual posole kernels are soft and “exploded” to resemble (a little bit) popcorn. They should have the consistency of al dente pasta.
  6. When the posole is done, serve it in large bowls. Pass bowls of cheese, cilantro, avocado, radishes, and sour cream for each guest to add to taste.

Notes:

  • This recipe should serve 6 to 8 people
  • If you think the soup is finished before you are ready to serve it, just turn down the heat or even re-heat it. Posole is one of those things that gets better with time.
  • Some people prefer chicken. Use that instead if you wish. It is every bit as tasty.
  • Piquancy is controlled by the heat of the chile. Food sensitivities in our family dictate mild, but you can always add your own hot sauce if you want your bowl to be spicier.
  • Asadero is a Mexican cheese made with a process similar to that of mozzarella. If you can’t find it, mozzarella or Monterey jack will substitute perfectly.
  • Mexican oregano often comes in a package of leaves, twigs, and flowers. That’s the kind you want. You should crumble the dried pieces between your hands to get the full flavor.

12 Comments

Filed under Food, Photography, Recipes

DR. D’S LOUISIANA ANDOUILLE AND CHICKEN GUMBO

During this Christmas holiday, we were fortunate to have visits from two of our children and their families. Christmas is always a time to enjoy old family favorites, and since our youngest spent most of her growing-up years in Louisiana, we decided to make gumbo for our first evening. We lived long enough in Louisiana to learn how to make some of its classic dishes. We also benefited from lessons from some great cooks among our friends, some of them Cajuns. Nothing says “Cajun” quite as much as gumbo, and the great thing about the dish is that you can make it with whatever you like: oysters, shrimp, a mixture of seafood, duck, alligator, or whatever. This version, chicken and andouille sausage, is one of the most popular because the ingredients are readily available and taste so good together.

I don’t know where I got this recipe. Certainly it has been influenced by my friends, Reggie Graves and Ronnie George, but over the years I have tuned it and tweaked it so that I feel like it is “mine”.

When our daughter, Sarah, was in cooking school at the French Culinary Institute in Manhattan, as with all of the students she was responsible for preparing one family meal for her classmates. She chose to make this gumbo, and it was so popular that it was included in the official recipe book of the school. They called it, “Dr. D’s Gumbo”, and so here it is. It’s really very simple, but there are a lot of individual steps. You can take shortcuts, but if you do, it just won’t be real Louisiana gumbo.

Chicken stock. First, you make your own chicken stock. Actually, you start out with commercial chicken stock, but with your own vegetables, seasonings, and chicken, it becomes home-made and doubly rich. You will need chicken, commercial chicken stock, yellow onion, carrot, celery, garlic, and fresh tomato along with salt and black peppercorns.

The Cajun Holy Trinity. Second, you need to prepare your vegetables – the so-called Cajun Holy Trinity of onion, green pepper, and celery – before you start to cook. When you make the roux, you will be skating on the edge of disaster. It must be just the right color – as dark as you can make it – but if it burns, you will need to start over. The cut vegetables serve several important parts of the recipe. Of course, flavor is a major purpose, but stopping the roux from further cooking is equally important. That’s why you need to have it at your elbow to dump in the pot just when you think the roux is finished.

Roux. Third, you need to find the heaviest pot you have and the biggest metal spoon. Undoubtedly you have made a traditional French roux for béchamel or as thickening for various soups and sauces. That is not Cajun roux. The whole idea is to get the roux as dark as you can so that the rich smokiness flavors the soup. That requires constant stirring in a heavy-bottomed pot until your level of fear overtakes you. Any black bits – in other words, if it burns – you have to start over from the beginning.

Thickening.  As the roux darkens,  the flour loses its thickening power while adding to its flavoring power. As a result, there are two other ingredients used to thicken the soup.

First is okra. In fact the OED says that the word, “gumbo” comes from the Angolan word for okra. Many cooks prefer okra in the gumbo during the growing season. In the winter, when gumbo is guaranteed to take the edge from a cold day, filé becomes the preferred ingredient. There are many Cajuns who prefer filé for thickening all year long.

Filé is ground up dried sassafras leaves. If you live in the US South, you probably know where there is a nearby sassafras tree, and you can make your own filé. Aficionados swear it is by far the best to make your own. For the rest of us, there are several Louisiana food companies that sell filé in bottles. Once you buy your filé, the first thing to do is to transfer it to an empty Old Crow half-pint whiskey bottle to serve as your decanter on the dining room table.  Tightly stoppered, the filé keeps for a long time, but if you notice it has lost some of its thickening power, buy a fresh bottle.

Sausage. Traditionally, gumbo is made with andouille sausage. The Louisiana version is made with pork; the French version is made with chitterlings (I think you know what they are) so be sure you know what you are buying.  These days, most large super markets have andouille in the meat section, but if you have a hard time finding it you can substitute Polish kielbasa.

Spice. Gumbo can be as mild or spicy as you like. most folks from Louisiana like it on the spicy side, but food sensitivities in our family dictate a mild version. Fortunately you can add your favorite chile sauce to give the gumbo you prefer. Traditionally, Tabasco is often favored, but it has a vinegary punch that some don’t like. There are any number of other Louisiana hot sauces you can choose, or you can opt for Cholula from Mexico, or the current popular hot sauce, sriracha.

RECIPE

Louisiana Andouille and Chicken Gumbo

Ingredients

  • 32 ounce container of commercial chicken stock
  • 1 whole chicken, giblets and neck removed
  • 1 large yellow onion, halved
  • 2 ribs celery cut in thirds
  • 1 large carrot, cut in thirds
  • 2 cloves garlic
  • 3 or 4 stems of parsley
  • 1 teaspoon salt
  • 12 whole black pepper corns
  • water to cover
  • 1 ripe tomato
  • 1½ pounds andouille sausage
  • 1 large yellow onion, chopped
  • 3 ribs celery chopped
  • 2 large green bell peppers, seeds removed and chopped
  • 5 scallions with green tops chopped + more for garnish
  • 2/3 cup vegetable oil (You may use lard if you want to be authentic)
  • 2/3 cup all-purpose flour
  • Louisiana hot sauce (optional)

Method

  1. In a large stock pot, pour in the chicken stock. Add the chicken, onion, celery, carrot, garlic, salt and pepper. Add water to cover the chicken. Then bring to a boil, and reduce the heat to a simmer. Cook until the chicken is done, about 45 minutes. With your hand, squeeze in the tomato, seeds and all. Simmer for an additional 10 minutes. Remove from the heat. Remove the chicken to cool until it is easy to handle. Strain the stock into a large bowl, and set aside.
  2. When the chicken is cool enough to handle, remove the skin. bones, and any veins you might see. Cut the chicken meat into bite sized pieces and set aside.
  3. Cut the andouille sausage into 1 inch sections and then quarter each section. Set aside.
  4. Combine the chopped onion, celery, green pepper, and scallions in a large bowl. Place next to the roux pot so you can add it quickly to the roux before it burns.
  5. Using a very heavy pot and long-handled metal spoon, place the oil over high heat. As the oil begins to shimmer and just before it smokes, sprinkle the flour gradually into the oil while stirring constantly. The flour should sizzle as it hits the hot oil. It will start to darken immediately. Constant stirring is essential, being ure to scrape the corners of the pot. You can stop whenever the roux is colored to your liking, but Cajun moms will push it until it is almost black (ALMOST black – if you get some black flecks, it means that you have burned the roux and need to start over)
  6. Immediately dump in the chopped vegetables to stop the roux from darkening further. Stir. Reduce the heat to medium-low, and continue to cook until the vegetables are soft and translucent.
  7. Stir in enough of the chicken stock to get the consistency you want. Return to the boil. Add the chicken and andouille and simmer for another 30 minutes to meld the flavors.
  8. Correct the seasoning with salt, pepper, and hot sauce.
  9. Serve in a large soup bowl over a heap of cooked white rice. Pass chopped scallions, filé, and more hot sauce so that all can suit themselves.


A bowl of chicken and andouille gumbo

A bowl of chicken and andouille gumbo


File in the obligate Old Crow bottle

File in the obligate Old Crow bottle


Your choice of Louisiana hot sauces

Your choice of Louisiana hot sauces


Apot of gumbo ready to be served over rice

Apot of gumbo ready to be served over rice


Cooked chicken ready for the gumbo pot

Cooked chicken ready for the gumbo pot


Andouille sausage

Andouille sausage


Gumbo base simmering

Gumbo base simmering


The Cajun Holy Trinity stirred in to stop the roux from darkening too mucn

The Cajun Holy Trinity stirred in to stop the roux from darkening too mucn


Roux beginning to cook but it needs to get a lot darker than this

Roux beginning to cook but it needs to get a lot darker than this


You need the biggest metal spoon you can find to keep you from getting burned with Cajun napalm

You need the biggest metal spoon you can find to keep you from getting burned with Cajun napalm


The bowl of chopped vegetables ready to be dumped into the roux

The bowl of chopped vegetables ready to be dumped into the roux


Chopped vegetables

Chopped vegetables


The Cajun Holy Trinity

The Cajun Holy Trinity


Cooking the chicken to also make a double-rich chicken stock

Cooking the chicken to also make a double-rich chicken stock

This recipe should easily serve 8 to 12 hungry people

5 Comments

Filed under Food, Photography, Recipes