Monthly Archives: June 2015

ARANCINI

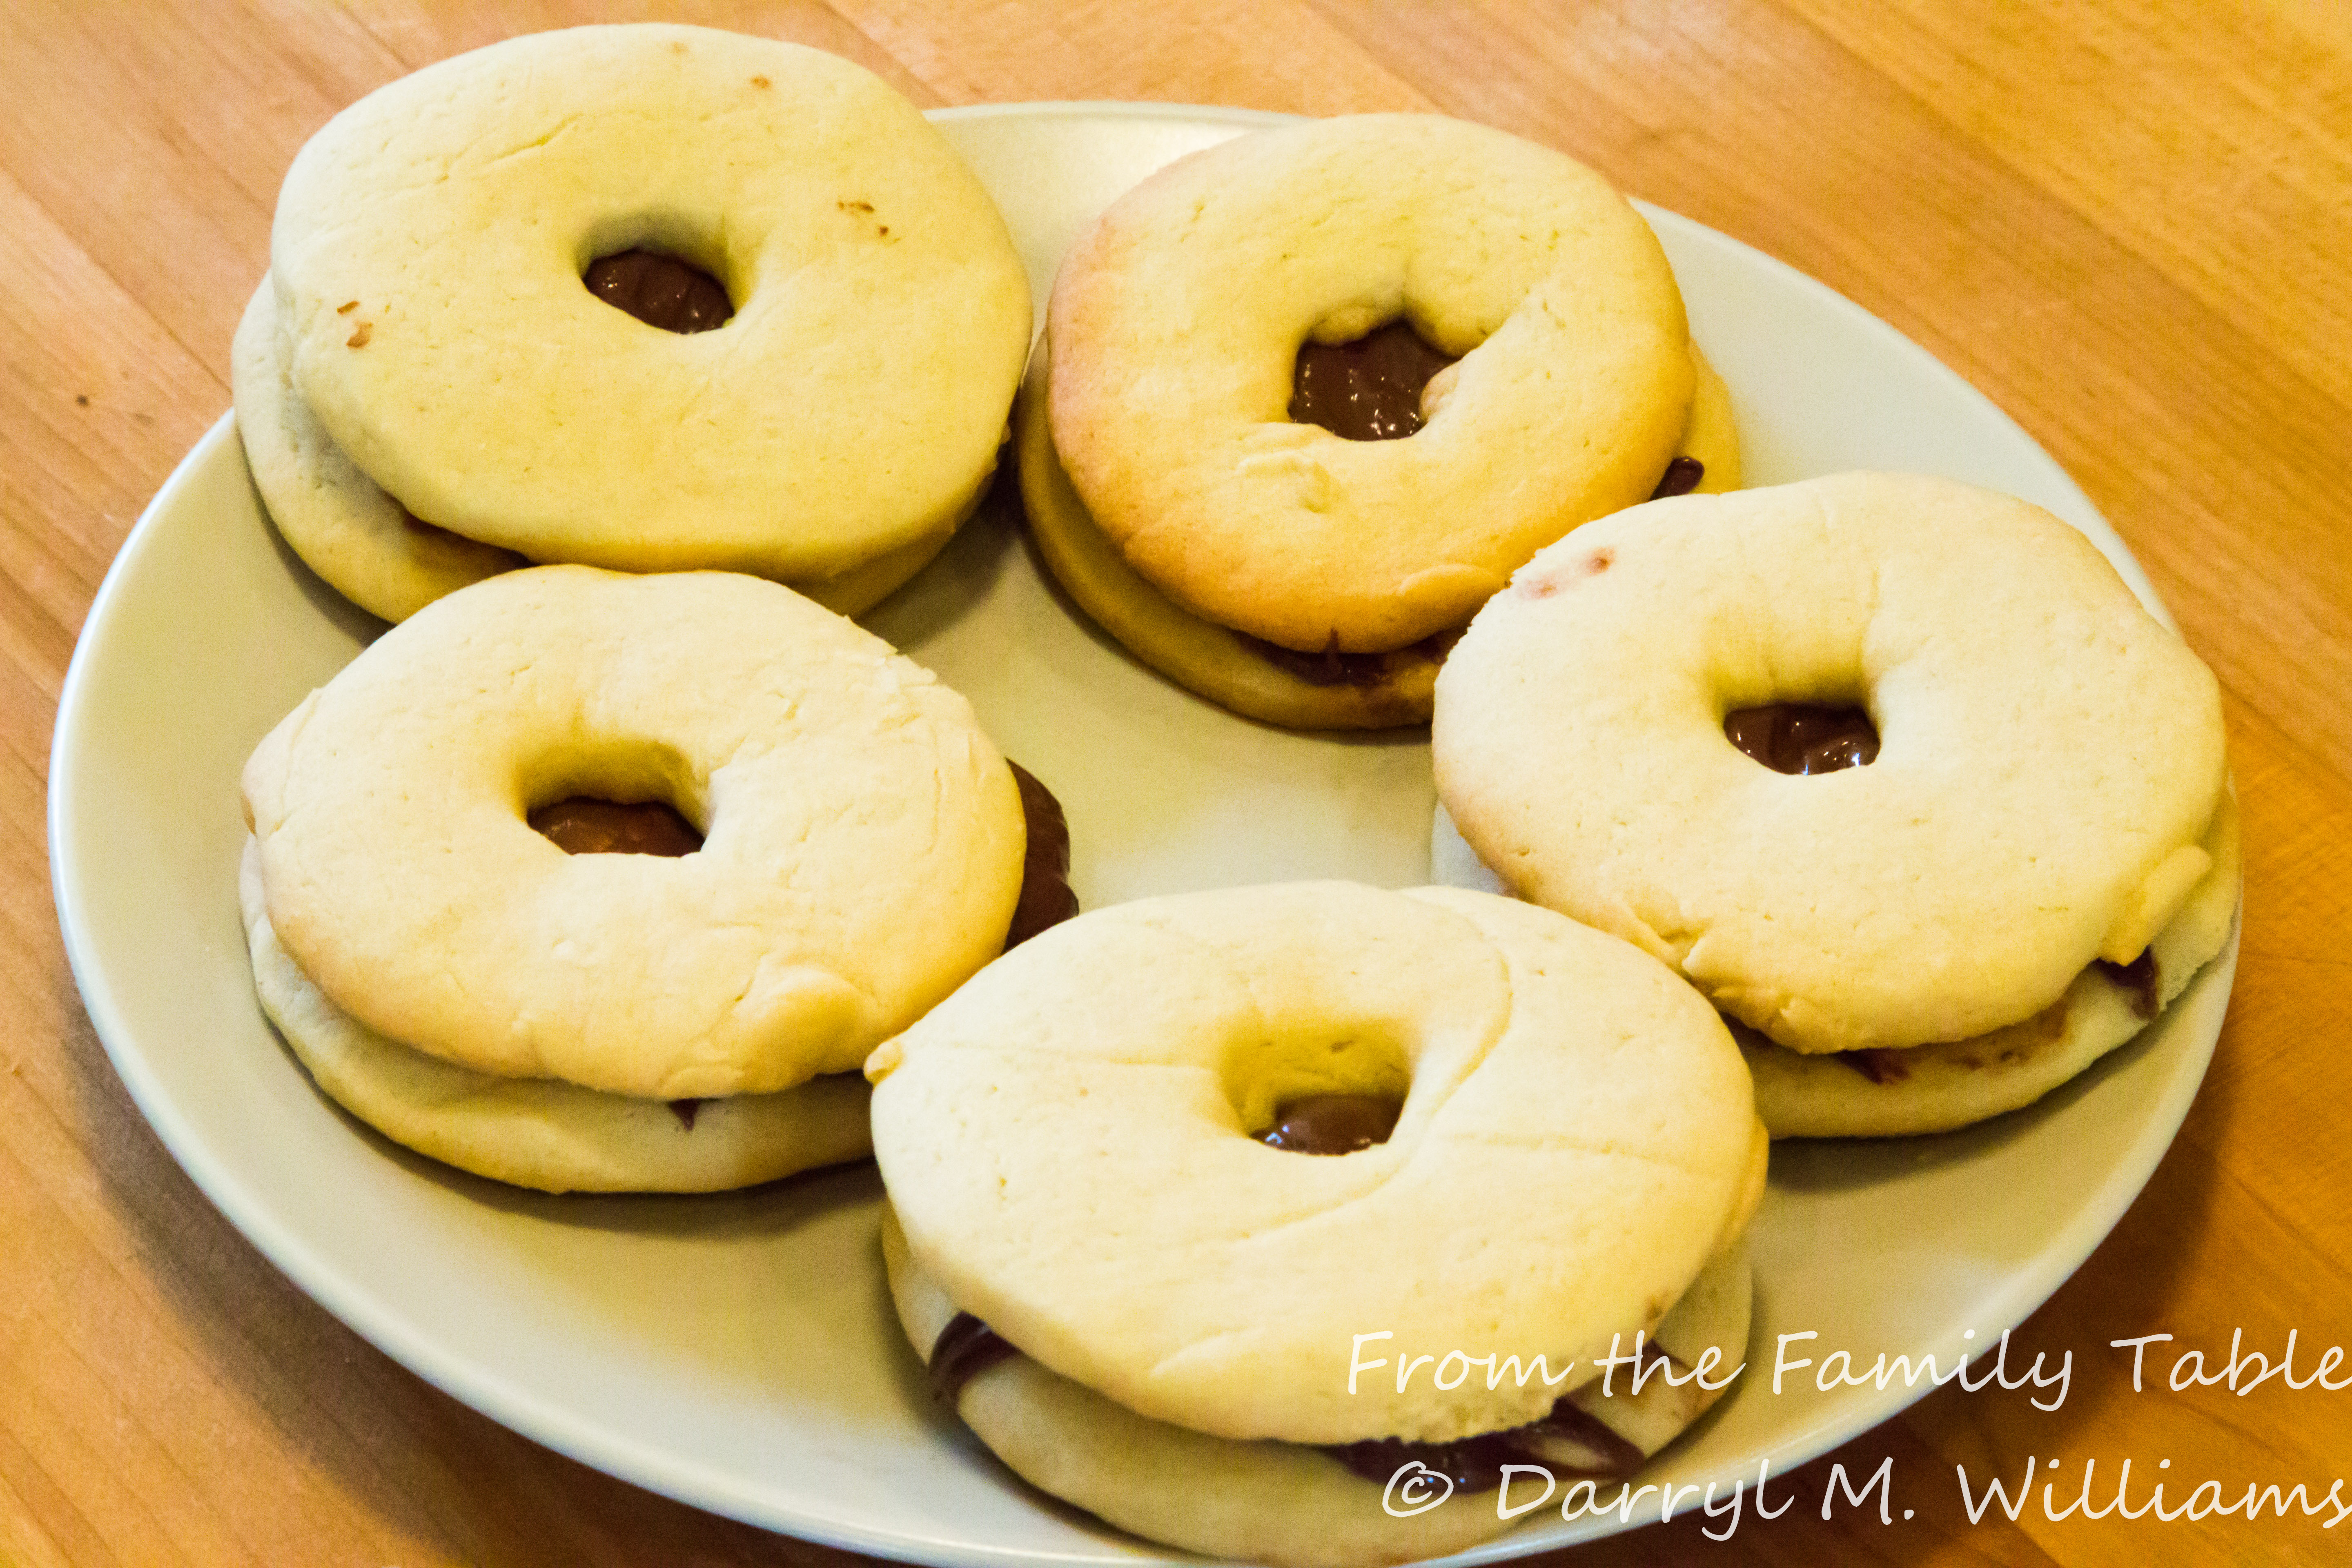
The name of this dish translates from Italian as “little oranges” because the puffs are golden yellow and round, resembling little oranges. You can make them as large as you wish, but the more they resemble oranges the more leaden they become. I prefer little balls that you bite into so that the hidden mozzarella oozes out onto your tongue.  You can sauce them with your favorite tomato sauce – like marinara – but I think that hides the delicate flavor of the arancini. The morsels are a favorite at one of our local bar/restaurants, Dr. Field Goods,  that serves them as bar food or as an appetizer.

For a long time, Rich Table made a dish that they called “fritters”.  The fritters were a big hit when Sarah and Evan were doing pop-ups, and they stayed on the menu for a long time after Rich Table opened.  The fritters were made with a corn batter instead of the rice of a classic arancino, but they had a similar flavor and the same surprise when you bit into the creamy middle.

For this version I have used cooked sushi rice so that it will stick together,.

RECIPE

Arancini

Ingredients

  • 4 cups chicken stock
  • 1 envelope unflavored gelatin
  • 2 tablespoons unsalted butter
  • 3 scallions, minced finely
  • 1 cup sushi rice
  • salt and pepper
  • 2 eggs
  • mozzarella cheese, cut into ½ inch cubes
  • fine, dry bread crumbs
  • peanut oil for frying

Method

  1. Place the chicken stock in a large microwave-proof measuring cup. Sprinkle the surface of the stock with the unflavored gelatin, and let it bloom for 5 minutes. Stir the gelatin into the stock so that it is completely dissolved. Heat the stock to boiling in a microwave.
  2. In a medium pot, melt the butter over medium heat. Stir in the chopped scallions and cook until translucent, but not burned. Add the sushi rice and continue to stir until the rice grains are translucent with a pale white center, about 5 minutes. Pour in about 1 cup of the heated chicken stock. Be very careful, because the mixture will boil up and may overflow the pot if you are not careful. Continue at the boil, but stir continuously. When the liquid has nearly boiled away, add more liquid, continuing to stir the pot. Gradually add the chicken stock in batches until it has all been added. The rice should be creamy, and individual grains should be well cooked. Remove from the heat and let cook for a few minutes in the pot.
  3. Transfer the rice to a baking pan lined with parchment and allow to cool completely. Then transfer to a bowl and stir in the eggs until they are thoroughly combined. Chill in the refrigerator overnight.
  4. Remove the chilled rice mixture from the refrigerator. Shape about 2 tablespoons of the mixture into a round ball, using your hands. Push a cube of mozzarella into the center of each ball, roll with your hands again until smooth, and place on a parchment-lined baking pan. Chill the formed rice balls for an additional hour.
  5. One by one, roll the rice balls in fine, dry bread crumbs. Using a slotted spoon, transfer the rice balls to a deep pan filled to about 1½ inches deep with peanut oil heated to 350°F  As they are frying, turn the rice balls until they are golden brown on all sides.
  6. Drain on several thicknesses of paper towelling, and the transfer to a baking rack.
  7. Serve while still warm.

10 Comments

Filed under Food, Photography, Recipes

TATER-TOT-STUFFED FRIED BALONEY CUPS

Many years ago, I worked at a hospital named (I’m not making this up) Confederate Memorial Hospital. It was a teaching hospital, so there were many young nursing students and resident physicians. Nearly all of the patients were poor and uninsured. With all those mouths to feed, it is not surprising that the food was particularly uninspired. As you might suspect, the menu included a lot of fried okra, corn bread, greens cooked into oblivion, and grits. Even at that, everyone dreaded the weekend beginning on Friday night and extending into Monday morning. The kitchen staff was all off, except for a skeleton crew. Disposable cardboard trays were used, and the plates and utensils all were changed to plastic so that staff on the wards could clean up by dumping everything in huge trash barrels.

The entrée at Friday dinner, even for patients on special diets, was almost always fried baloney cups.  Now, fried baloney cups are a common Southern delicacy, but they usually are filled with creamed chicken or vegetables. That was not the case at the hospital. The baloney cup came on the middle of a plastic plate with nothing else. It rolled around on the plate, so that for a sick, bed-ridden patient it was difficult to spear with a flimsy knife and fork that often broke in two.

Bologna lunch meat can be transformed by frying, especially when it is cooked with the cellophane rind still intact. The slice of meat puffs up in the middle on the hot skillet and the rind shrinks a bit so that you wind up with a cup-shaped vessel just begging for filling. Of course, any cook worried about finesse will remove the cellophane rind before serving. The interesting thing is that frying enhances the flavor of the bologna.

Well-made bologna is much maligned because of confusion with the super market version that I will call baloney.  Along with its close relative, mortadella,  the real thing can be quite delicate and delicious. The stuff called baloney is what you want to use for this dish. These days, you will have to look around a bit to find baloney with the cellophane rind intact, but even without that, a thick slice of the sausage will puff up in the middle so that you can stuff it.

This version incorporates some other standbys of Southern cooking: tater tot potatoes, American cheese, fried eggs, and mustard greens. It is clear that the dish will not help your cholesterol level, but hopefully it will bring back memories for those of us who spent some of our lives in the South.

RECIPE

Tater-Tot-Stuffed Fried Baloney Cups

Ingredients

  • vegetable oil for frying
  • 2 bunches mustard greens
  • 2 tablespoons vinegar
  • 1 tablespoon Louisiana hot sauce (or to taste)
  • 8 thick slices bologna (baloney) with cellophane rind
  • ½ yellow onion, chopped
  • 12 tater tots
  • 2 teaspoons Louisiana hot sauce (or to taste)
  • 2 tablespoons all-purpose flour
  • ½ cup milk
  • salt and pepper
  • 4 slices American cheese
  • 4 eggs

Method

  1. Wash the mustard greens, remove large ribs, and chop coarsely. Place the chopped greens in a medium non-reactive covered pot over low temperature with a tablespoon or so of cooking oil and the vinegar. Cook until wilted. Adjust the seasoning with Louisiana hot sauce, salt and pepper. Drain, and arrange  as “nests” in the middle of 4 serving plates.
  2. In a medium frying pan over medium high heat, fry 4 of the slices of baloney, rind on, until lightly browned. Transfer from the frying pan, remove the rind, and arrange on top of the mustard greens.
  3. In the same frying pan, heat another tablespoon of oil. Add the chopped onions and stir until lightly browned.
  4. Remove the rind from the remaining 4 slices of bologna, chop coarsely, and add to the frying pan. Stir until lightly browned. Then stir in the tater tots, breaking them apart with a  fork or wooden spoon. Stir in the  hot sauce and flour. Cook for a few minutes until the flour is incorporated to remove any raw taste. Add the milk, bring to the simmer, and stir until the mixture is thickened. It should not be soupy, but just moist enough to hold its shape.
  5. Fill the baloney cups with the mixture. Top each with a slice of American cheese. Run under a hot broiler until the cheese melts.
  6. In the meantime, fry the 4 eggs. Top the melted cheese with the fried eggs. Serve.

2 Comments

Filed under Food, Photography, Recipes

GARLIC SCAPE FRITTATA

The season has come – and probably gone – for garlic scapes at the farmers market. This is the time of year when the garlic growers trim the tops of their green garlic plants to force growth into the maturing bulbs. The tops have a wonderful curl as well as a pale head that will mature into tiny little garlics if you don’t cut it off. The head and the pointed stem above it are often woody, but the curly shoots below are tender with  a mild flavor of garlic. I usually chop them up and make them into a green garlic soup that seems perfect for a springtime lunch on the patio.

This year, I decided to try something different. I made a frittata of un-chopped scapes along with other ingredients from the farmers market including feta cheese from The Old Windmill Dairy. Along the way, I added some leftover spaghetti.

RECIPE

Garlic Scape Frittata

Ingredients

  • butter
  • about 1 pound garlic scapes (2 generous handfuls)
  • 4 large mushrooms, sliced
  • 4 snacking-sized sweet peppers, seeded and sliced
  • 3 cups cooked spaghetti
  • 8 ounces feta cheese, crumbled
  • 4 large eggs
  • 2 cups cream or 1 cup cream and 1 cup whole milk
  • nutmeg
  • salt and pepper

Method

  1. Generously butter a 9-inch pie plate and set aside
  2. Wash the scapes; remove the heads and tops. Cut the remaining stalks into pieces that will fit easily into the pie plate
  3. Arrange half of the scapes, sliced mushrooms, and sliced peppers in the bottom of the buttered pie plate.
  4. Arrange half of the spaghetti on the vegetable bed and top with half of the crumbled feta.
  5. Top with the remaining spaghetti, and then the remaining scapes, mushrooms, peppers and feta cheese
  6. In a medium bowl, beat the eggs until well mixed. Combine with the cream or cream and milk seasoned with grated nutmeg, salt, and pepper.
  7. Pour the egg mixture over the assembled pie.
  8. Bake in the middle of an oven preheated to 350°F for 45 minutes or until the mixture is set and the top is lightly browned
  9. Cut into wedges and serve while still warm.

5 Comments

Filed under Food, Photography, Recipes

COOKING WITH KIDS AGAIN

My daughter and her family have been visiting us from their home in Los Angeles. As usual, we have had a lot of activities planned, along with a list of restaurants to visit. This was the first time they have come to Santa Fe in over a year, so it was a special occasion.

On the list of places to visit was Bandelier National Monument, a special place protecting an ancient Native American community that was occupied from about 1100 to 1600 and then abandoned. The ruins are extremely well preserved, and the scenery is beautiful. Unfortunately, huge forest fires during the last 15 years have damaged outlying areas of the reserve so that visitors must ride a shuttle bus to the Visitors Center. Once there, however, there is an abundance of hiking trails, ladders to climb into well-preserved structures built in hollows of the volcanic cliffs, birds, wildflowers, and a variety of wildlife. Kids always enjoy the outing.

Our trip got rained out. (Actually, we were glad to see the rain as it has helped our years-long drought.) I had hoped to have some photos of our visit, but instead I am including images from a photo shoot several years ago at the Tsankawi Unit of the monument. Those ruins are on top of a bare mesa, and the trail is a long, hot walk. The site is special, though, because much of the trail is in a layer of hardened volcanic ash (tufa) so soft that the path has been worn into a two-foot-deep groove by countless feet.

During the visit, we also went to several of our favorite restaurants. Still, the highlight has been spending time with family. That includes cooking with my grandson who always enjoys a day in the kitchen with Grandma and Grandpa. This time we made sugar cookies filled with Nutella. We also participated in a big kitchen blunder. I thought that French toast layered with apricot jam and baked in a waffle iron would be easy and delicious. The apricot jam ran out of the middle to two slices of bread and  necessitated a clean-up of the waffle iron  After the clean-up, we made unfilled French toast waffles. They were good with lots of maple syrup and without the mess.

RECIPES

Nutella Sugar Cookie Sandwiches

Nutella-filled sugar cookies made by my grandson

Nutella-filled sugar cookies made by my grandson

Ingredients

  • 3 cups flour
  • ½ teaspoon baking soda
  • 1 teaspoon salt
  • 2 sticks (16 tablespoons) unsalted butter, softened
  • 1 cup sugar
  • 2 eggs
  • 1 tablespoon vanilla extract
  • Nutella
  • powdered sugar for dusting (optional)

Method

  1. In a bowl, combine the flour, baking soda, and salt. Set aside.
  2. In thee bowl of a stand mixer, beat the softened butter until it is light and fluffy with the consistency of mayonnaise.
  3. Add the sugar and continue to beat until the mixture is soft but still “sandy”. Stop the mixer and scrape down the bowl.
  4. Add the eggs and vanilla, and continue to beat for about 1 minute.
  5. Add the flour mixture  and beat for another minute on low speed.
  6. Cover the bowl with plastic wrap and chill in the refrigerator for 2 hours.
  7. Place half of the chilled dough on a well-floured work surface.
  8. With a rolling pin, roll the dough into a circle, working from the center, until the dough is about 1/8 inch thick.
  9. With a floured cookie cutter, cut the dough into desired shapes, transfer to an ungreased cookie sheet, about 1 inch apart.
  10. Bake in the middle of an oven preheated to 375°F for 5 to 8 minutes or until lightly browned around the edges.
  11. Transfer the baked cookies to rack to cool completely
  12. To form sandwiches, spread half of the cookies with Nutella and top with the remaining cookies. Dust with powdered sugar if desired.

French Toast Waffles

Ingredients

  • 6 eggs
  • 1 cup cream
  • 1 cup whole milk
  • 3 tablespoons sugar
  • 1 teaspoon vanilla extract
  • 1/8 teaspoon grated nutmeg
  • 16 slices whole wheat sandwich bread

Method

  1. In a large bowl, beat the eggs until well-blended
  2. Stir in the cream, milk, sugar, vanilla, and nutmeg.
  3. Pour some of the mixture in a shallow pan, and dip 8 slices of bread into the mixture, turning to soak both sides. Replenish the egg mixture in the shallow pan as needed.
  4. Arrange two slices of the soaked bread on each square of a 4 x 4 waffle iron that has been pre-heated.
  5. Bake the bread slices until lightly browned.
  6. Repeat with the remaining 8 slices of bread
  7. Serve while still warm with butter and maple syrup.

8 Comments

Filed under Recipes

CRAB-STUFFED ARTICHOKES

A while back I wrote about a classic oyster and artichoke soup from New Orleans. Artichokes are among the  favorite ingredients for Louisiana cooks, both professionals and amateurs. It goes without saying that crab, along with shrimp and crawfish, is another favorite Louisiana ingredient. Combining the two is the basis for another popular Louisiana dish. I first enjoyed it many years ago when Susan and I were dinner guests of a great home cook in Ruston, Louisiana. Globe artichokes stuffed with a savory dressing is a welcome alternative to the usual artichoke bracts (leaves) dipped in aioli or Hollandaise.

Some Louisiana food authorities assert that stuffed artichokes – plain only or with shellfish – had their origin in Italian restaurants throughout the state and then became widely popular. That seems likely, because cultivated artichokes apparently had their origins in Sicily, and Italian cookbooks usually have many recipes using artichokes.  At the same time, I have only been able to find one recipe for stuffed artichokes – that by Giuliano Bugialli in the classic The Fine Art of Italian Cooking, first published in 1977. He stuffed his artichokes with pancetta or prosciutto.

In the USA, Castroville, California, seems to be the epicenter of the artichoke crop. The town dubs itself “Artichoke Capital of the World”, and you can see miles and miles of artichoke fields along the highway or through the windows of the train. Roadside stands abound.

The Louisiana crop is more modest, but it seems to meet the local need. We are nearing the end of the usual season, but with our present world-wide commerce, artichokes are available year around.

Whatever the origin of the recipe or the source of the vegetable, it is easy to see why stuffed artichokes are so popular. This recipe combines crab and Romano cheese, not considered by some to be a good combination. For me, it works.


RECIPE

Crab-Stuffed Artichokes

Ingredients

  • 2 large artichokes
  • 1 lemon, halved
  • 8 ounces crab meat, picked over for shells and cartilage
  • ½ cup dry bread crumbs + more for topping
  • ½ cup fresh Romano cheese, grated + more for topping
  • 1 large egg, lightly beaten
  • ½ teaspoon Creole seasoning or Old Bay
  • salt and pepper
  • 4 tablespoons unsalted butter, melted

Method

  1. In a stock pot boil enough water to submerge the artichokes. Squeeze the juice of the lemon into the boiling water and add the rinds. Add the artichokes, cover and boil slowly for 30 – 40 minutes or until an outer leaf is soft and can be removed easily. Drain and cool the artichokes.
  2. Prepare the artichokes for stuffing by cutting off the stem so that the artichoke can sit squarely on the work surface. Using scissors and starting up about 1/3 from the base, cut off the pointed ends of the outer leaves, working around the choke, trimming all the leaves until you come to the pink-hued inner leaves. Remove those leaves to expose the choke (also called the chaff). With a teaspoon, remove the fibrous chaff until the base of the artichoke is exposed and smooth. Set aside.
  3. Prepare the stuffing by combining the crab, bread crumbs, Romano, beaten egg, and seasonings in a small bowl.
  4. Working from the outer leaves inward and using a spoon, place a good teaspoon of the filling in the hollow of each leaf, reserving enough of the stuffing to fill the central hollow.
  5. Sprinkle the tops of the stuffed artichokes with additional bread crumbs and grated cheese. Drizzle the tops with melted butter and place the stuffed artichokes in the middle of an oven preheated to 400°F for 40 minutes. Serve while still warm. Eat by pulling off the bracts, one by one. Take a bite of stuffing and scrape the soft artichoke flesh off the bract between your teeth. Keep on working toward the center. Cut the center into bite-sized pieces.

18 Comments

Filed under Food, Photography, Recipes

RHUBARB PIE

What’s not to like about rhubarb pie? I can already hear you saying, “The rhubarb.”  The world seems to be divided into two camps: those (like me) who love rhubarb, and those who would rather eat just about any other fruit or vegetable.

As the stalk of a huge leaf, rhubarb is actually a vegetable even though it is classified by some as a fruit. It really can function as either one. When I was growing up, my grandmother had several huge clumps of rhubarb (often called “pie plant” in those days) growing in her back yard. A new crop of rhubarb was one of the first signs of spring, and I would delight in breaking off a stalk and, with salt shaker in hand, eating the whole thing like a rib of celery. The acidy, citrusy taste made my mouth pucker, a sensation loved by small children. It was a great treat.

Of course, I was warned by most of the adults not to eat the leaves, as they were supposed to be poisonous. I have later learned that the acid taste as well as the poisonous aspect of the plant is due to oxalic acid, which also accounts for the tart taste of sorrel and spinach. Indeed, if you eat too much, the usually water-soluble form of oxalic acid can precipitate as an insoluble calcium salt in your kidneys and cause kidney stones or even kidney failure. Medical alert aside, the amount of rhubarb eaten by a small child in one sitting is not likely to be harmful unless it includes those toxic leaves.

By far, though, the main use for rhubarb is as a fruit in sauces, compotes, jams, and the quintessential pie. To make all of that work, you need to use a lot of sugar, and that is probably one reason that rhubarb has fallen out of favor in our current sugar-conscious (note that I didn’t say sugar-averse: think canned soft drinks) society. If you are able to get over that hurdle, the color and flavor of cooked rhubarb continue to make it a springtime treat.

I found some beautiful stalks of rhubarb at the farmers’ market this last weekend, so I decided to make a rhubarb pie.

RECIPE

Rhubarb Pie

Ingredients

  • Pie dough for a 9 inch two-crust pie (use your own recipe or, as I did, cheat and use ready-made sheets)
  • about 6 to 8 stalks of fresh rhubarb (enough for 5 cups of ¼ inch to ½ inch pieces)
  • 1½ cups sugar
  • 1/3 cup all-purpose flour
  • ¼ teaspoon salt
  • ½ teaspoon vanilla extract
  • 2 tablespoons butter, cut into 32 pieces
  • cream
  • turbinado sugar

Method

  1. Follow instruction for preparing pie dough. Roll out or prepare two dough circles big enough for a 9 inch pie. Line a 9 inch glass pie pan with one of the circles, trimming the dough along the edge of the pie pan.
  2. Cut the rhubarb into ¼ to ½ inch pieces and place them in a large bowl.
  3. Combine the sugar, flour, salt, and vanilla in another bowl, mixing well. Add the mixture to the rhubarb and mix so that the rhubarb is completely coated.
  4. Fill the pie shell with the rhubarb mixture. Dot with the bits of butter. Cover with the second circle of pie dough, trimming, tucking under the other crust, and crimping.
  5. With a pastry brush, paint the top of the pie with cream. Do not paint the crimped edge. Sprinkle with turbinado sugar, and cut several vents.
  6. Bake for 15 minutes in the middle of an oven preheated to 450°F. Reduce the temperature to 350°F and continue baking for 40 minutes or until the crust is golden brown.
  7. Cool on a baking rack. Best when served warm with vanilla ice cream or whipped cream.

4 Comments

Filed under Food, Photography, Recipes

FARMERS MARKET IN SANTA FE

After a chilly and wet few weeks, the spring growing season in the Santa Fe area has finally taken off, and the farmers market has moved outside from the pavilion where it is located during the winter. For the past couple of weeks, the offerings have been largely restricted to greens, eggs, bedding plants, and a few radishes. Today, the bounty of the season is beginning to come in, and I felt a little like the proverbial kid in the candy store. I arrived  early in the morning, just as the sun was slipping above the roofs, and before the vendors had finished setting up their booths. I took the opportunity to stroll around to look at the offerings and to watch the vendors before they got too busy. I saw one of my old farmers market friends, a woman about my age who had moved from Ruston, Louisiana. Over the years we have traded Louisiana stories. She specializes in garlic. She doesn’t have scapes yet, but I will definitely get some green garlic to make soup.

The stall at the head of the aisle had every salad green imaginable on display. When the crowds come, they always have a long line of eager customers. During my stroll, the farmer across the aisle came over to announce that there were new rules that prohibited more than four customers in line at any one time. Everyone had a good laugh. There were baked goods galore, and they all looked delicious. But I was on a mission and also a diet, so I was able to resist them. Inside the pavilion, the usual dairies were selling all sorts of varieties of cow and goat cheese. Nearby, the mushroom lady was filling baskets with shiitakes and oysters.

As the stalls opened for business, I made my purchases. Honestly, I had to resist some impulse buys. I always wind up buying more than I can cook, so I tried to be judicious. When I got home, I unpacked my bag to see what I had purchased and what I needed to plan on making during the next week

A bag of good food

A bag of good food

There was feta cheese from the Old Mill Dairy, along with shiitake and oyster mushrooms from the mushroom lady. I also found some long, slender, tender spears of green asparagus, fingerling potatoes, and organic ground beef.  The mushrooms seem to beg for a creamy risotto.

My purchases

My purchases

Of course, there was an abundance of radishes and other root vegetables. I wound up buying some French breakfast radishes. I plan to have those this evening with salt and thick chunks of bread spread with cultured butter from Sarah.

French breakfast radishes, cultured butter, salt, and crusty bread

French breakfast radishes, cultured butter, salt, and crusty bread

As for the other stuff, I’ll just have to think of what to do with it. After all, I have another week before I head back to the market.

6 Comments

Filed under Food, Photography