
Fresh corn on the cob is in season, and we always try to take advantage of the harvest before it’s over. Our favorite way to prepare fresh corn is to boil it for a few minutes, slather it with butter, season it with salt and pepper, and eat it directly off the cob. In our family, there are those who use the circular approach, eating the kernels in orderly fashion as they turn the ear of corn in their hands, and there are those who use “the typewriter” approach, working systematically from one end of the ear to the other before starting over. Either way seems to work.
Very atypically, we had some boiled ears left over after a recent meal, but I didn’t want them to go to waste. My first thought was to make corn soup or chowder. That can be delicious as we found out when Sarah and Evan served it at one of their demonstrations in Shreveport. Then I remembered, I had some leftover bacon (Is there such a thing as leftover bacon?) and that made me think of waffles.
First, I cut the corn kernels off the cob using my special corn cutter. It really doesn’t work all that well, but it is one of those gadgets I am reluctant to throw away. I think a sharp chef’s knife works as well or better. I roasted the corn by popping it in a medium oven for twenty minutes until some of the kernels were lightly caramelized. Then I added the roasted kernels to the cornmeal-based waffle batter and went from there. Here’s the recipe.

Corn kernel cutting tool

Waffle iron

Roasted corn
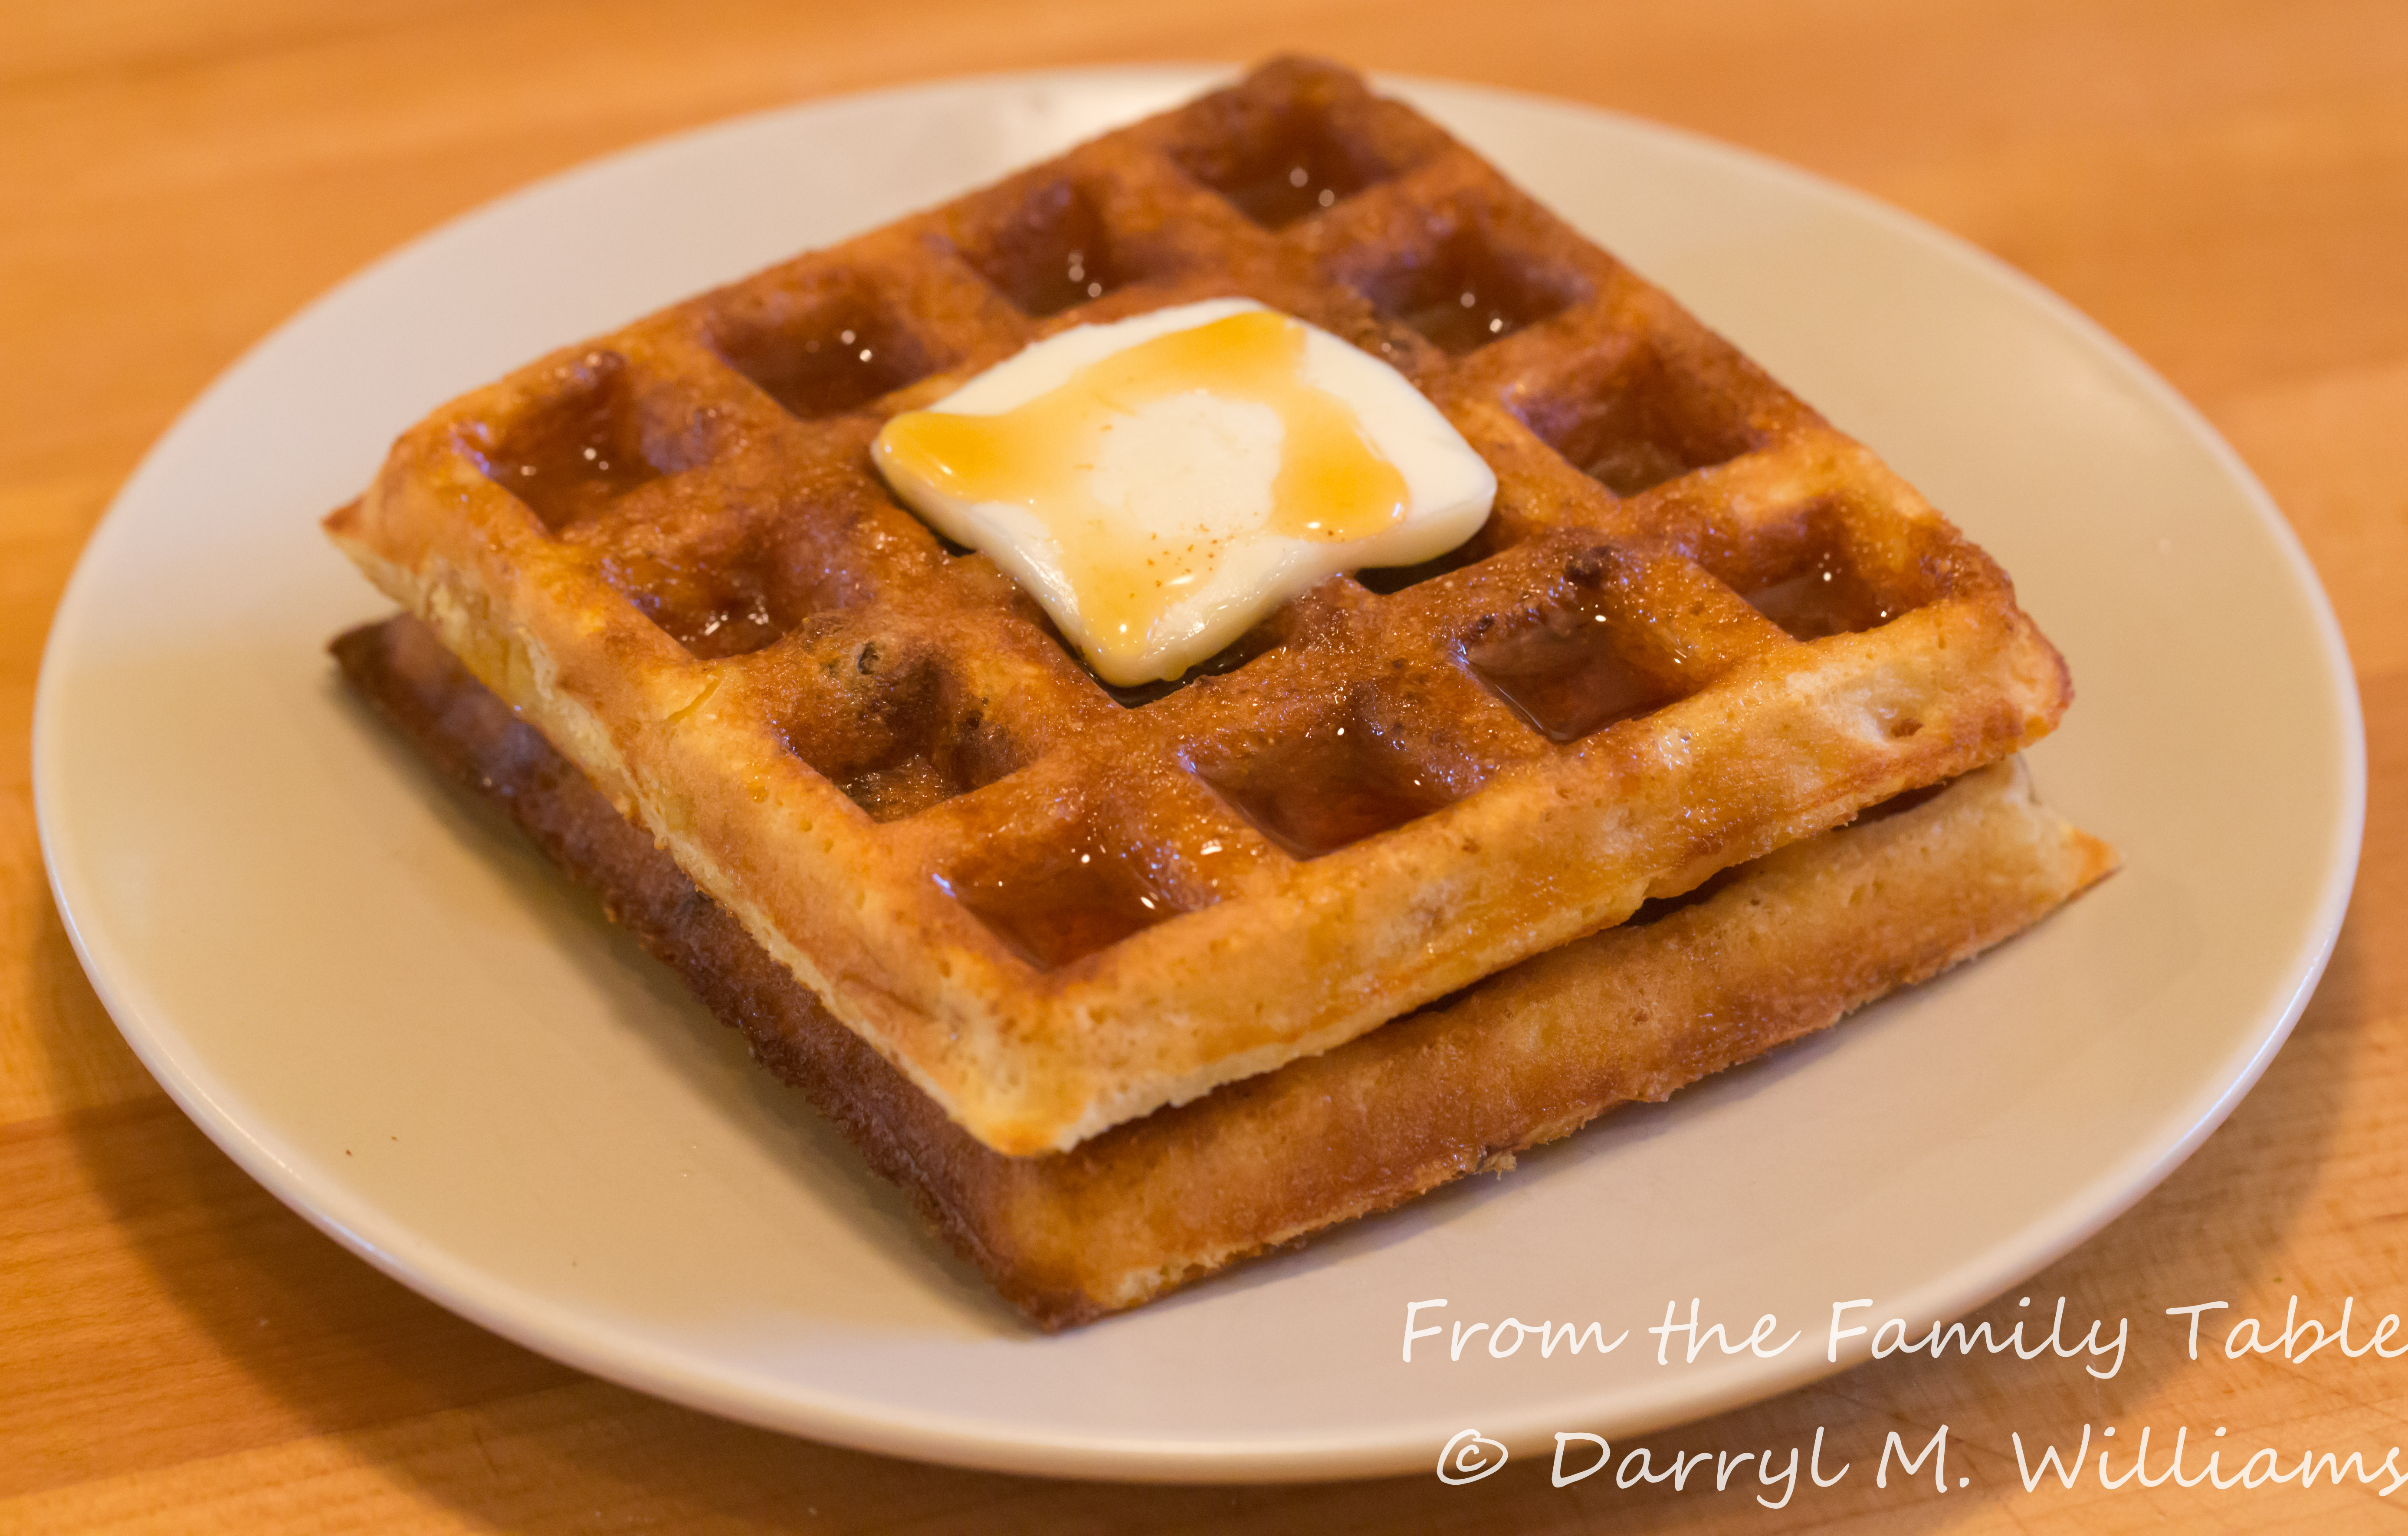
Roasted corn and bacon waffles with butter and maple syrup
RECIPE
Roasted Corn and Bacon Waffles
Ingredients
- 2 ears boiled corn
- 2 eggs
- 1¾ cups buttermilk
- 1 cup all-purpose flour
- 2 teaspoons baking powder
- ½ teaspoon baking soda
- 1 tablespoon sugar
- ½ teaspoon salt
- 1 cup yellow cornmeal
- ¼ cup melted bacon fat
- 8 slices of bacon, cut into 1 inch squares
Method
- Cut the kernels of corn off the cobs with a sharp knife or with a special tool. Place the cut kernels in a rimmed baking sheet and place in the middle of a pre-heated oven at 350° F. Turning every five minutes, roast the corn kernels until they are lightly browned. Remove from the oven and cool.
- In a large bowl, beat the eggs lightly. Then stir in the buttermilk.
- In a separate bowl, combine the flour, baking powder, baking soda, salt, and cornmeal, whisking together with a spoon or fork
- Combine the dry ingredients with the liquid ingredients until smooth
- Stir in the roasted corn kernels.
- Add the bacon fat, and stir until incorporated.
- Ladle the batter into a heated waffle griddle, making sure the corn is well mixed in. Then sprinkle 4 to 6 bacon pieces on each waffle segment.
- When the waffles are brown, repeat until the batter is used up.
- Serve the waffles while still warm with a poached or fried egg on top or with butter and maple syrup.
- Makes 8 to 10 4½ inch square waffles.