The first real blast of winter is due to hit us in the next few days, so we have definitely moved into winter, and the holiday season is fast upon us. (Here if you count Halloween.) One of the best things of the season is that it is time for the fresh crop of nuts of all kinds. For me, they are really a sign of the season. When I was a child, my mother would always set out a big bowl of English walnuts, hazel nuts, almonds, Brazil nuts, and pecans. My father could shell and eat a bowl by himself. Later on, there were other good memories associated with nuts, especially pecans.
I remember a trip through southern Louisiana when Reggie and I, along with a couple of friends set out on a quest to find the best pecans and pork cracklings. Both are recognized as two of the great pillars of Cajun cuisine. We went from plantation to plantation, along with more than one country store. I confess, we also had more than one or two Abita or Jax beers. (Unfortunately, Jax beer no longer exists, and the brewery has become a trendy tourist shopping center in the French Quarter.)
Another memory is of my father-in-law sitting on the porch of his East Texas country house shelling pecans with his special nutcracker that got the nuts out whole. He would spend hours doing that, not saying anything and just looking out at the sunset. He definitely preferred that to going inside and getting caught up in what he considered a trivial conversation.
We, too, always spent hours shelling pecans that we bought at a seasonal market down the street. They sold the nuts already cracked, so you had to shell them immediately before they spoiled in the shell. Of course, pre-cracking came with a premium. In those days, that added a dime to the cost, bringing the nuts to the price of 89 cents a pound. Today, shelled pecans have become a luxury, costing anywhere from $12 to $20 a pound. Even so, they remain a treat that I look forward to every year.
Our daughter, Carol, and her son are going to visit us this next week, so I will have some pecans ready for them. Then I will take the leftovers to our Thanksgiving celebration with the rest of the family. Here are three very simple recipes for pecan halves that I have gathered over the years. Every one is delicious in its own way.
RECIPES
Salted, Butter-Roasted Pecans
This is the simplest recipe, using only pecans, butter, and salt. The recipe comes from my mother. You can dress it up in lots of different ways. I have substituted kosher and Maldon sea salts for regular salt, but you could use garlic salt, onion salt, cumin, chili powder, or whatever powdered flavoring you can think of.
Ingredients
- 4 cups raw pecan halves
- 4 tablespoons butter
- salt to taste
Method
- Preheat oven to 250° F.
- Arrange the pecans in a baking pan and top with the butter, unmelted and cut into eight pieces. Place on the middle rack of the oven.
- Roast for 20 minutes, stirring frequently to distribute the butter as it melts and to check for burning.
- Remove from the oven. Sprinkle with salt or other seasonings to taste. Cool.
- Transfer to a plastic bag and store in the refrigerator. Bring to room temperature before serving.
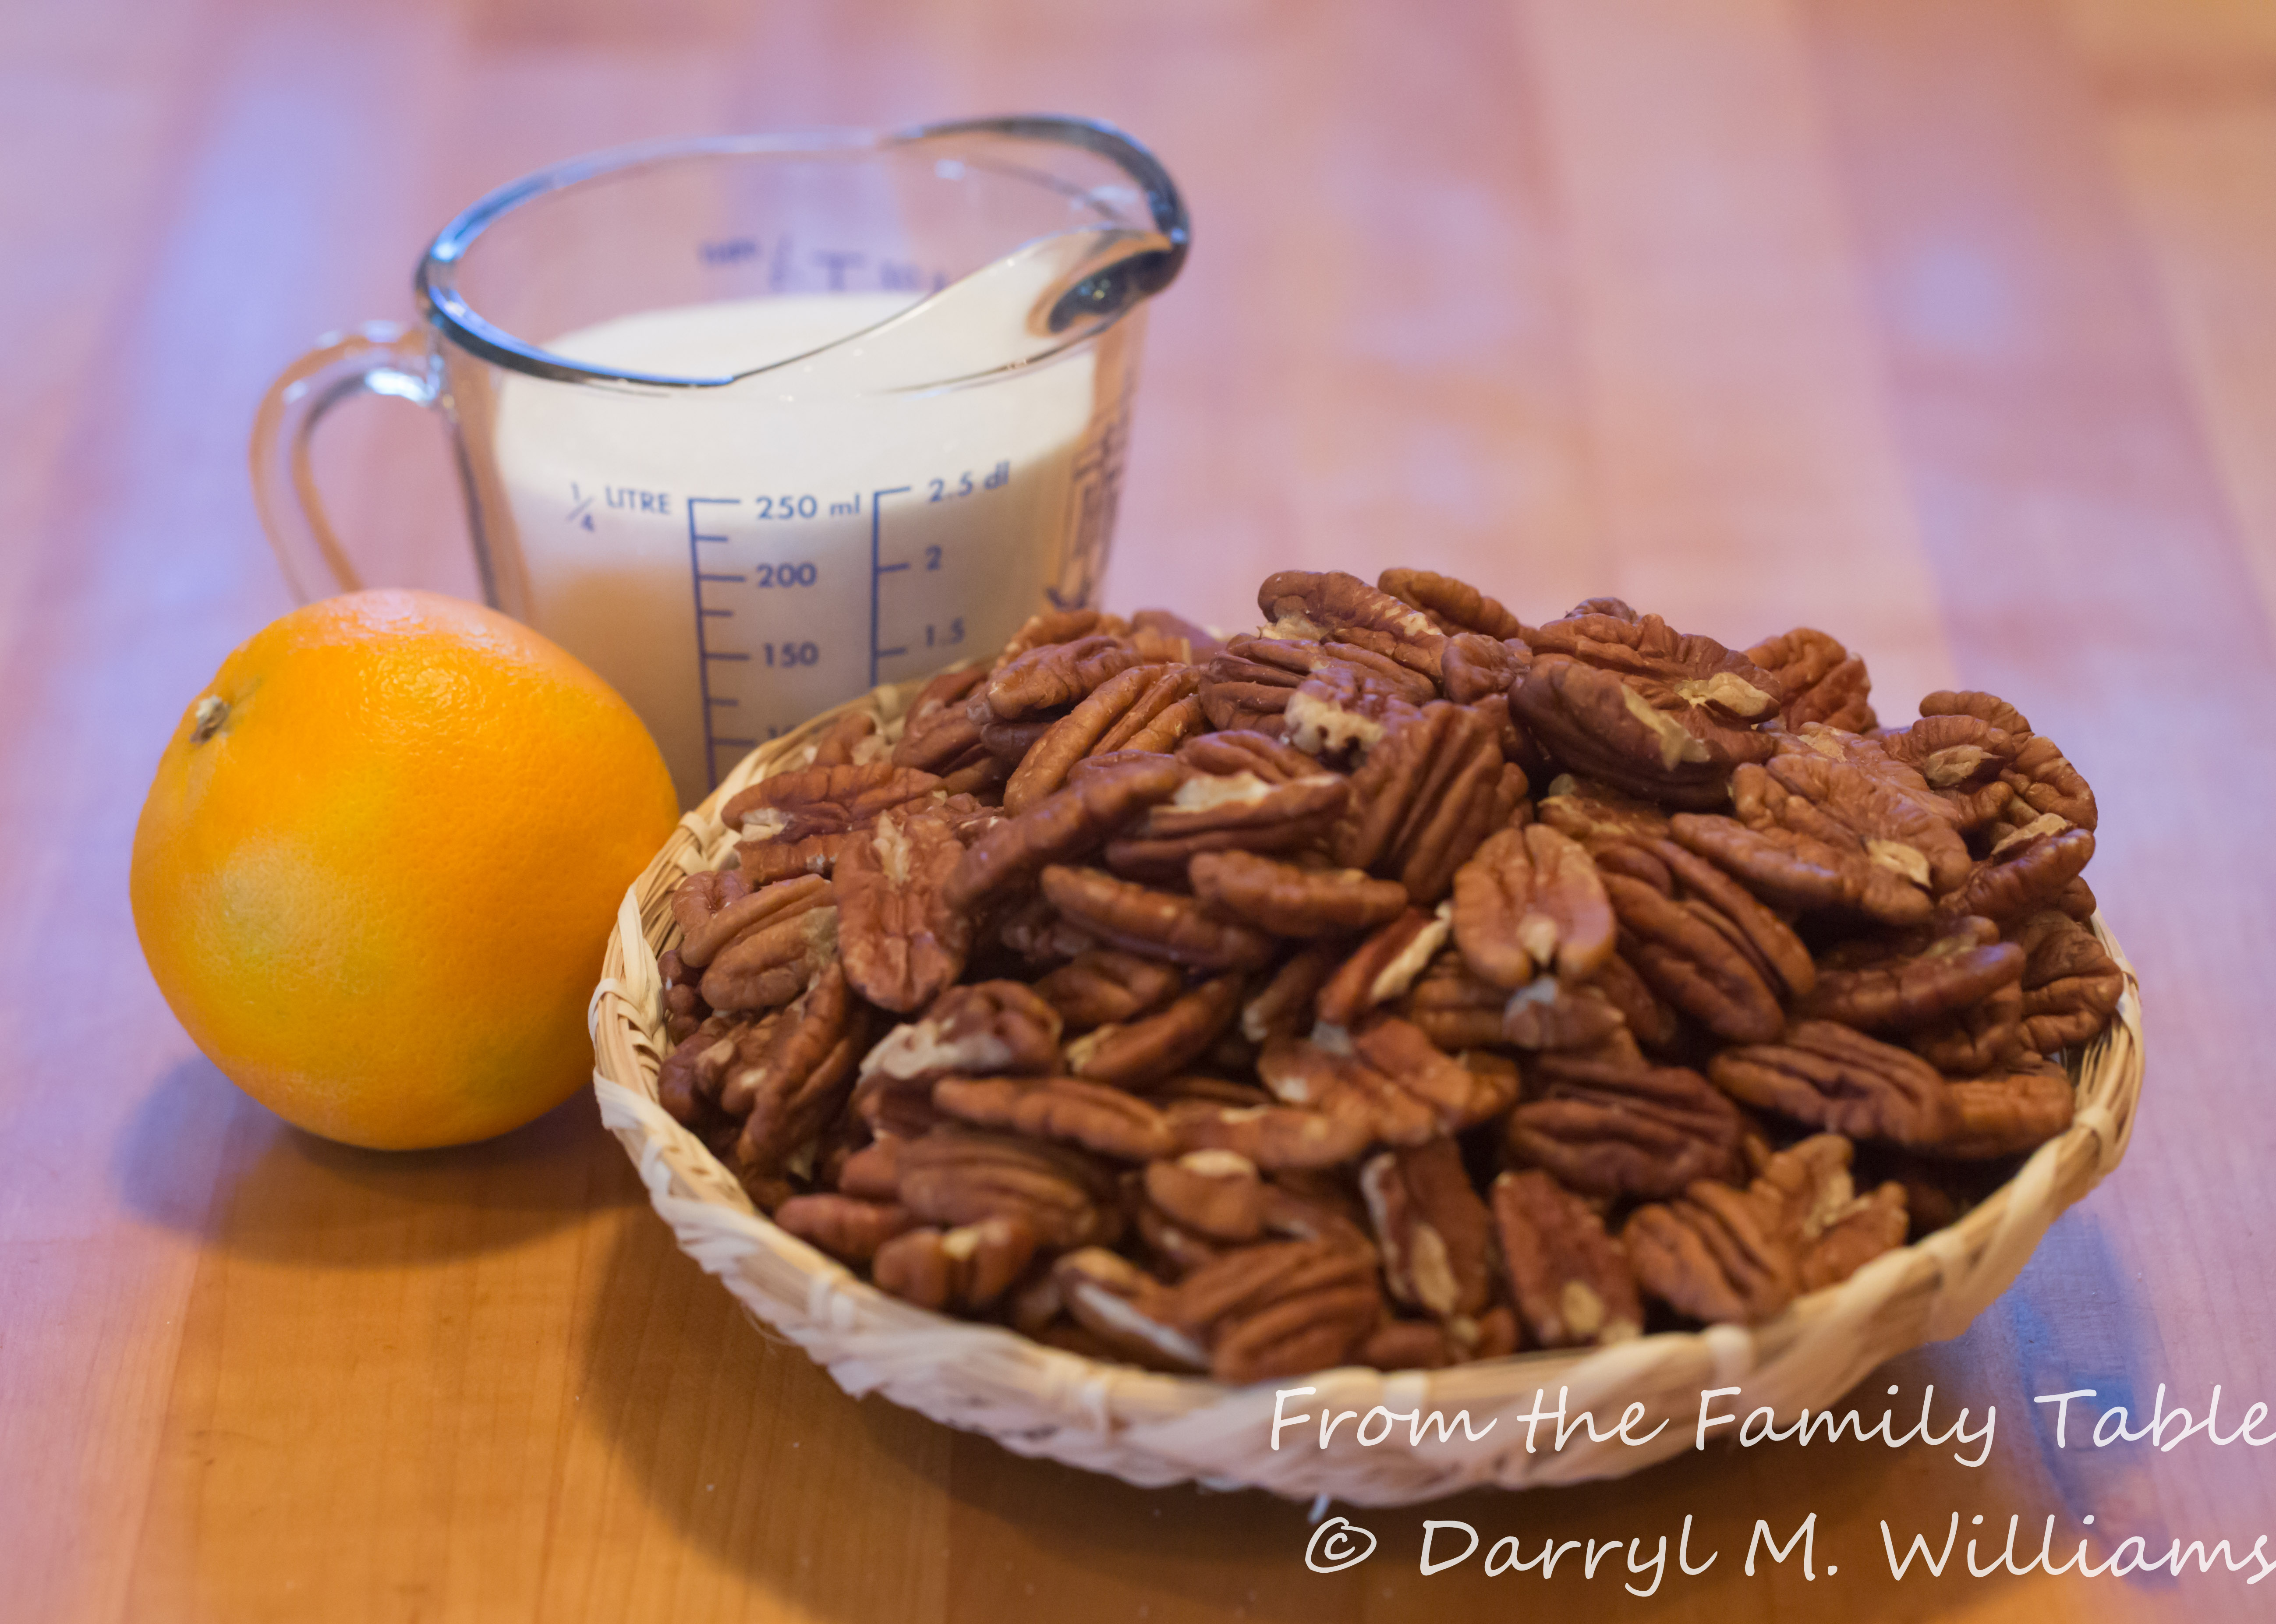
Karen’s Orange Pecans

Many years ago I received a Christmas gift of pecans from my secretary. They were so good, that I asked her for the recipe, and she obliged. The pecans are sweet and almost a candy, but many folks enjoy them as a snack with cocktails.
Ingredients
- 1 cup sugar
- 1 medium orange, zested and juiced
- 4 cups raw pecan halves
Method
- Combine the sugar, orange zest, and orange juice in a heavy sauce pan that is big enough to hold the pecans comfortably.
- Bring to the boil over a medium flame. Then stir in the pecan halves.
- Continue to boil and stir until the pecans are completely coated, and the syrup is completely absorbed.
- Remove from the heat and continue to stir until the pecans are separated and sugary.
- Spread on wax paper to cool.
- Transfer to a plastic bag and store in the refrigerator. Bring to room temperature before serving.
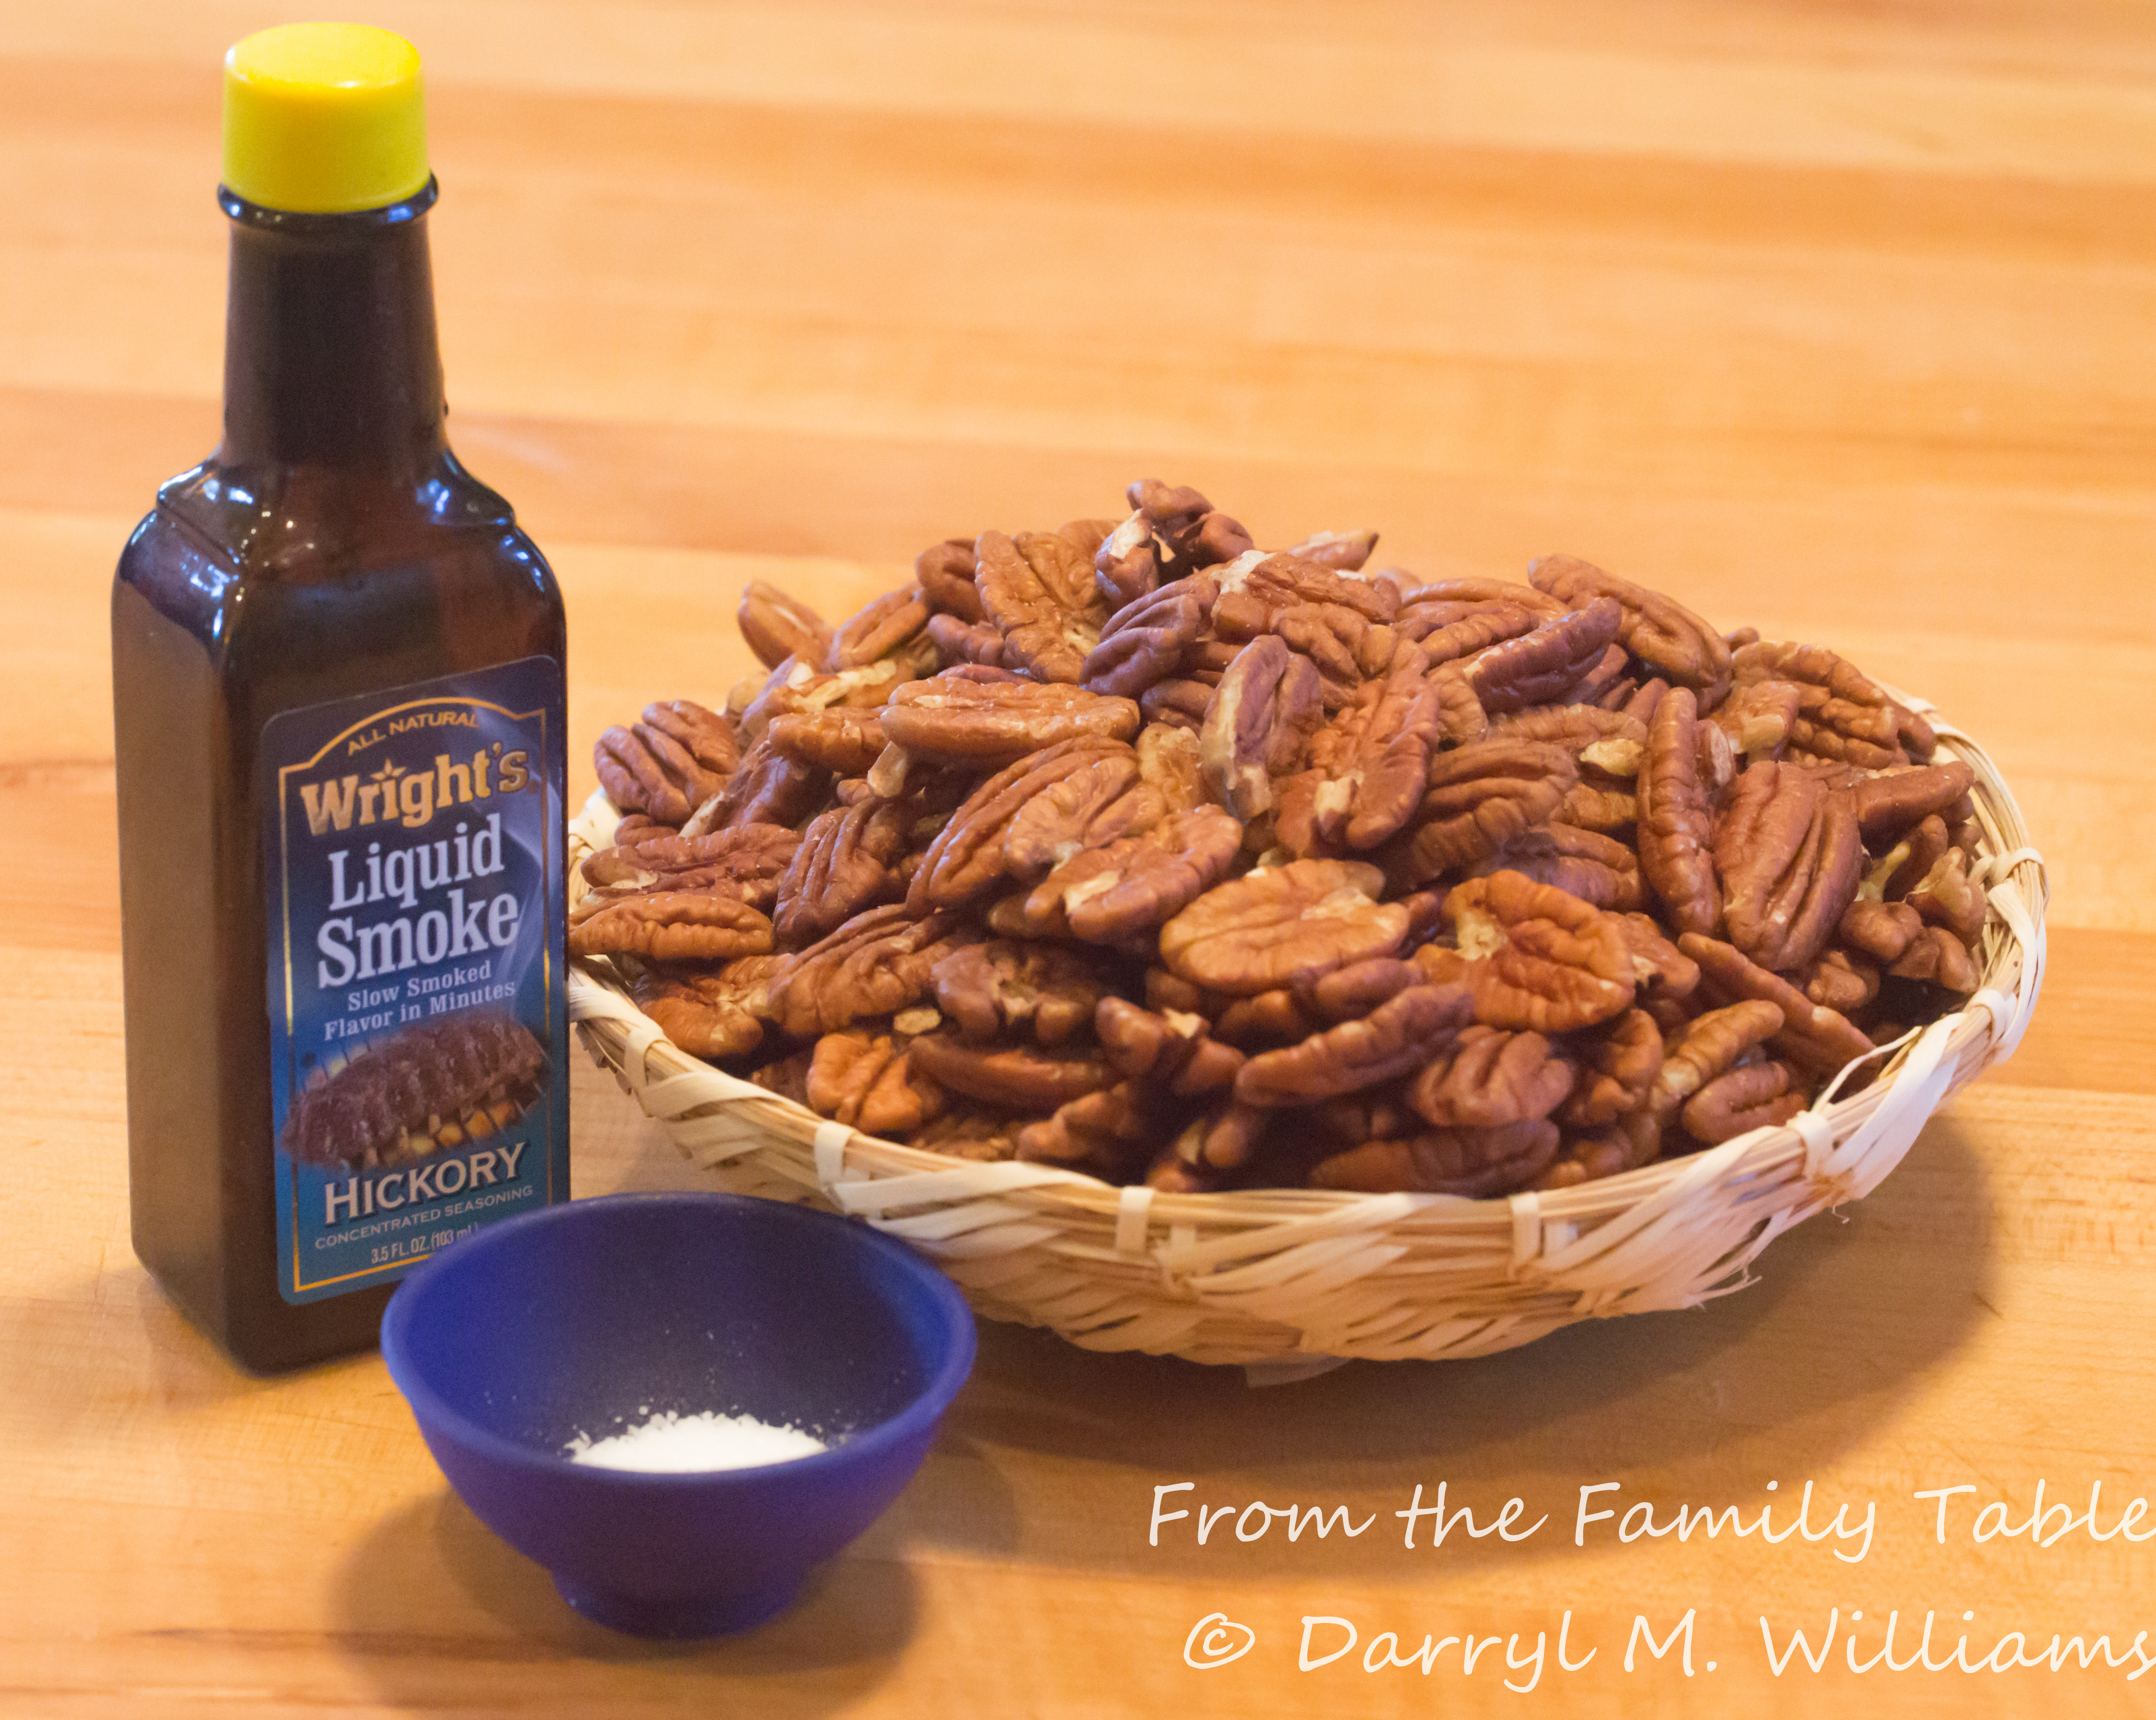
Jean’s Texas Barbecue Pecans

Mis en place for Jean’s Texas barbecue pecans
This recipe comes from a good friend who grew up in Texas and spent much of her adult life there. These are smoky and salty, so it is nearly impossible to eat only one when you have a drink in hand. My philosophy is why worry.
Ingredients
- ½ cup liquid smoke
- ¼ cup water
- 1 teaspoon salt
- 4 cups raw pecan halves
Method
- In a mixing bowl, combine the liquid smoke, water and salt. Stir until the salt is completely dissolved.
- Stir in the pecans with a slotted spoon. Let stand for 1 hours, stirring several times to make sure the pecans are completely coated with the liquid smoke mixture.
- Transfer the pecans to a baking pan, using the slotted spoon to make sure the liquid is well-drained.
- Bake in the middle of an oven preheated to 300° F for 20 minutes, stirring frequently. Bake a few more minutes if the nuts have not dried out, but watch carefully to avoid burning.
- Remove from the oven. Cool.
- Transfer to a plastic bag and store in the refrigerator. Bring to room temperature before serving.

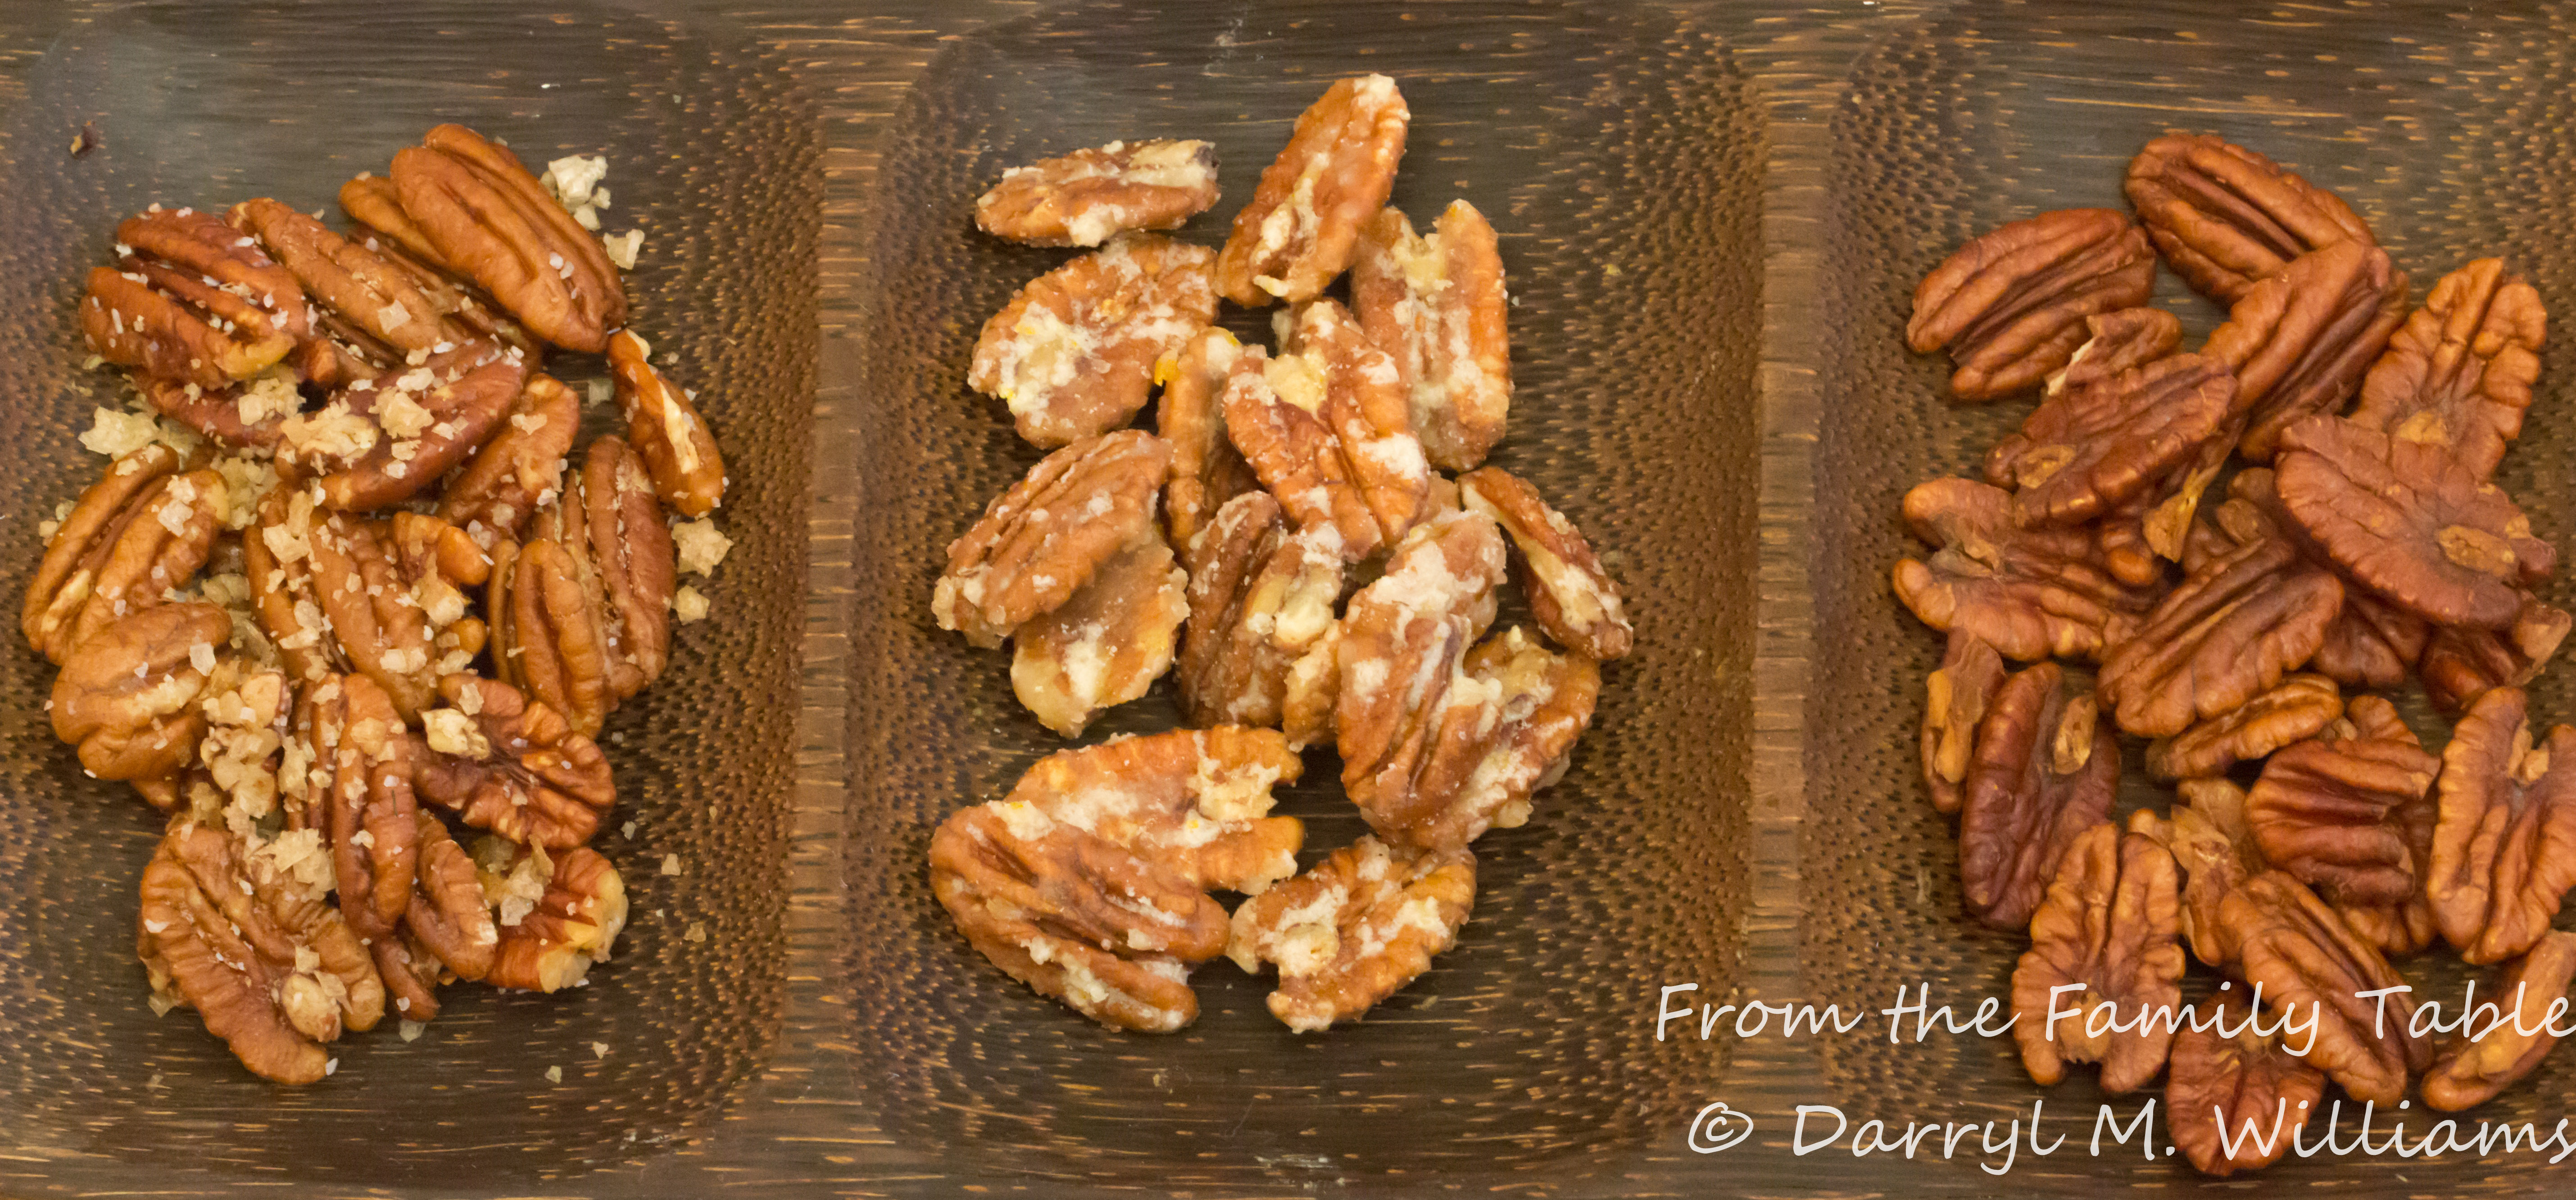
From left, salted butter-roasted
pecans, Karen’s orange pecans, Jean’s Texas barbecue pecans