Monthly Archives: January 2015

PRESERVED MEYER LEMONS

This is the time of year when you can find Meyer lemons in abundance in California, especially in the Bay Area. They are delicious and very different from the usual Eureka lemons you find in the grocery store. At their best, Meyer lemons are large, nearly the size of oranges, and a beautiful golden-yellow color richer than store-bought lemons. They have a citrus smell that seems like a cross between lemon and orange, and they are sweeter than Eureka lemons, though not so sweet that you would eat one out of hand.

With the abundance and special qualities of Meyer lemons, California chefs – and even those in Santa Fe – go crazy with Meyer lemon curd, Meyer lemon pie, Meyer lemon cake – you get the idea.

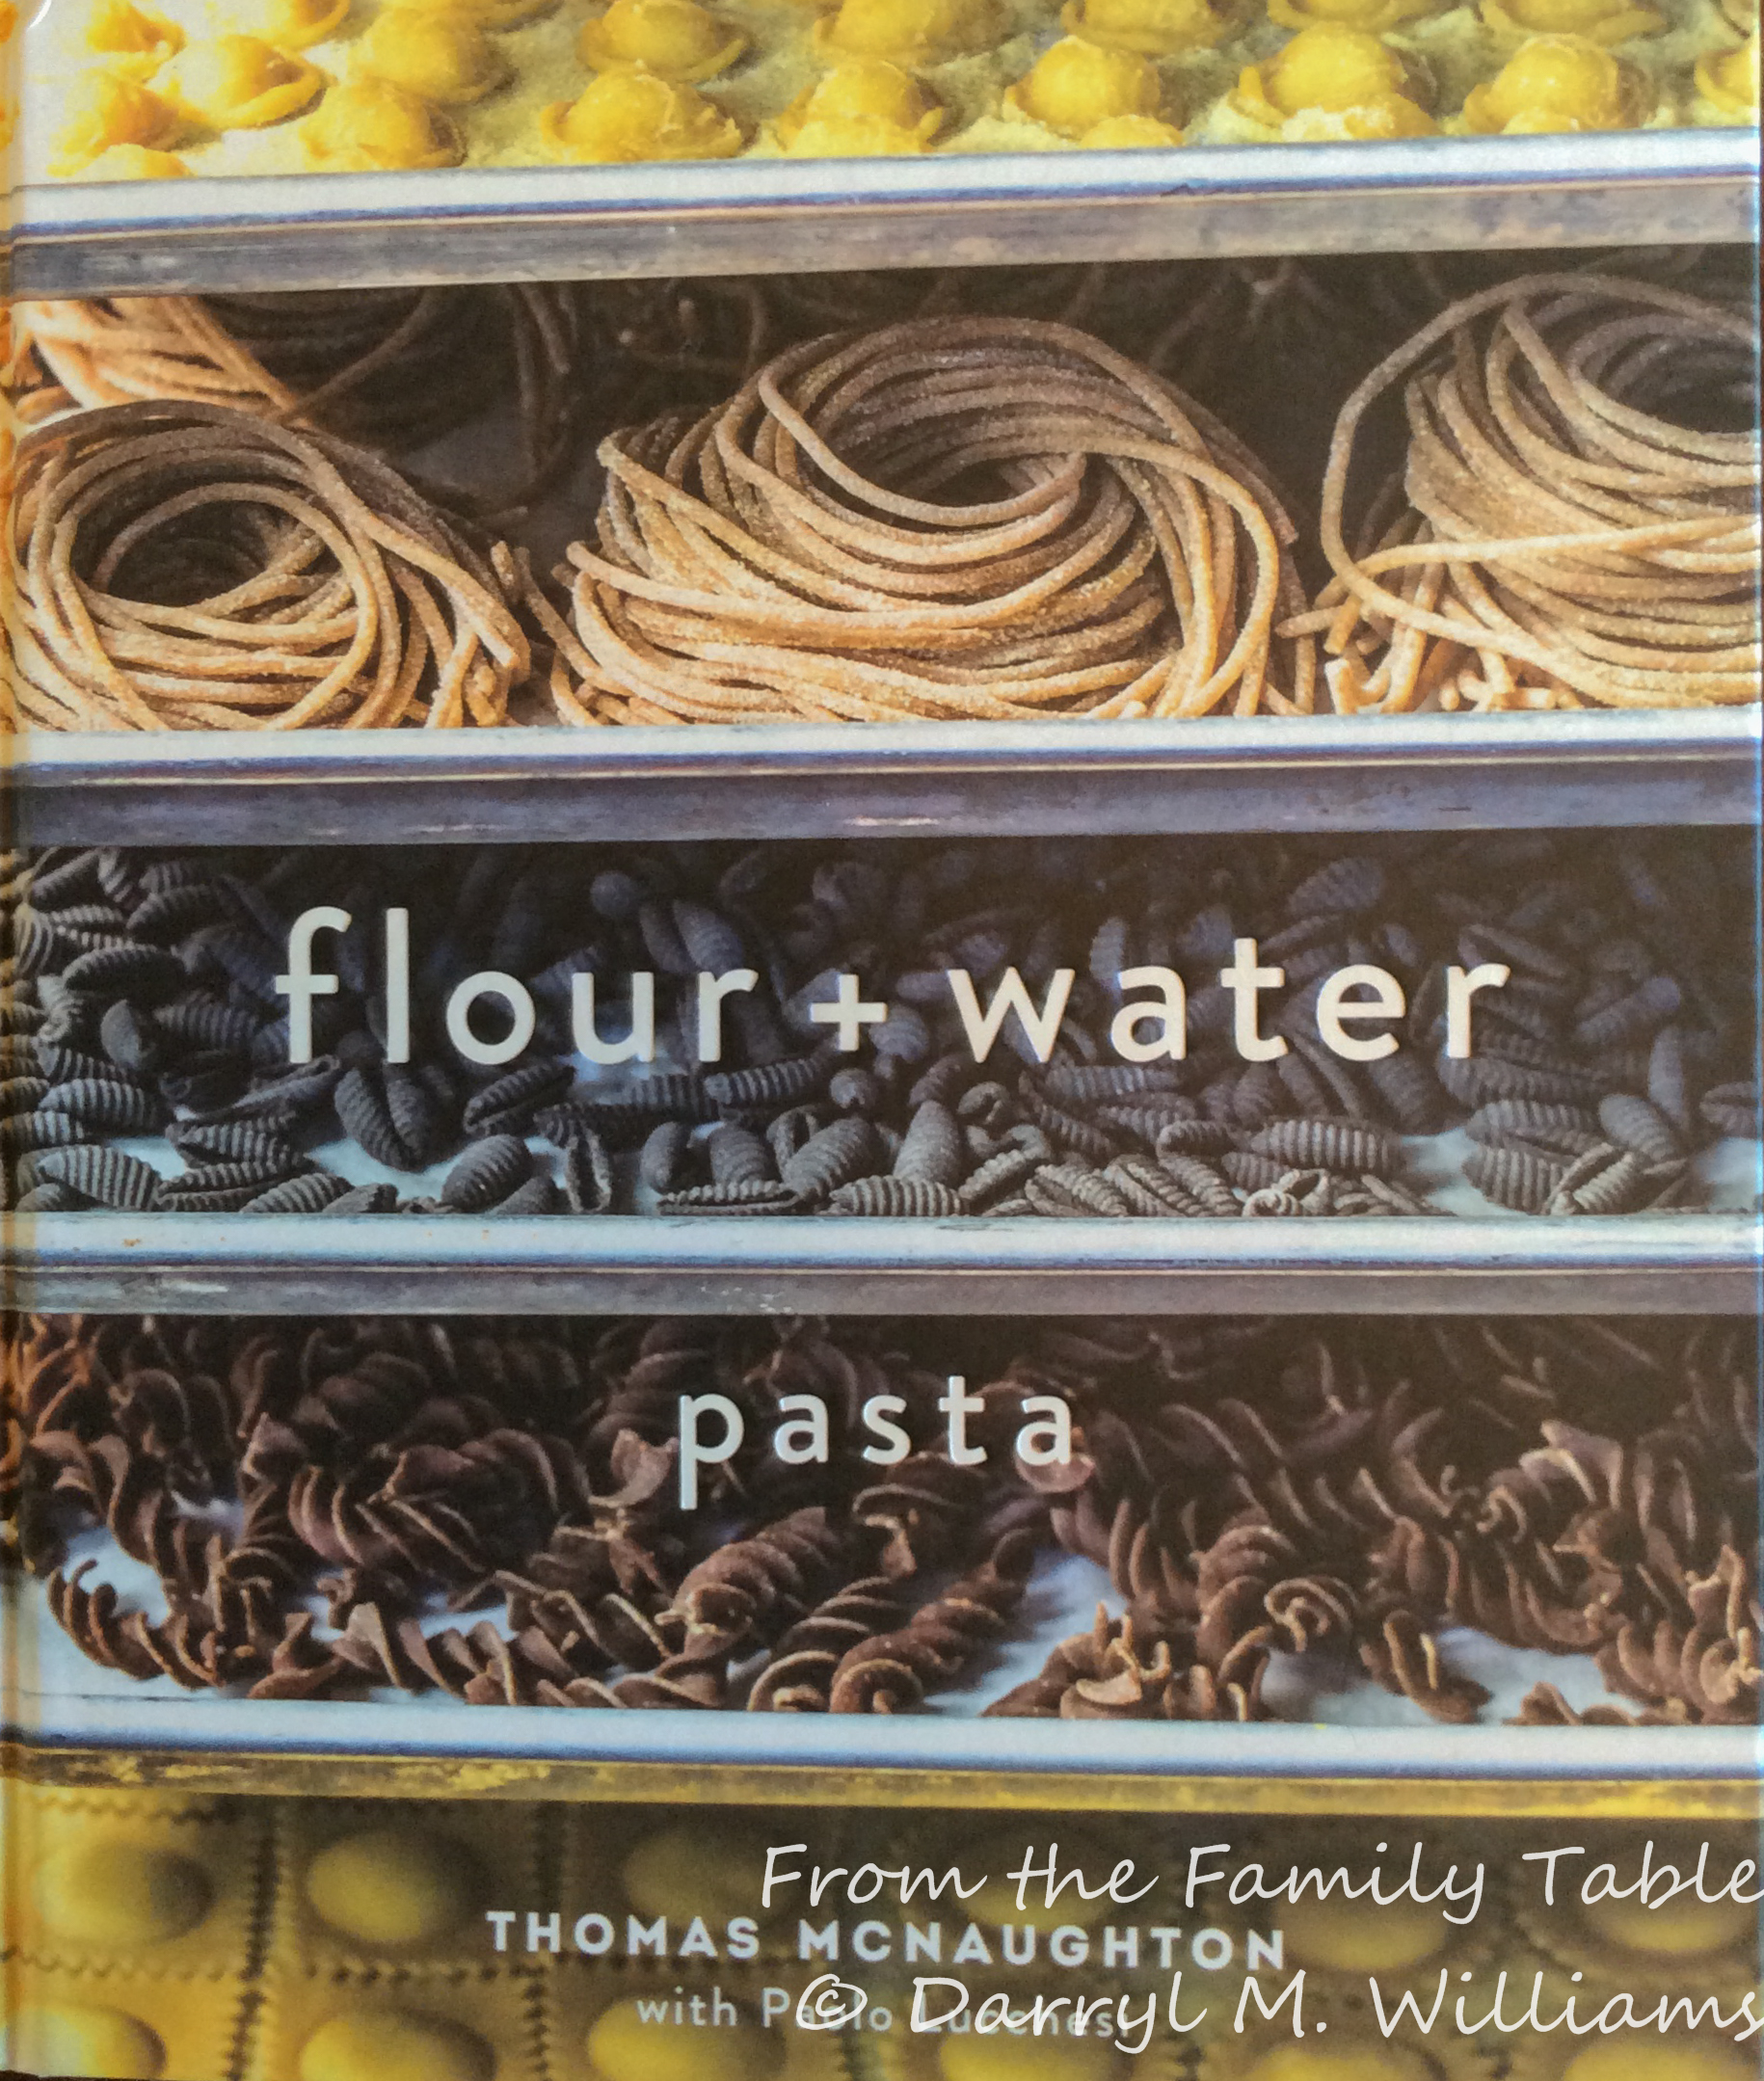
On our recent trip to San Francisco, I found some beautiful Meyer lemons at the Marin Farmers’ Market in San Rafael. I bought a couple of pounds, and brought them home in my checked bag. I didn’t have any specific plans for them, so I leafed through some of my new Christmas-gift cookbooks from the Bay Area. Thomas McNaughton, chef at Flour+Water, had an interesting recipe for preserved Meyer  lemons in his book, so I thought I would give that a try.

I followed McNaughton’s recipe (sort of) with the plan of making a gallon of preserved lemons. I had to buy a gallon-size glass jar, and unfortunately I wound up not having enough Meyer lemons. I found some at our local Whole Foods, offered in little net sacks. The lemons were literally a pale comparison with my California beauties. They were yellow, small, and blemished with soft spots. Still, I bought them, and wound up needing about 7 pounds of Meyer lemons in total to complete the recipe.

Preserved lemons are a tradition in the cuisines of North Africa. The basic preservation method is brining, so most cooks wind up not using the flesh or juice, but just the peels, finely cut, to provide a citrusy taste to many things including meats and stews. (there are some recipes for using the flesh, but it must be incredibly salty.)  Cookbooks provide an abundance of methods for preserving lemons. Sandor Katz describes the basics in his encyclopedic, The Art of Fermentation and Deborah Madison gives a simple recipe in Vegetarian Cooking for Everyone.

McNaughton’s recipe calls for way more salt than I used. Even at that, the undissolved salt sits at the bottom of my jar of lemons as they preserve away in the coolness of the garage. Sugar and spices make McNaughton’s recipe unique, and I followed his guidance.

RECIPE

Preserved Meyer Lemons

Ingredients

  • 7 pounds large Meyer lemons
  • 6 cups pickling and canning salt
  • 2 cups sugar
  • 2 pieces star anise, broken into smaller pieces
  • 1 teaspoon fennel seeds
  • 1 teaspoon coriander seeds
  • 1 teaspoon whole black peppercorns
  • 2 teaspoons red pepper flakes
  • 2 large bay leaves, crumbled

Method

  1. Sterilize a 1-gallon glass container with non-reactive lid by boiling in water for 10 minutes or washing in dishwasher set on hot.
  2. Wash and dry the lemons.
  3. In a large bowl, combine the salt, sugar, and spices.
  4. Prepare the lemons by slicing them in half from the pointed end to the stem end, stopping ½ inch from the base. Turn the lemon one-quarter turn, and make a similar cut so that each lemon has four quarters joined together by the uncut portion.
  5. Pour ¼ inch of salt-sugar mixture into the bottom of the glass jar.
  6. With a tablespoon, sprinkle a heaping tablespoon of the salt sugar mixture into the cut lemons, one by one, and then arrange them, cut-side up, in the jar. Pack tightly.
  7. When you have a layer of lemons packed in the jar, sprinkle more of the salt-sugar mixture on the top, pressing down with a potato masher to express as much juice as possible.
  8. Layer by layer, continue packing the jar with prepared lemons and adding a layer of salt-sugar mixture on top of each layer.  Continue to press down each layer with the potato masher. Top the lemons with more salt-sugar mixture, seal the jar, and set it aside for 48 hours.
  9. At that time, add more salt-sugar mixture and, if necessary, lemon juice so that the lemons are completely covered. Seal the jar tightly and set in a cool, dark place for three months.
  10. When the lemons have been completely preserved, store them in the refrigerator for up to a year.

Notes

  • Other recipes call for less salt, and I think you could cut back on the salt.
  • Use pickling and canning salt. Regular table salt may leave a residue from the anti-caking agent that is used.
  • The lemons must be completely covered with liquid, otherwise they are likely to spoil.
  • Use tongs when removing lemons for use. Hands, no matter how clean, may introduce organisms that can lead to spoiling.
  • Rinse the lemons well before use, as they will be quite salty. Use the rind and discard the flesh – unless of course you want to experiment with it.

4 Comments

Filed under Food, Photography, Recipes

THIRTY YEARS OF CHEFS’ HOLIDAYS

There’s no recipe in this post or much discussion of food. Honestly, I just wanted a chance to show some of my images from our recent visit to the Ahwahnee Hotel in Yosemite National Park.

Yosemite National Park is one of the true gems of the national park system in the United States. It was viewed as a treasure by the Native Americans who lived in it, and by early settlers and prospectors. Even shortly after gold rush days, there were efforts to protect Yosemite Valley. In fact, it celebrates its 125th anniversary as a national park this year. If you have visited the park, you know what a special and magical place it is (sans other tourists, if you could wish it). If you have never visited, it is a must on your list of places to visit.

The Ahwahnee Hotel, by itself, is a place that deserves its own spot on your list. The hotel was opened in 1927 at a cost approaching $2 million – a huge sum in those days. The story is that earlier lodging in the park could best be described as “rustic”. Many wealthy tourists including Lady Astor refused to visit because of the primitive conditions. For that reason the hotel was envisioned for that clientele. It was built in a grand style but in a fashion that blended into the beautiful mountain surroundings. Fearful of fires that had already destroyed more than one national park lodge, the builders used reinforced concrete stained to resemble California redwood. Even today, the eye of the visitor will be fooled by the exterior of the building.

Of course, the hotel has been modernized to remain attractive to demanding guests, but many of the original details including giant fireplaces, intricate woodwork, artwork, detailed floors, and even wooden ice chests on each guest wing have been preserved. The main dining hall is in the impressive style of many of the classic national park lodges. The food is definitely a cut above the fare in other national park lodges.

Most agree that the best time for a visit to Yosemite and the Ahwahnee is in the spring when the many waterfalls are at full flow. Next-best may be the autumn with colorful foliage and Indian Summer weather. Summer is beautiful with the only downside being the wall-to-wall humans.

Winter is clearly the low season. Snows can be fierce, and more than one visitor has gotten lost and frozen during an ill-conceived hike. The plus side is that there are many fewer visitors. That has posed a problem for the famous Ahwahnee Hotel. Unlike many of the grand old hotels of the national parks, the Ahwahnee stays open all winter, so it needs to attract as many guests as possible. They do that with various special activities.

The Bracebridge Dinner is a tradition that goes back to the first year that the hotel was opened. The dinner is a festive occasion with English period costumes, entertainments, and foods. It is extremely popular and becomes oversubscribed very early.

The Vintners’ Holiday is a gathering of thirty or more California vintners and guests who talk about things wine-related and wind up with a festive dinner complete with carefully paired wines.

For the past 30 years, the hotel has been sponsoring its Chefs’ Holiday. There are back-to-back sessions that run through January and early February. This year, there will be a delay of a few hours on Super Bowl Sunday so that football fans/food enthusiasts will not need to miss either event.

The Chefs’ Holiday attracts many well-known chefs and food writers, predominantly from California, but actually from all around. This is the second year for Sarah and Evan, but other chefs and writers include Kent Rathbun from Abacus in Dallas, Nancy Silverton and Mary Sue Milliken from Los Angeles, as well as Duskie Estes, Elizabeth Faulkner, and Zoi Antonitsas of television competitive cooking fame.

Guest chefs provide a short demonstration of one of their signature dishes and then host a tasting. Each session ends with an elaborate dinner prepared by the chefs, complete with carefully paired California wines.

It is fair to say that the Ahwahnee staff  is doing their part to assure a successful winter season in Yosemite.

2 Comments

Filed under Photography, Restaurants, Travel

LAMB MEATBALLS, MINT-PARSLEY PESTO, POTATO GNOCCHI

Every Friday evening, our village market holds a wine tasting which has become a neighborhood gathering. The market owners use the event as an opportunity to introduce new products. One that caught my eye recently was a package of potato gnocchi imported from Italy and made by Del Destino Foods with the advantage that they required no refrigeration and could be stored in the pantry.

I very much like well-made gnocchi, although they are somewhat hard to find, even in good restaurants. They are often too leaden or else disintegrate rather than being the fluffy cloud like pillows that they can be. I’ve tried to make my own, but they take a bit of work and mine have really been no better than others. I was inspired to buy a package of cellophane-wrapped gnocchi for a trial at home. I could have just opted to cook them according to directions and  top them with olive oil and grated Parmesan.

Instead, I decided to combine them with lamb in the form of meatballs along with mint pesto. (What’s a better combination than lamb and mint, right?)

To make the meatballs I used a #60 scoop. I didn’t know what that meant, so when I looked up scoops, I learned that they are assigned a number according to size, the number referring to how many scoops it takes to make a quart. So a #60 scoop holds about ½ ounce, level, and more when heaping. In this recipe, you should expect about 30 meatballs.

I liked the way everything turned out, and the gnocchi were good, not great. At least they were not sinkers, they had a good taste, and they were fast. In fact, they were good enough that I will try them again. However, I’ve also made a plan to make my own soon.

RECIPES

Lamb Meatballs

Ingredients

  • ½ cup bread crumbs
  • ½ cup milk
  • 1 pound ground lamb
  • 1 egg, lightly beaten
  • ¼ cup finely chopped shallots
  • 3 tablespoons finely chopped green bell pepper
  • salt and pepper
  • Italian seasoning to taste (optional)
  • pure olive oil

Method

  1. In a small bowl, combine the bread crumbs and milk. Stir to mix thoroughly and set aside.
  2. In a larger bowl, combine the ground lamb and egg. Stir in the milk-bread crumb mixture, shallots, and pepper. You may need to use your hands to get the meatball mixture well combined.
  3. Adjust the seasoning with salt, pepper, and, if desired, Italian seasoning.
  4. Form the meatballs to the size you desire. I think smaller is better.
  5. In a saucepan over a medium flame, heat the olive oil until it shimmers. Add the meatballs in batches, turning them until they are completely browned. Continue to sauté for an additional 5 minutes until they are cooked through. Keep warm until you are ready to compose the serving bowls.

Mint-Parsley Pesto

Mint and parsley for the pesto

Mint and parsley for the pesto

Ingredients

  • 1 bunch parsley, stems removed
  • 1 package mint, stems removed
  • 3 garlic cloves, peeled and stem and any green shoots removed
  • ½ cup grated fresh Parmesan cheese
  • 1 cup extra virgin olive oil
  • ¼ cup English walnuts
  • salt and pepper

Method

  1. Place the parsley, mint, garlic, and Parmesan cheese in the beaker of a food processor.
  2. Pulse, gradually adding olive oil and stopping occasionally to push down the sides with a spatula.
  3. When the pesto has reached the desired consistency, add the walnuts, pulse briefly, and adjust seasoning with salt and pepper.

Lamb Meatballs, Mint-Parsley Pesto, Potato Gnocchi

Ingredients

  • 1 package gnocchi cooked according to instructions
  • 1 batch mint-parsley pesto (see above)
  • 1 batch lamb meatballs (see above)
  • freshly grated Parmesan cheese

Method

  1. Boil and drain the packaged gnocchi according to instructions. Distribute among 4 pasta bowls
  2. Top with a desired amount of pesto. You may need to dilute it with a bit of the water reserved from boiling the gnocchi
  3. Arrange meatballs on top of the pesto. Serve immediately. Pass the grated Parmesan separately.

Leave a comment

Filed under Food, Photography, Recipes

ANOTHER YEAR IN YOSEMITE – PLANCHA BREAD

It has been nearly a year since I last reported from Yosemite. Sarah and Evan have been invited again to demonstrate the preparation of one of their dishes and to prepare a dinner at the Ahwahnee Hotel.

During the past year, things have changed in our family and with the park. Last year, Sarah was trying to cook while 8+ months pregnant. This year we were charged with watching a nearly four year old and a 10 month old while Sarah cooks.

The park is still suffering from the results of last summer’s fires. There are great stands of blackened tree skeletons, and huge logging trucks are pulling enormous tree trunk s down the road.  The drought and warm weather have both had their impact: there is no snow, and Yosemite Falls, usually frozen by this time of year, are without ice. In the Central Valley below, the reservoirs are nearly empty. Everyone is hoping for the rains and snows that don’t appear to be coming.

Perhaps the biggest current news is the successful climb of  the Dawn Wall of El Capitan by Tommy Caldwell and Kevin Jorgeson. Sarah and Evan’s demonstration was interrupted by the announcement, and since then the hotel has been abuzz with the news. All of the television networks appeared with cameras and had the climbers get up at 4 AM (After being on a sheer rock face for 19 days.) to give interviews for Good Morning America, Today, etc.

Today, Susan and I took a drive while Sarah, Evan, and the boys were taking a walk – the first time they have had a chance to get out of the hotel and the kitchen.

Our drive took us past El Capitan. There were still three bivouac tents hanging from the Dawn Wall, and there was a huge traffic jam of television trucks in the meadow where Caldwell and Jorgeson were giving yet more interviews. Then we drove past Bridal Veil Falls to the Tunnel View Point to get an obligate image of the whole valley including El Capitan and Bridal Veil Falls with Half Dome in the background. It is a cliché image, but it is so breathtaking that you can’t avoid it. Neither could a big crowd of people even in the middle of winter.

Tonight, Sarah and Evan will serve a wonderful dinner to include aged duck lasagna and an almond-chocolate dessert.

here’s the menu:

  • Onion soup: radish and dried plum salsa verde, fried shallots
  • Aged duck lasagna: chickories
  • Bone marrow roasted cauliflower: kumquat
  • New York strip steak: lemon verbena curry, pommes fondant
  • Bittersweet chocolate ganache: marshmallow fluff, citrus

But I thought I would share recipes from their demonstration:


RECIPES

Rich Table Plancha Bread

Ingredients

  • 1 1/2 cups water
  • 2 1/4 teaspoons dry yeast
  • 1 teaspoon honey
  • 1 1/2 cups whole wheat flour
  • 1 cup bread flour
  • 1 3/4 teaspoons salt
  • 2 tablespoons Sevillano olive oil

Method

  1. Mix together the water, yeast, honey, and olive oil.
  2. Add flour and salt to the bowl of a stand mixer. Using the dough hook, add the wet to the dry ingredients and mix to form a ball.
  3. Keep the dough in the mixing bowl and wrap the whole thing with plastic wrap. Let dough proof in a warm area of the kitchen for one hour.
  4. Once the dough has proofed, divide it into 70 g balls. Roll each ball out into an oblong about 1/4 inch thick.
  5. On a griddle or large cast iron pan heated to medium-high and seasoned with oil, sear each flat bread, cooking and browning on both sides.

Roasted Baby Cauliflower Dip

Ingredients

  •  1 head baby cauliflower
  • 3 tablespoons butter, browned and reserved
  • juice of 1/2 lemon
  • salt to taste

Method

  1. Clean cauliflower to remove most of the greens leaves and stem. Cut in half.
  2. Blanch cauliflower in boiling salted water until jus tender
  3. Sear the blanched cauliflower on a griddle or heavy cast iron pan until golden. Then bake in a 350 degree F oven until tender.
  4. Season cauliflower with lemon juice, brown butter, and salt. Puree if desired or serve as is.

Shelling Bean Dip

Ingredients

  • 1 pound fresh cranberry beans
  • 2 bay leaves
  • 3-4 tablespoons pure olive oil
  • salt to taste
  • 1 teaspoon Douglas fir powder
  • 1 teaspoon fennel pollen

Method

  1. Cook cranberry beans in water with bay leaves until soft. Strain beans and reserve the cooking water
  2. In a mixing bowl, season the beans with pure olive oil (e.g. Mission Trail from Sciabica), some of the reserved cooking water, salt, Douglas fir powder, and fennel pollen.
  3. Using a fork, mash everything together until the desired texture is reached. The puree should be as smooth as hummus.

Note: With both dips, you can spread them on pieces of reheated plancha bread and garnish with tiny cauliflower florets or thinly sliced radishes and caramelized finely sliced shallot.

Leave a comment

Filed under Food, Photography, Recipes, Restaurants, Travel

FISH STEW AND THE REDONDO PIER

During our recent visit to Los Angeles, we stayed just a short walk from the pier at Redondo Beach, so we made a family outing between the various  holidays. Everyone else for miles around decided to do the same thing, because the boardwalk was jammed with multi-generational families. Many of them were visiting with other multi-generational families giving a festive air to the occasion. The Redondo Pier is filled with attractions similar to those in other seaside tourist towns: restaurants, glass-bottomed boat tours, candy shops, and an arcade with an indoor Tilt-A-Whirl.

One attraction, though, stands out. The Quality Seafood Fish Market, “Largest and Finest Selection of Seafood on the Coast”. It stretches for much of the length of one side of the boardwalk, complete with its own  very popular seafood restaurant around the corner. The best part, though, is the seafood market where you can buy fresh fish and shell fish, some of them live. The place advertises albacore, anchovies, barracuda,  blue runner, bonito, bream, catfish, etc., etc., in alphabetical order. This is Dungeness crab season on the West Coast, and there were Dungeness crabs aplenty. But there were at least four other varieties of local crabs, wiggling in their watery holding tanks. There were also oysters from a number of places along with mussels, several kinds of clams, and even some geoduck – pronounced “gooey-duck”. (Which my daughter declared she would not eat. Not too surprising since she avoids  “objectionable” foods including all allia – onions, red onions, scallions, shallots, leeks – like the proverbial plague.)

Carol bought some live crabs, shrimp with their heads still on, clams, mussels and a couple of varieties of fish, planning to make a fish stew from one of her favorite cookbooks. New Classic Family Dinners, John Wiley and Sons, Hoboken, NJ, 2009, is written by Mark Peel, owner/chef of the Campanile, widely regarded as one of the best restaurants in Los Angeles but now closed while Peel gets involved in his next venture.

Recipes in the book are patterned after simpler meals Peel served in the Campanile on Monday nights (Family Night) and are supposed to be easy enough that the home cook can prepare them.

Carol did all the cooking, but as I peeked into the kitchen from time to time, it did not look that easy. Regardless, the end result was delicious, and there was plenty for 6 adults and 4 kids.  Note that Carol’s recipe has substituted crab for lobster and contains no onion or its relatives except for a bulb of garlic. Also, the recipe is considerably simplified from Mark Peel’s original. For my part, forgive the images. I only had my iPhone on our excursion.

RECIPE

Rich Fish Stew with Crab, Shrimp, Clams, and Sea Bass

Ingredients

BROTH

  • 3 medium Dungeness crabs
  • 1 quart boiling water
  • 3 tablespoons canola oil
  • 1 medium carrot, peeled and coarsely chopped
  • 2 stalks celery, chopped
  • ½ small fennel bulb, diced
  • salt
  • 1 14½ ounce can tomatoes with juice
  • 1 garlic head, cut in half crosswise
  • shells and heads from 2 pounds fresh shrimp
  • 1 cup dry white wine (Sauvignon blanc is a good choice)
  • bouquet garni of bay leaves, parsley, tarragon, and thyme
  • ½ teaspoon cracked peppercorns
  • 2 quarts of liquid: crab boiling liquid+water
  • 3 slices country bread, toasted

STEW

  • Crabs from above
  • ¾ pound Yukon gold potatoes,  boiled until tender and cut into chunks
  • 1 pound white-fleshed fish (sea bass, halibut, snapper), cut into bite-sized pieces
  • 2 dozen clams
  • 2 dozen mussels, de-bearded if necessary
  • 2 pounds shrimp, heads removed, shelled, and deveined
  • 3 tablespoons Italian parsley, chopped coarsely

Method

BROTH

  1. ALERT: DO NOT ASK YOUNG CHILDREN TO HELP WITH THIS STEP. In a large pot lined with a steamer basket, bring the water to a boil. With tongs, lower the crabs into the pot. (Be careful – they will fight back.) Cover tightly, and cook for 12 minutes. Remove the crabs from the pot being careful to save the liquid. Chill the crabs in ice water. Drain and set aside. Measure the cooking water and add more water if needed to make 2 quarts.
  2. Heat the canola oil in a large pot. Add the carrots, celery, and fennel, stirring for a few minutes until lightly browned. Then add the remaining broth ingredients. Bring to a boil, then reduce to a simmer, covered, for about 30 minutes
  3. Strain through a chinois or other strainer, pressing the solids to remove any additional liquid.
  4. Return the strained broth to the cooking pot.
  5. Add the potatoes to the broth; return to the simmer.
  6. Add the fish and simmer for an additional 5 minutes. Then add the clams, mussels, and shrimp and simmer until the clams and mussels have opened and the shrimp is pink, about 5 minutes.
  7. Add the crabs, breaking off the legs and claws. Adjust the seasoning and garnish with chopped parsley. Serve immediately with slices of toasted baguette seasoned with garlic and olive oil. Be sure to have some tools to break open the crabs along with a bowl for shells and plenty of napkins.


4 Comments

Filed under Food, Photography, Recipes, Restaurants

PORCUPINE MEATBALLS

When I was in my graduate program, I lived with the family of an old school friend. The mother was a good cook of the Betty Crocker/Good Housekeeping school, and there were still young kids living at home. We often had many of the classics – tuna-noodle casserole, macaroni and cheese, meat loaf – but a cheer would go up from the kids when they learned that dinner would include porcupine meatballs. It was even a celebratory dish for birthdays or good report cards.

The meatballs get their name not from being made from porcupine meat but from the rice on their surfaces that supposedly sticks up like the quills on a porcupine’s back. You clearly need the imagination of a child for this creation.

Honestly, I think that the reputation of the dish was overblown, but it really is something to make when you have run out of ideas for what to do with a pound of ground beef.  And that’s exactly what happened. I had a pound of ground beef to use up, and I didn’t feel like the usual hamburgers or pasta with meat sauce.

Then I thought of porcupine meatballs even though I hadn’t had them since my college days. They are easy to make with the single challenging step being the tomato sauce in which the meatballs cook. If you insist, you can make a very elaborate sauce. Alternatively, you can open a can of plain tomato sauce. Those two options run the gamut of hard to ridiculously easy and of tasty to why-bother. Fortunately, there is a middle road. I bought a large jar of Rao’s tomato/basil pasta sauce (straight from the world-famous Manhattan restaurant, according to the label), and that worked perfectly to make this an easy, one-pot meal.

Put a green salad on the side, and you have all your food groups.

RECIPE

Porcupine Meatballs

Ingredients

  • 1 thick slice sourdough bread, crusts removed
  • 1/2 cup whole milk
  • 1 pound ground beef
  • 1 egg
  • 1 tablespoon tomato paste
  • 1/4 cup diced green bell pepper
  • 1/4 cup chopped yellow onion
  • 1/4 teasoon garlic powder
  • 1/2 teaspoon salt
  • 1/4 teaspoon ground black pepper
  • 1/2 cup long grain white rice
  • 2 tablespoons vegetable oil
  • 1 quart jar commercial pasta sauce
  • grated Parmesan cheese

Method

  1. In a large mixing bowl, soak the bread, torn into pieces, in the milk. Use a fork to mash the bread into a paste.
  2. Add the ground beef, egg, and tomato paste, and with your hands, mix until completely combined. Stir in the bell pepper, onion, garlic powder, salt, and pepper and mix until completely combined.
  3. Form the mixture into 8 meatballs.
  4. Place the rice in a shallow dish. Roll the meatballs in the rice until they are completely covered.
  5. In a large pot,  brown the meatballs in the oil over medium-high heat. Add the pasta sauce, cover, and simmer for 45 minutes or until the rice is cooked. Some of the rice will have fallen off the meatballs into the sauce.
  6. Serve while still hot, topped with grated Parmesan cheese

2 Comments

Filed under Food, Photography, Recipes

BOOK REVIEWS: COI, BAR TARTINE, AND FLOUR+WATER

For Christmas, Sarah and Evan gave us autographed copies of cookbooks written by some of their San Francisco colleagues and friends. They are all beautiful books, and certainly worth a place of honor on my cookbook shelves. Good and successful restaurants seem to go through the same sort of trajectory. First, there is the nervous anxiety after the opening and before reviews appear. Then, there are professional reviews, almost always glowing. Next come the Yelpers (I call them Whiners) with their smarmy comments: “Why do they charge so much; who do they think they are?” ” I could do better at home on my hot plate.”  “They seated someone else at my table even though I was only an hour late for my reservation.” ” When I told them I didn’t like the filet mignon after I had eaten it all, they refused to comp me.” After the whiners, the real customers take over, and the restaurant is wildly popular. Then there are demonstration tours, and finally a thick, beautifully illustrated cookbook appears so that the diner can try making the dish at home – ha.

Coi, Bar Tartine, and Flour+Water are three of the best, most popular, and most successful restaurants in San Francisco, so it is not surprising that they all have beautiful cookbooks. Here are some of my random thoughts on all of them. Cookbooks-3 Coi: Stories and Recipes by Daniel Patterson (Phaidon Press, London and New York) is really more of a memoir than a cookbook, and it is illustrated with lush images of the California countryside along with relatively few food shots. Daniel Patterson is an accomplished writer as well as a Michelin-starred chef. His writing has appeared in the New York Times, Lucky Peach, Food and Wine, and the Financial Times among other publications. The photographer, Maren Caruso, clearly knows how to operate a camera. Besides all that, Patterson is gracious in recognizing many of the cooks who have helped to make Coi a success. To be sure, there are “recipes” although they do not appear in the typical format of lists of ingredients and the steps in putting them all together. In my view, you can reproduce some of the dishes only if you study the instructions very carefully and already possess a high level of cooking skill. The most engaging parts of the book are the personal stories and philosophical statements – meditations, really – that accompany each of the recipes. The feeling that the reader comes away with is that of understanding the author as a thoughtful person as well as an accomplished cook. Cookbooks-2 Bar Tartine: Techniques & Recipes by Nicolaus Balla and Cortney Burns with photographs by Chad Robertson (Chronicle Books, San Francisco, 2014) is reminiscent of Chad Robertson’s already classic Tartine Bread except that there is a lot more color. If you have been lucky enough to eat at Bar Tartine, you know that Nicolaus and Cortney have fun with their cooking. It has the same precision that you expect in high-end food, but at the same time it is playful. The chefs delight in using ingredients you may never have heard of, or in ways that you have never thought of. And that’s sort of how Balla and Burns approach their cookbook. There are delicious recipes and gorgeous images aplenty, but the emphasis is on ingredients  The first sixteen chapters are devoted to topics like “Drying”, “Assorted Powders”,  “Spice Mixes”, “Sprouting and Soaking”, “Oils & Animal Fats”, “Vinegars”, “Pickles & Preserves” along with suggestions about how to use ingredients like dried strawberries (The two love their dehydrator), kefir butter, schmaltz, and even burnt toast. The recipes look accessible but you will definitely need to expand your pantry. For me, the book is more like a beautifully illustrated instruction book than a conventional cookbook, and there are detailed instructions about how to make all of the powders and dried foods that serve as the basis of or as seasoning for the fabulous foods of Bar Tartine. The images by Chad Robertson add greatly to the final product, and in the credits, Balla, Burns, and Robertson also do all of the food and prop styling. The book is beautifully done and truly a labor of love, just like a meal at Bar Tartine. Cookbooks-1 Flour+Water: Pasta by Thomas McNaughton with Paolo Lucchesi and photography by Eric Wolfinger (Ten Speed Press, Berkeley, CA) is a detailed treatise on pasta, but it is fascinating reading and studying. There is a two-page spread immediately after the frontispiece showing the author intent on rolling out a length of pasta dough. From that single image you get the feeling that McNaughton wakes up and goes to sleep thinking of pasta. His descriptions about seemingly arcane topics such as the differences between Italian 00 flour and semolina flour turn out to be fascinating reading. And coupled with detailed, well-organized images, the narrative provides step-by-step instructions that even a tyro is willing to try. There is also an abundance of recipes for what to do with the pasta once you have made it. “Mouth-watering” does not adequately describe the images of some of the spectacular dishes: spaghetti with black trumpet, poached egg, and cured yolk; burrata triangoli with preserved lemon, summer squash, and mint. A bonus is the back story of McNaughton’s pilgrimage to Italy and his long, humbling hours of learning how to make pasta  under the tough guidance of a room full of Italian grandmothers. With that, the reader realizes that anything done well requires commitment along with hours, days, and years of practice.

2 Comments

Filed under Food, Photography, Restaurants

CASA DE HILLMONT SANCOCHO

Peter, our son, stopped by our daughter’s house in L.A. on his way down the coast to spend some holiday time with his mother-in-law. Before his visit he indicated that he wanted to cook dinner one night. It required some ingredients that we thought we could find at the Grand Central Market, including green and ripe plantains and yuca. The yuca was not to be had, but in the end Peter located some at the neighborhood grocery store.

The dish that Peter chose to cook had its origins when he was in graduate school. He found himself without housing and with very little money. Our daughter, Sarah, was in the undergraduate program at the same university. One of her teaching assistants, a doctoral candidate in mathematics from Colombia, announced in class one day that there was a vacancy in the house where he was living. Sarah passed the information to Peter, and Peter jumped at the opportunity. He wound up living in the garage for several months, rent-free. Then a bedroom opened up, and he became a permanent, rent-paying resident.

As with much collegiate housing, there was a steady stream of old and new tenants. Sarah even lived there for awhile. But the backbone of the place was the three Colombianos who lived there the longest: Carlos, Mario, and Andreas. They became good friends with our children, and an added benefit was that Sarah, the Spanish major, got to polish her language skills, Peter learned how to speak Spanish, and they both learned to cook Colombian foods. Peter still keeps in touch with Carlos, who is now a professor of mathematics at his home university.

Not surprisingly, the house came to be known as Casa de Hillmont after the street where it was located. And it had all sorts of unique features – the carpet with big holes, the reclining sofa we donated, unidentified insects (This was Texas, after all.) and the quirky landlady who made off with a bird bath. Mostly the food was standard college fare like ramen, but there were also Colombian classics like tostones, arepas, and sancocho. Here is Peter’s version of sancocho.

RECIPE

Casa de Hillmont Sancocho

Ingredients

  • 4 tablespoons cooking oil, divided
  • 1 medium white onion, chopped
  • 1 garlic clove, minced
  • 1 tomato, coarsely chopped
  • 4 to 6 pieces of chicken (thighs, drumsticks, breast)
  • 12 cups water
  • salt and pepper to taste
  • 1 green plantain, peeled and cut into pieces
  • 1 carrot, peeled and cut into large pieces
  • 4 medium potatoes, peeled and cut into chunks
  • 1 yuca root, peeled, core removed, and cut into large pieces
  • 4-6 pieces of corn on the cob
  • 1 ripe plantain, unpeeled and cut into 4-6 equal pieces
  • 1 generous handful of cilantro, finely chopped
  • cream
  • capers
  • avocado, diced

Method

  1. In a large skillet, heat 2 tablespoons of oil over medium-high heat. Add the onion, garlic, and tomato and saute for about 3 minutes. Set aside.
  2. Brown the chicken pieces in the remaining oil in a large pot. Add the onion, garlic, tomato mixture and saute for another 6 minutes. Add the water, and correct the seasonings with salt and pepper.
  3. Add the green plantain and carrot to the mixture, and bring to the boil. Simmer for about 20 minutes; then add the potatoes. Simmer for another 10 minutes or until the potatoes are soft.
  4. Add the yuca root, and simmer until the yuca is soft
  5. Boil the unpeeled ripe plantain in another pot until it is easily pierced with a fork. Drain and set aside.
  6. Add the chopped cilantro to the chicken stew.
  7. Serve by placing a piece of the ripe plantain in every soup bowl. Ladle chicken stew over the plantain.
  8. Pass cream, capers, and avocado separately to garnish the stew. You should have freshly made arepas on the side. (Another post)
  9. Serves 4 to 6.

4 Comments

Filed under Food, Photography, Recipes

HOMEMADE BAGELS FOR A HAPPY NEW YEAR

Happy New Year to all. As usual, Susan and I did not make it to the magic hour. We did sip some sparkling white wine (Gruet made in New Mexico, so they’re not allowed to call it champagne. But it’s made by the champagne method, and it’s what the internet claims that Jacques Pepin drinks, so we enjoyed the evening.) And we lasted until 10:45.

In the meantime, Carol and her family went to a quiet gathering with another family. Even the kids made it past midnight. I’ve already seen the ball drop in Times Square enough times, and it is never different from year to year.

This morning, Carol wanted to christen her new oven that was installed just yesterday. She elected to make bagels, which are favorites of her family. Besides, the kids can help with the process.

She used the recipe from Bernard Clayton’s book, New Book of Breads, and got up early to have the dough rising while everyone else slept.

When the dough had risen, she formed it into 12 bagel shapes, dunked them in the water bath, drained them, arranged them on baking sheets, topped them with egg wash along with poppy seeds, sesame seeds, caraway seeds, or salt, and then baked them successfully in her new oven.

There were enough bagels so that everyone had two – a great way to welcome in the new year.

Leave a comment

Filed under Food, Photography