During this Christmas holiday, we were fortunate to have visits from two of our children and their families. Christmas is always a time to enjoy old family favorites, and since our youngest spent most of her growing-up years in Louisiana, we decided to make gumbo for our first evening. We lived long enough in Louisiana to learn how to make some of its classic dishes. We also benefited from lessons from some great cooks among our friends, some of them Cajuns. Nothing says “Cajun” quite as much as gumbo, and the great thing about the dish is that you can make it with whatever you like: oysters, shrimp, a mixture of seafood, duck, alligator, or whatever. This version, chicken and andouille sausage, is one of the most popular because the ingredients are readily available and taste so good together.
I don’t know where I got this recipe. Certainly it has been influenced by my friends, Reggie Graves and Ronnie George, but over the years I have tuned it and tweaked it so that I feel like it is “mine”.
When our daughter, Sarah, was in cooking school at the French Culinary Institute in Manhattan, as with all of the students she was responsible for preparing one family meal for her classmates. She chose to make this gumbo, and it was so popular that it was included in the official recipe book of the school. They called it, “Dr. D’s Gumbo”, and so here it is. It’s really very simple, but there are a lot of individual steps. You can take shortcuts, but if you do, it just won’t be real Louisiana gumbo.
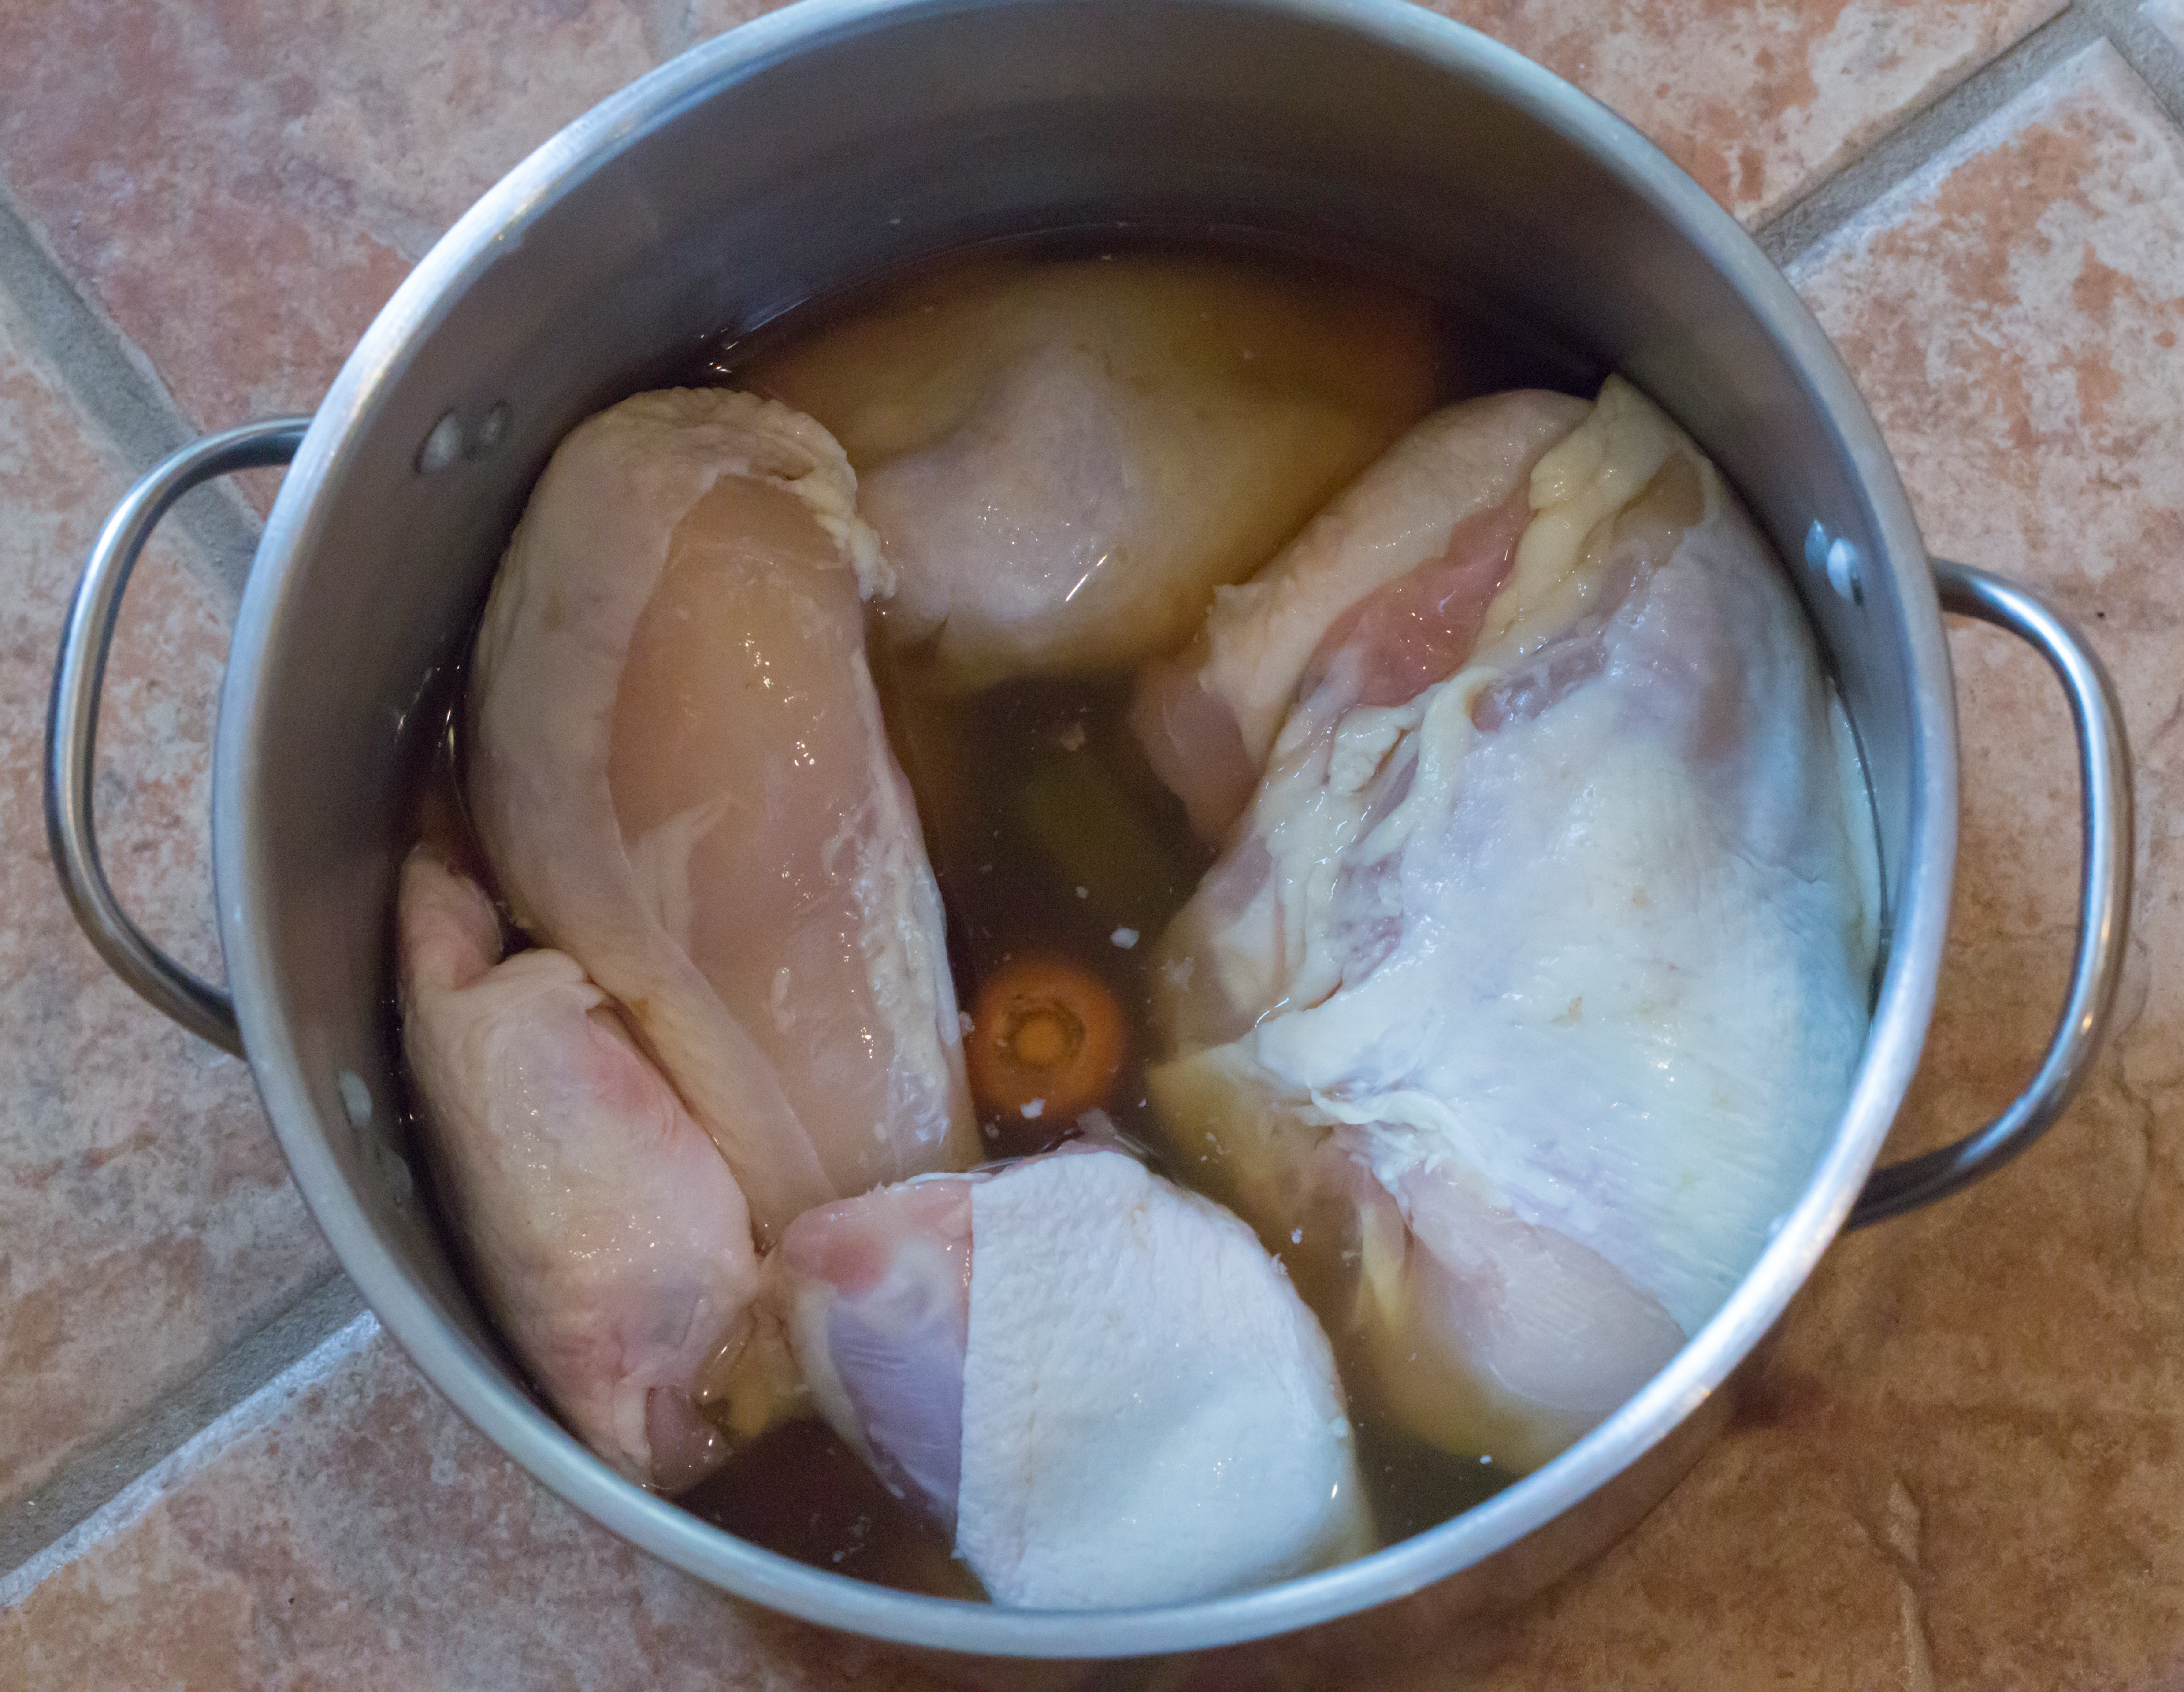
Chicken stock. First, you make your own chicken stock. Actually, you start out with commercial chicken stock, but with your own vegetables, seasonings, and chicken, it becomes home-made and doubly rich. You will need chicken, commercial chicken stock, yellow onion, carrot, celery, garlic, and fresh tomato along with salt and black peppercorns.
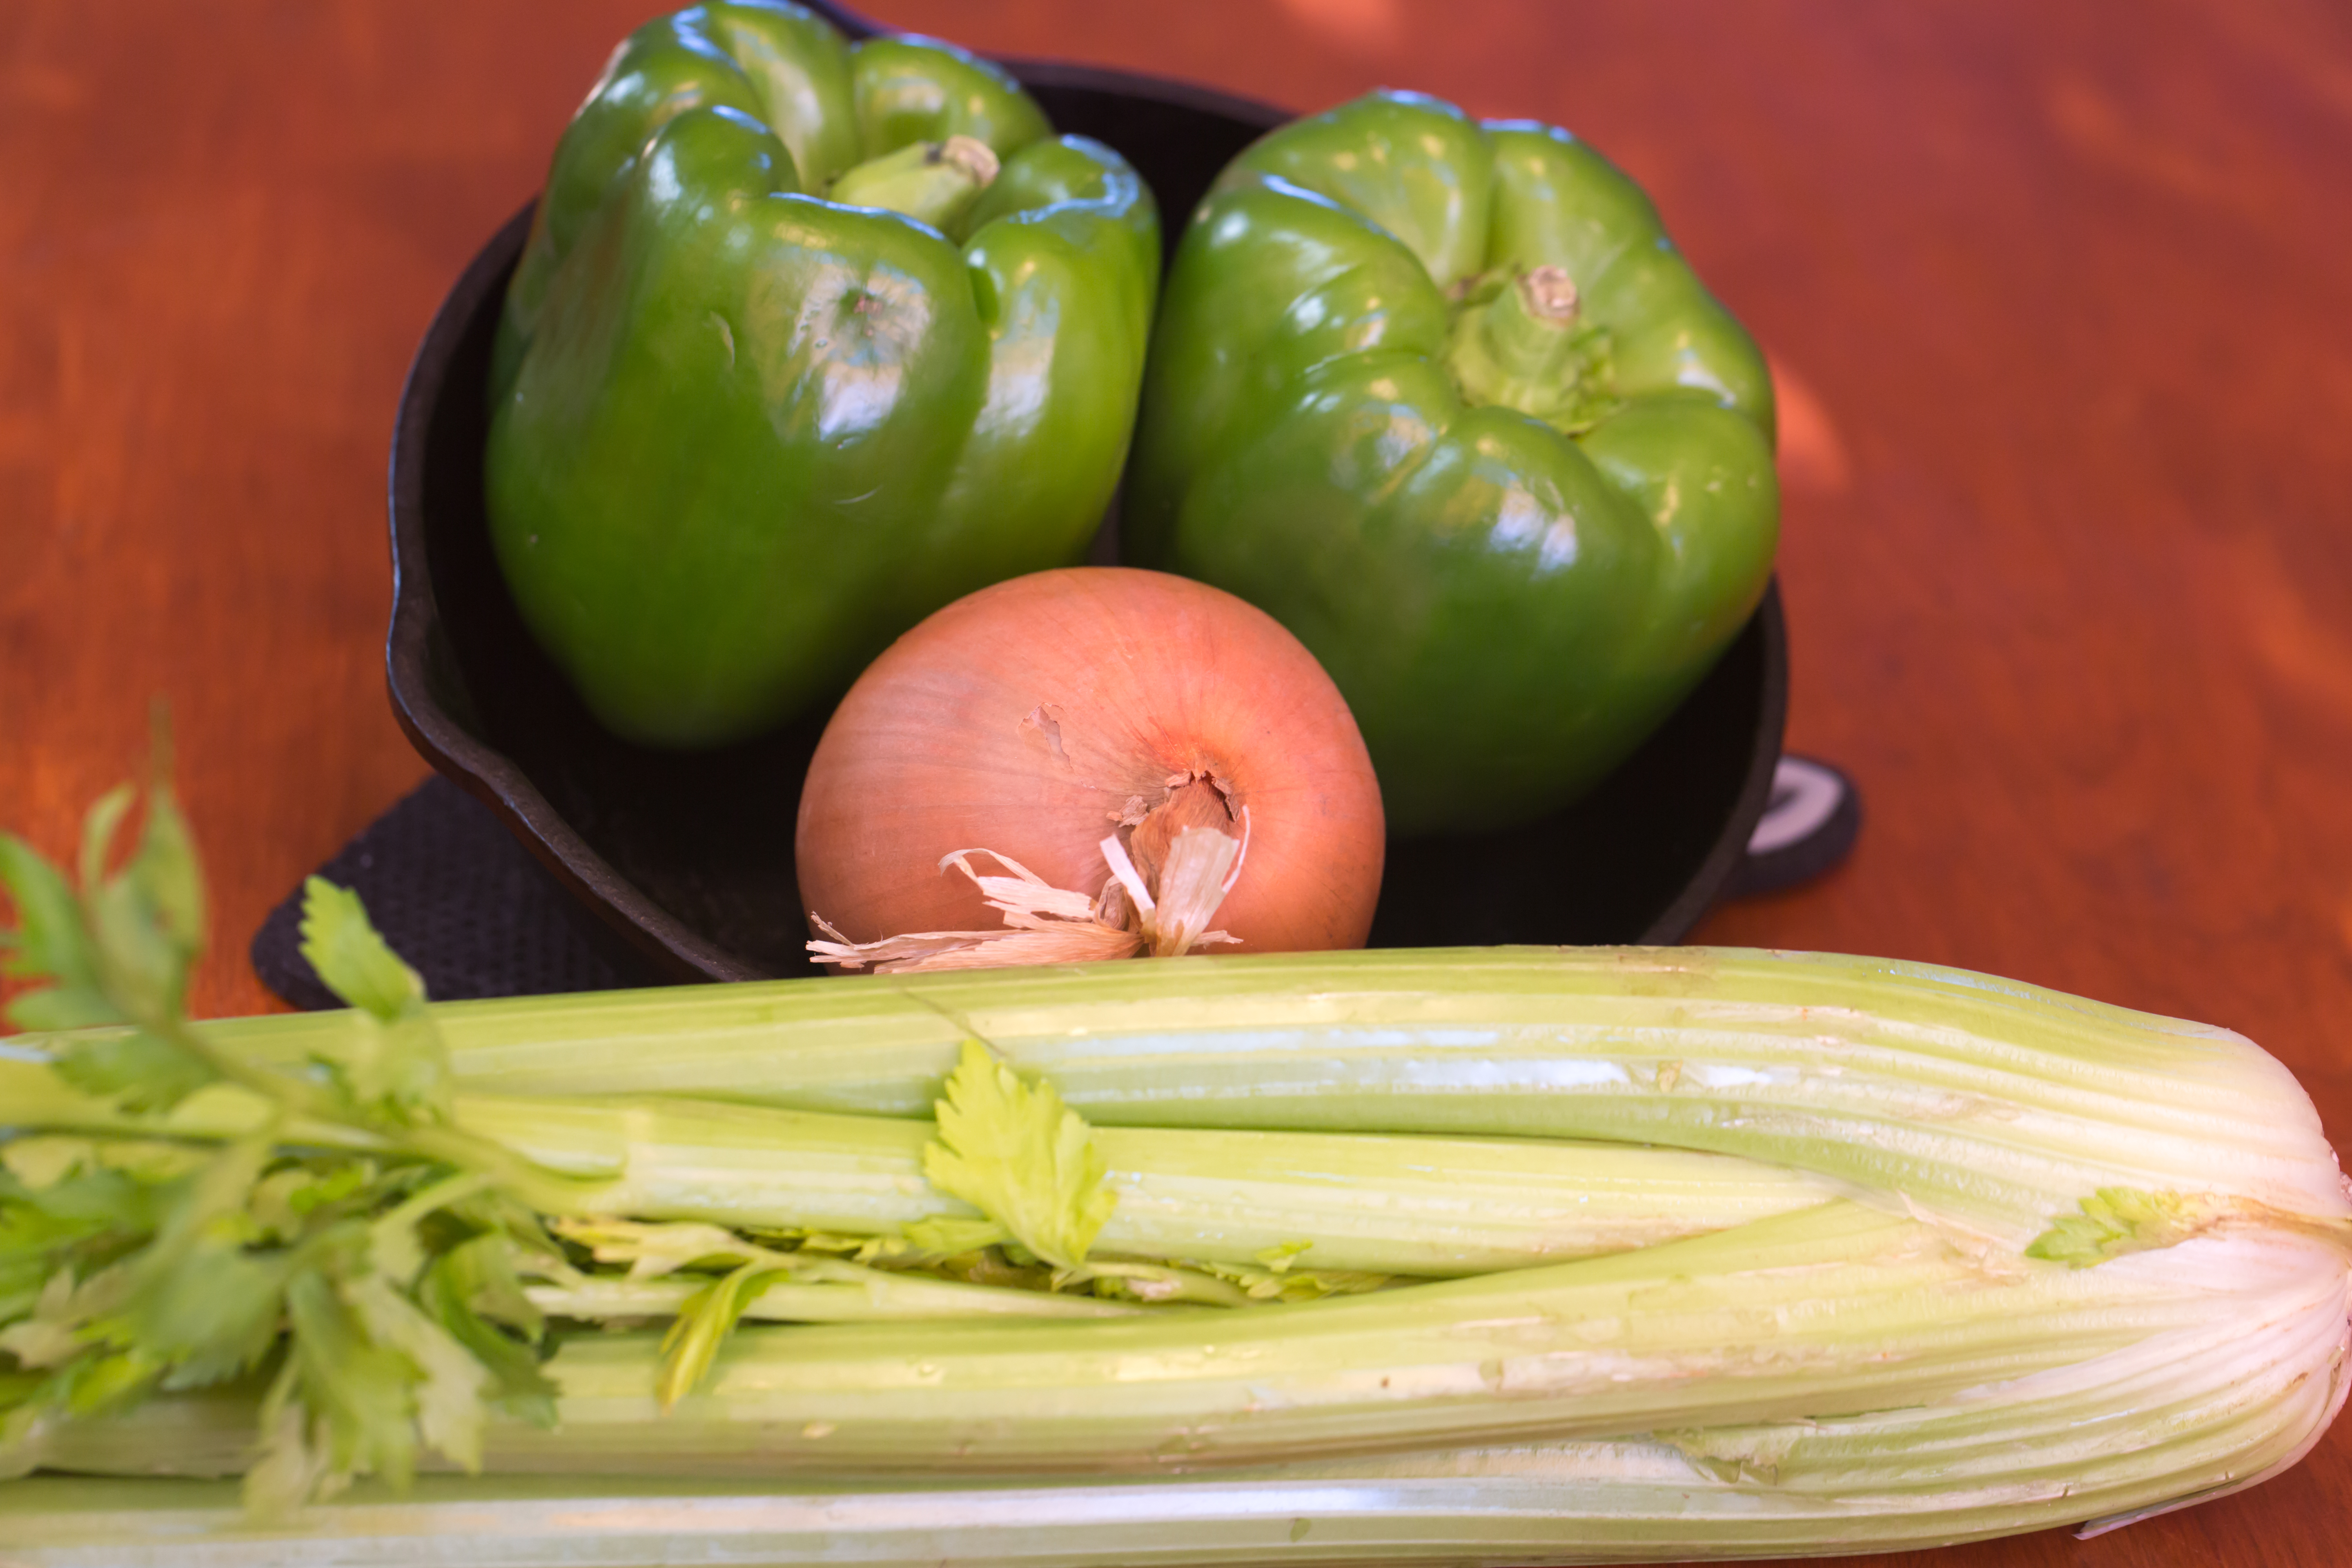
The Cajun Holy Trinity. Second, you need to prepare your vegetables – the so-called Cajun Holy Trinity of onion, green pepper, and celery – before you start to cook. When you make the roux, you will be skating on the edge of disaster. It must be just the right color – as dark as you can make it – but if it burns, you will need to start over. The cut vegetables serve several important parts of the recipe. Of course, flavor is a major purpose, but stopping the roux from further cooking is equally important. That’s why you need to have it at your elbow to dump in the pot just when you think the roux is finished.
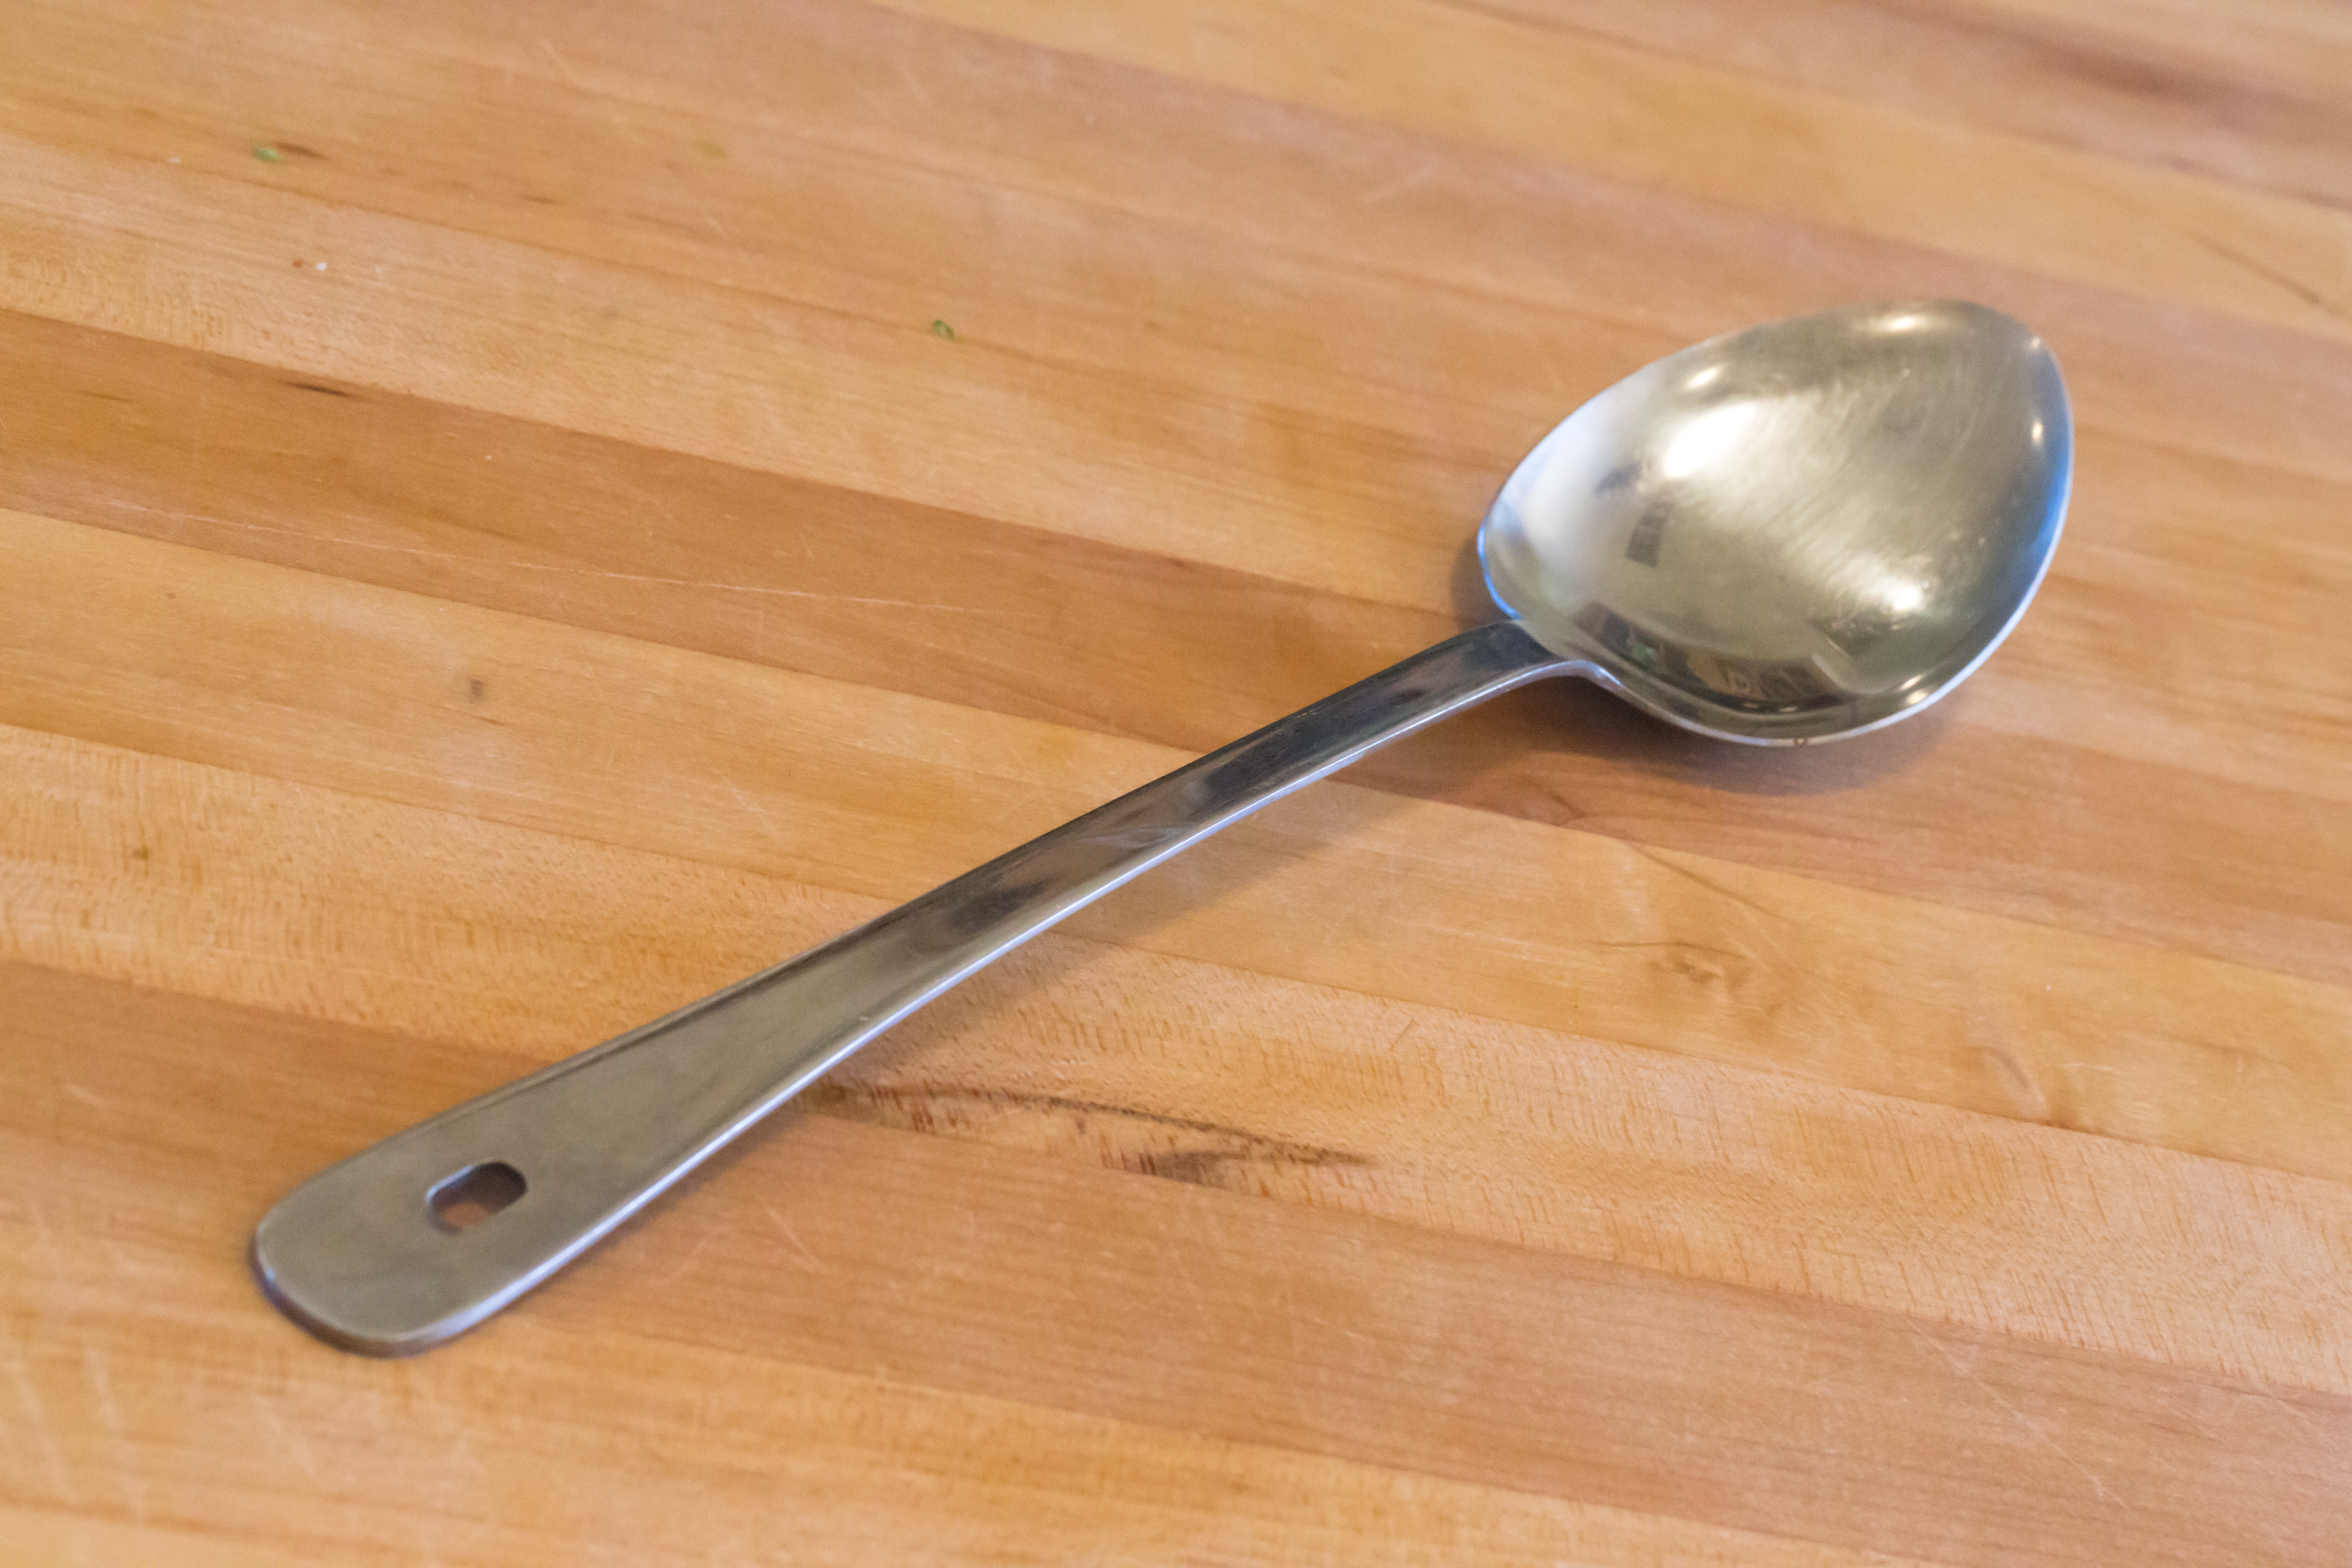
Roux. Third, you need to find the heaviest pot you have and the biggest metal spoon. Undoubtedly you have made a traditional French roux for béchamel or as thickening for various soups and sauces. That is not Cajun roux. The whole idea is to get the roux as dark as you can so that the rich smokiness flavors the soup. That requires constant stirring in a heavy-bottomed pot until your level of fear overtakes you. Any black bits – in other words, if it burns – you have to start over from the beginning.
Thickening. As the roux darkens, the flour loses its thickening power while adding to its flavoring power. As a result, there are two other ingredients used to thicken the soup.
First is okra. In fact the OED says that the word, “gumbo” comes from the Angolan word for okra. Many cooks prefer okra in the gumbo during the growing season. In the winter, when gumbo is guaranteed to take the edge from a cold day, filé becomes the preferred ingredient. There are many Cajuns who prefer filé for thickening all year long.
Filé is ground up dried sassafras leaves. If you live in the US South, you probably know where there is a nearby sassafras tree, and you can make your own filé. Aficionados swear it is by far the best to make your own. For the rest of us, there are several Louisiana food companies that sell filé in bottles. Once you buy your filé, the first thing to do is to transfer it to an empty Old Crow half-pint whiskey bottle to serve as your decanter on the dining room table. Tightly stoppered, the filé keeps for a long time, but if you notice it has lost some of its thickening power, buy a fresh bottle.
Sausage. Traditionally, gumbo is made with andouille sausage. The Louisiana version is made with pork; the French version is made with chitterlings (I think you know what they are) so be sure you know what you are buying. These days, most large super markets have andouille in the meat section, but if you have a hard time finding it you can substitute Polish kielbasa.
Spice. Gumbo can be as mild or spicy as you like. most folks from Louisiana like it on the spicy side, but food sensitivities in our family dictate a mild version. Fortunately you can add your favorite chile sauce to give the gumbo you prefer. Traditionally, Tabasco is often favored, but it has a vinegary punch that some don’t like. There are any number of other Louisiana hot sauces you can choose, or you can opt for Cholula from Mexico, or the current popular hot sauce, sriracha.
RECIPE
Louisiana Andouille and Chicken Gumbo
Ingredients
Method
- In a large stock pot, pour in the chicken stock. Add the chicken, onion, celery, carrot, garlic, salt and pepper. Add water to cover the chicken. Then bring to a boil, and reduce the heat to a simmer. Cook until the chicken is done, about 45 minutes. With your hand, squeeze in the tomato, seeds and all. Simmer for an additional 10 minutes. Remove from the heat. Remove the chicken to cool until it is easy to handle. Strain the stock into a large bowl, and set aside.
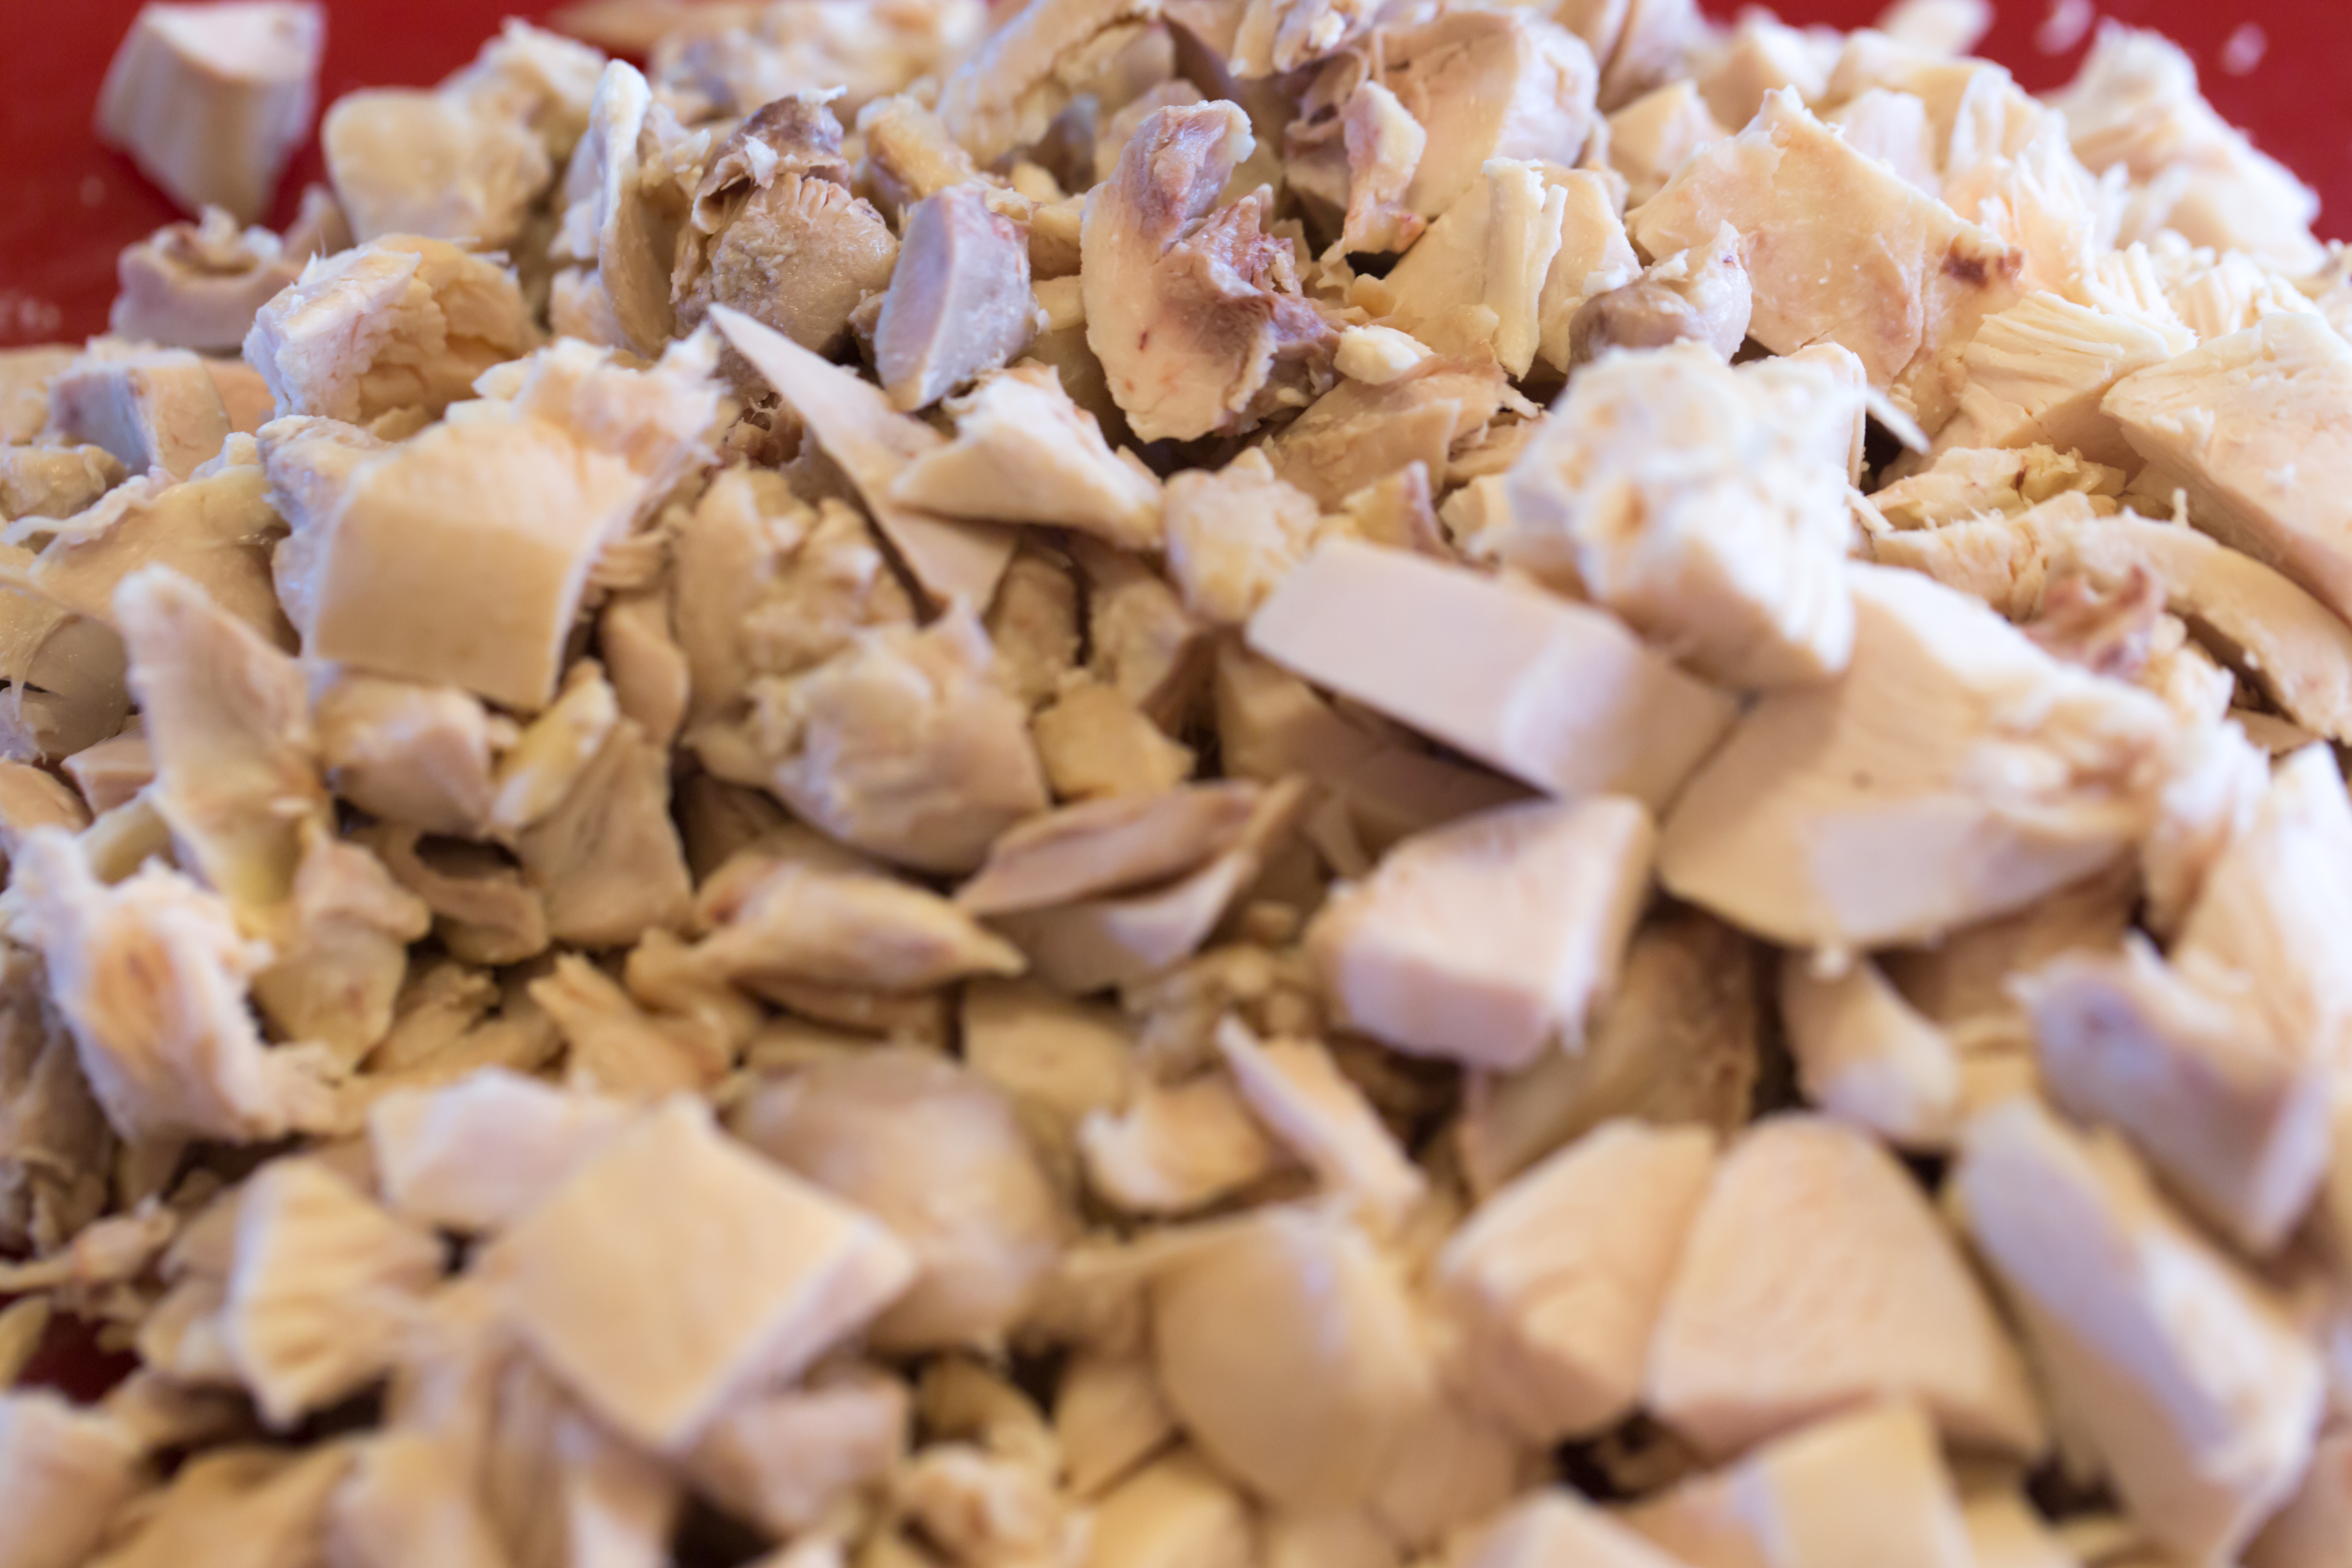
- When the chicken is cool enough to handle, remove the skin. bones, and any veins you might see. Cut the chicken meat into bite sized pieces and set aside.
- Cut the andouille sausage into 1 inch sections and then quarter each section. Set aside.
- Combine the chopped onion, celery, green pepper, and scallions in a large bowl. Place next to the roux pot so you can add it quickly to the roux before it burns.
- Using a very heavy pot and long-handled metal spoon, place the oil over high heat. As the oil begins to shimmer and just before it smokes, sprinkle the flour gradually into the oil while stirring constantly. The flour should sizzle as it hits the hot oil. It will start to darken immediately. Constant stirring is essential, being ure to scrape the corners of the pot. You can stop whenever the roux is colored to your liking, but Cajun moms will push it until it is almost black (ALMOST black – if you get some black flecks, it means that you have burned the roux and need to start over)
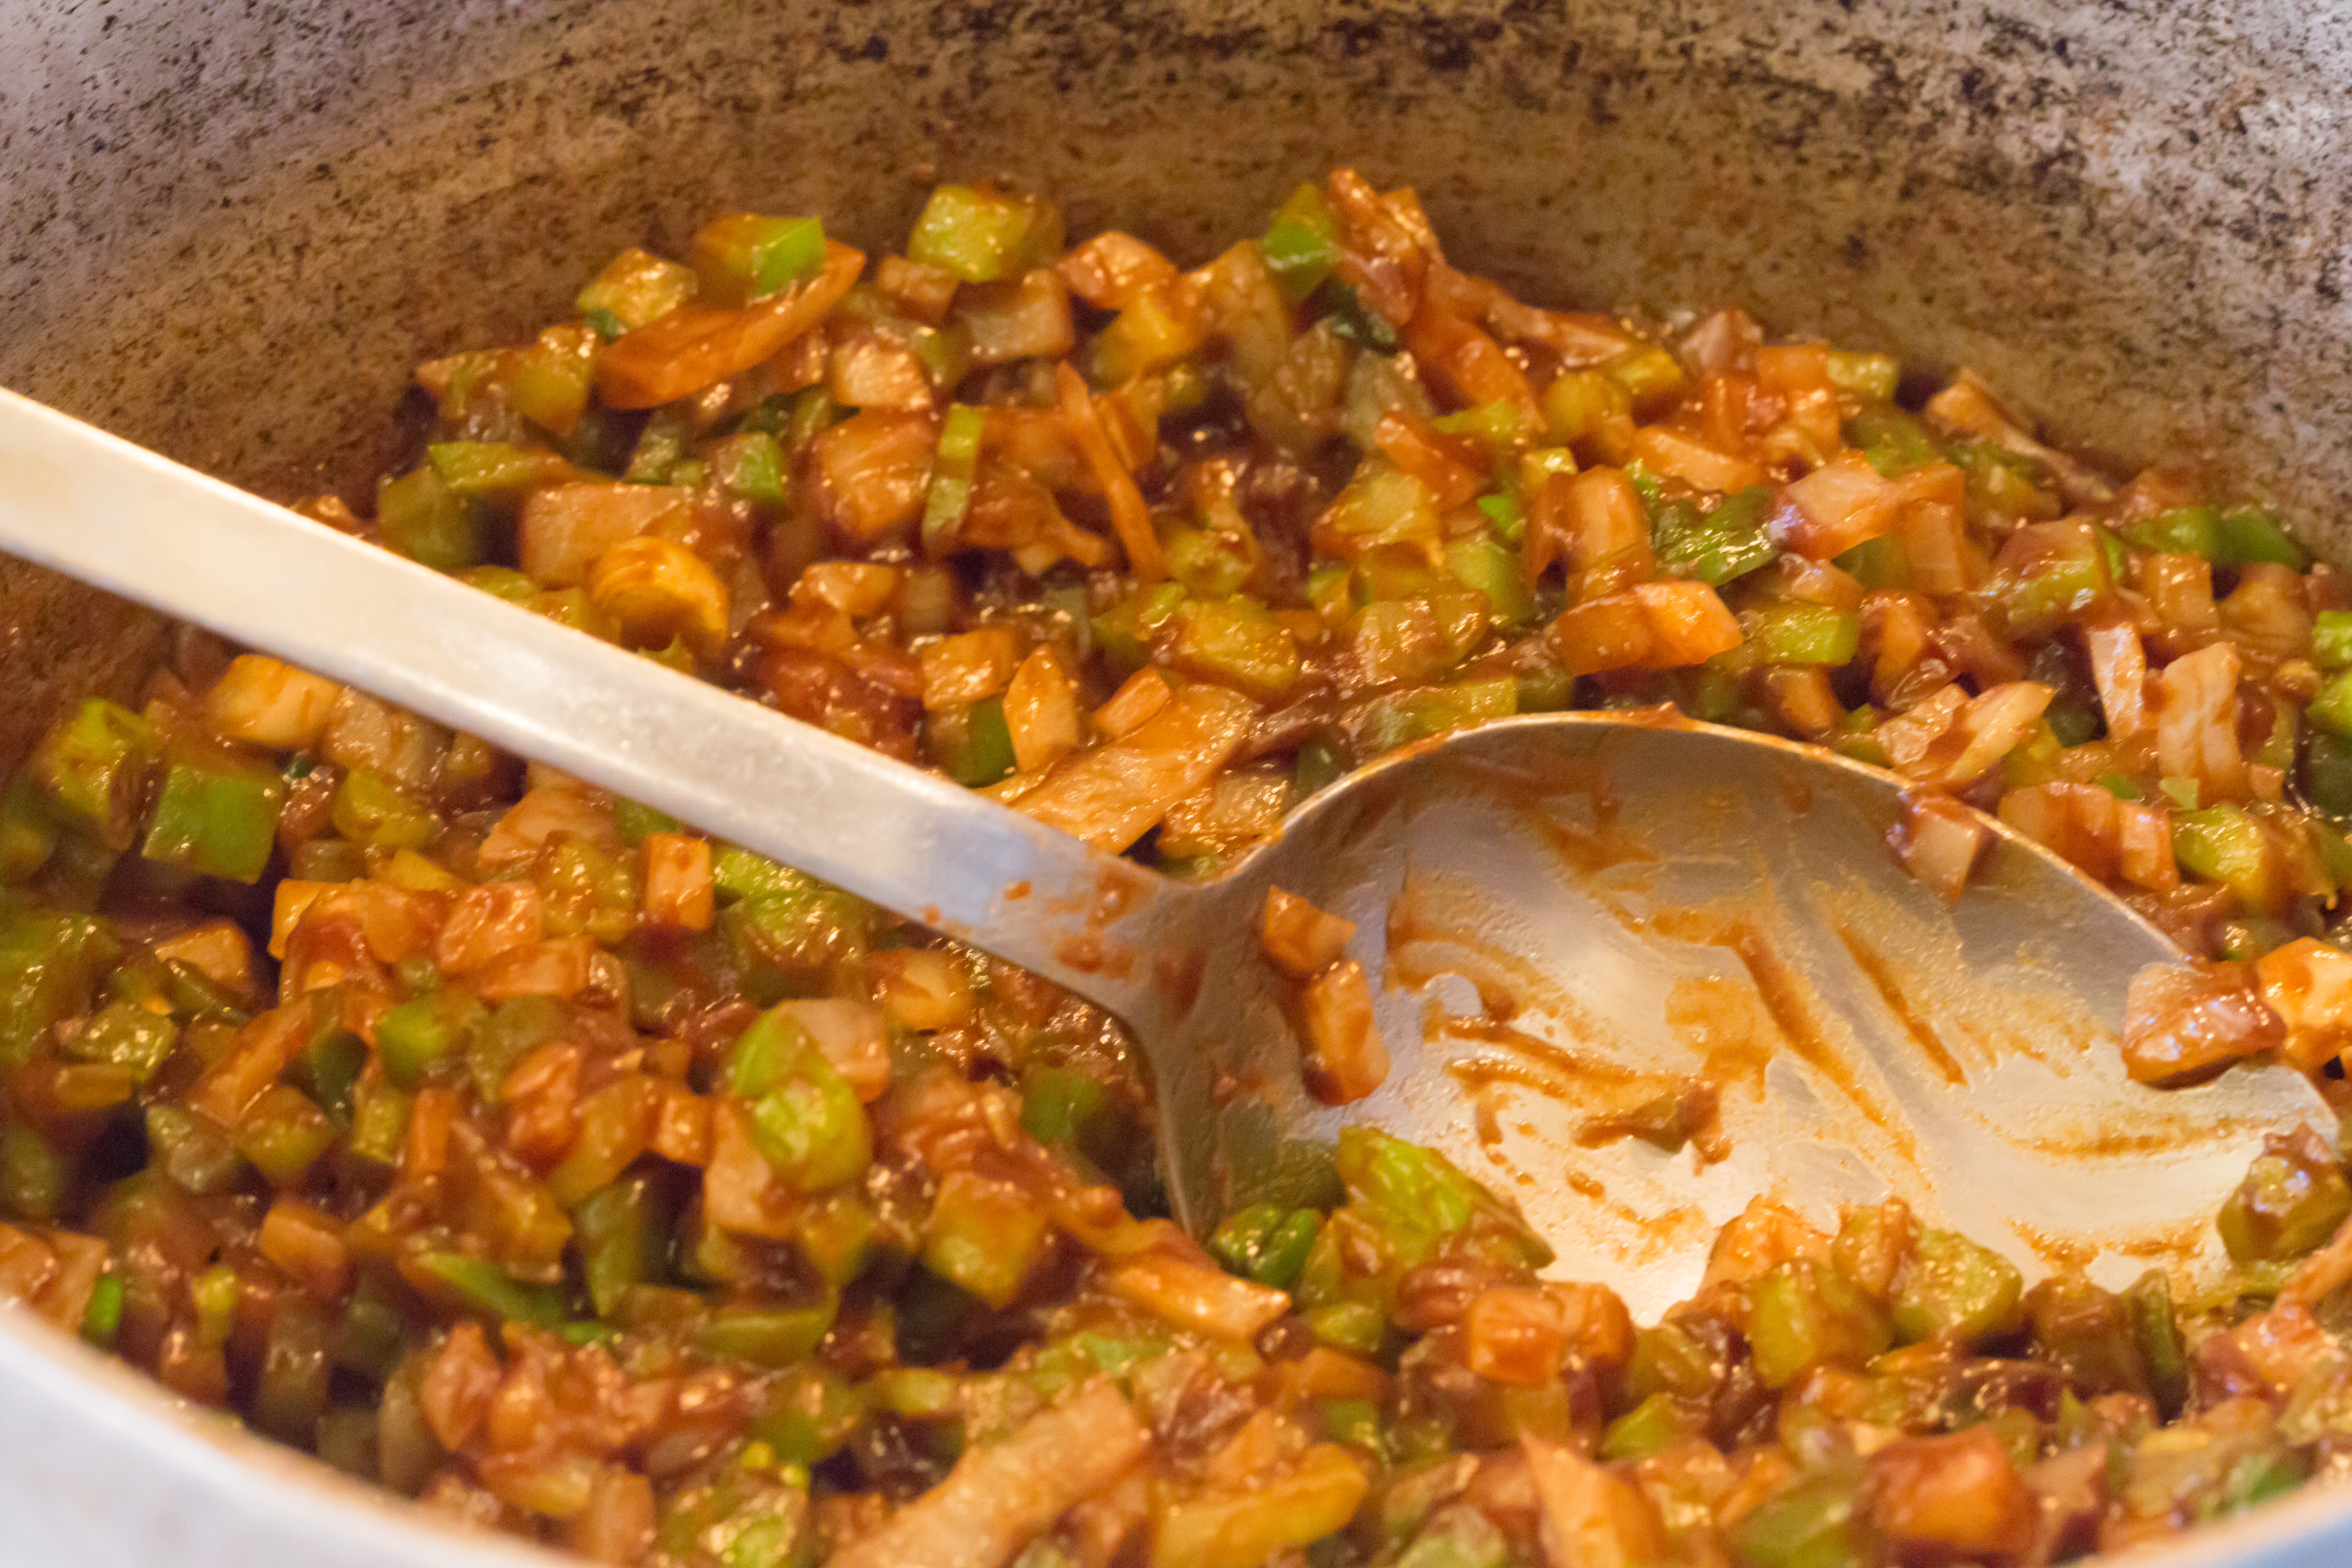
- Immediately dump in the chopped vegetables to stop the roux from darkening further. Stir. Reduce the heat to medium-low, and continue to cook until the vegetables are soft and translucent.
- Stir in enough of the chicken stock to get the consistency you want. Return to the boil. Add the chicken and andouille and simmer for another 30 minutes to meld the flavors.
- Correct the seasoning with salt, pepper, and hot sauce.
- Serve in a large soup bowl over a heap of cooked white rice. Pass chopped scallions, filé, and more hot sauce so that all can suit themselves.

A bowl of chicken and andouille gumbo

File in the obligate Old Crow bottle

Your choice of Louisiana hot sauces

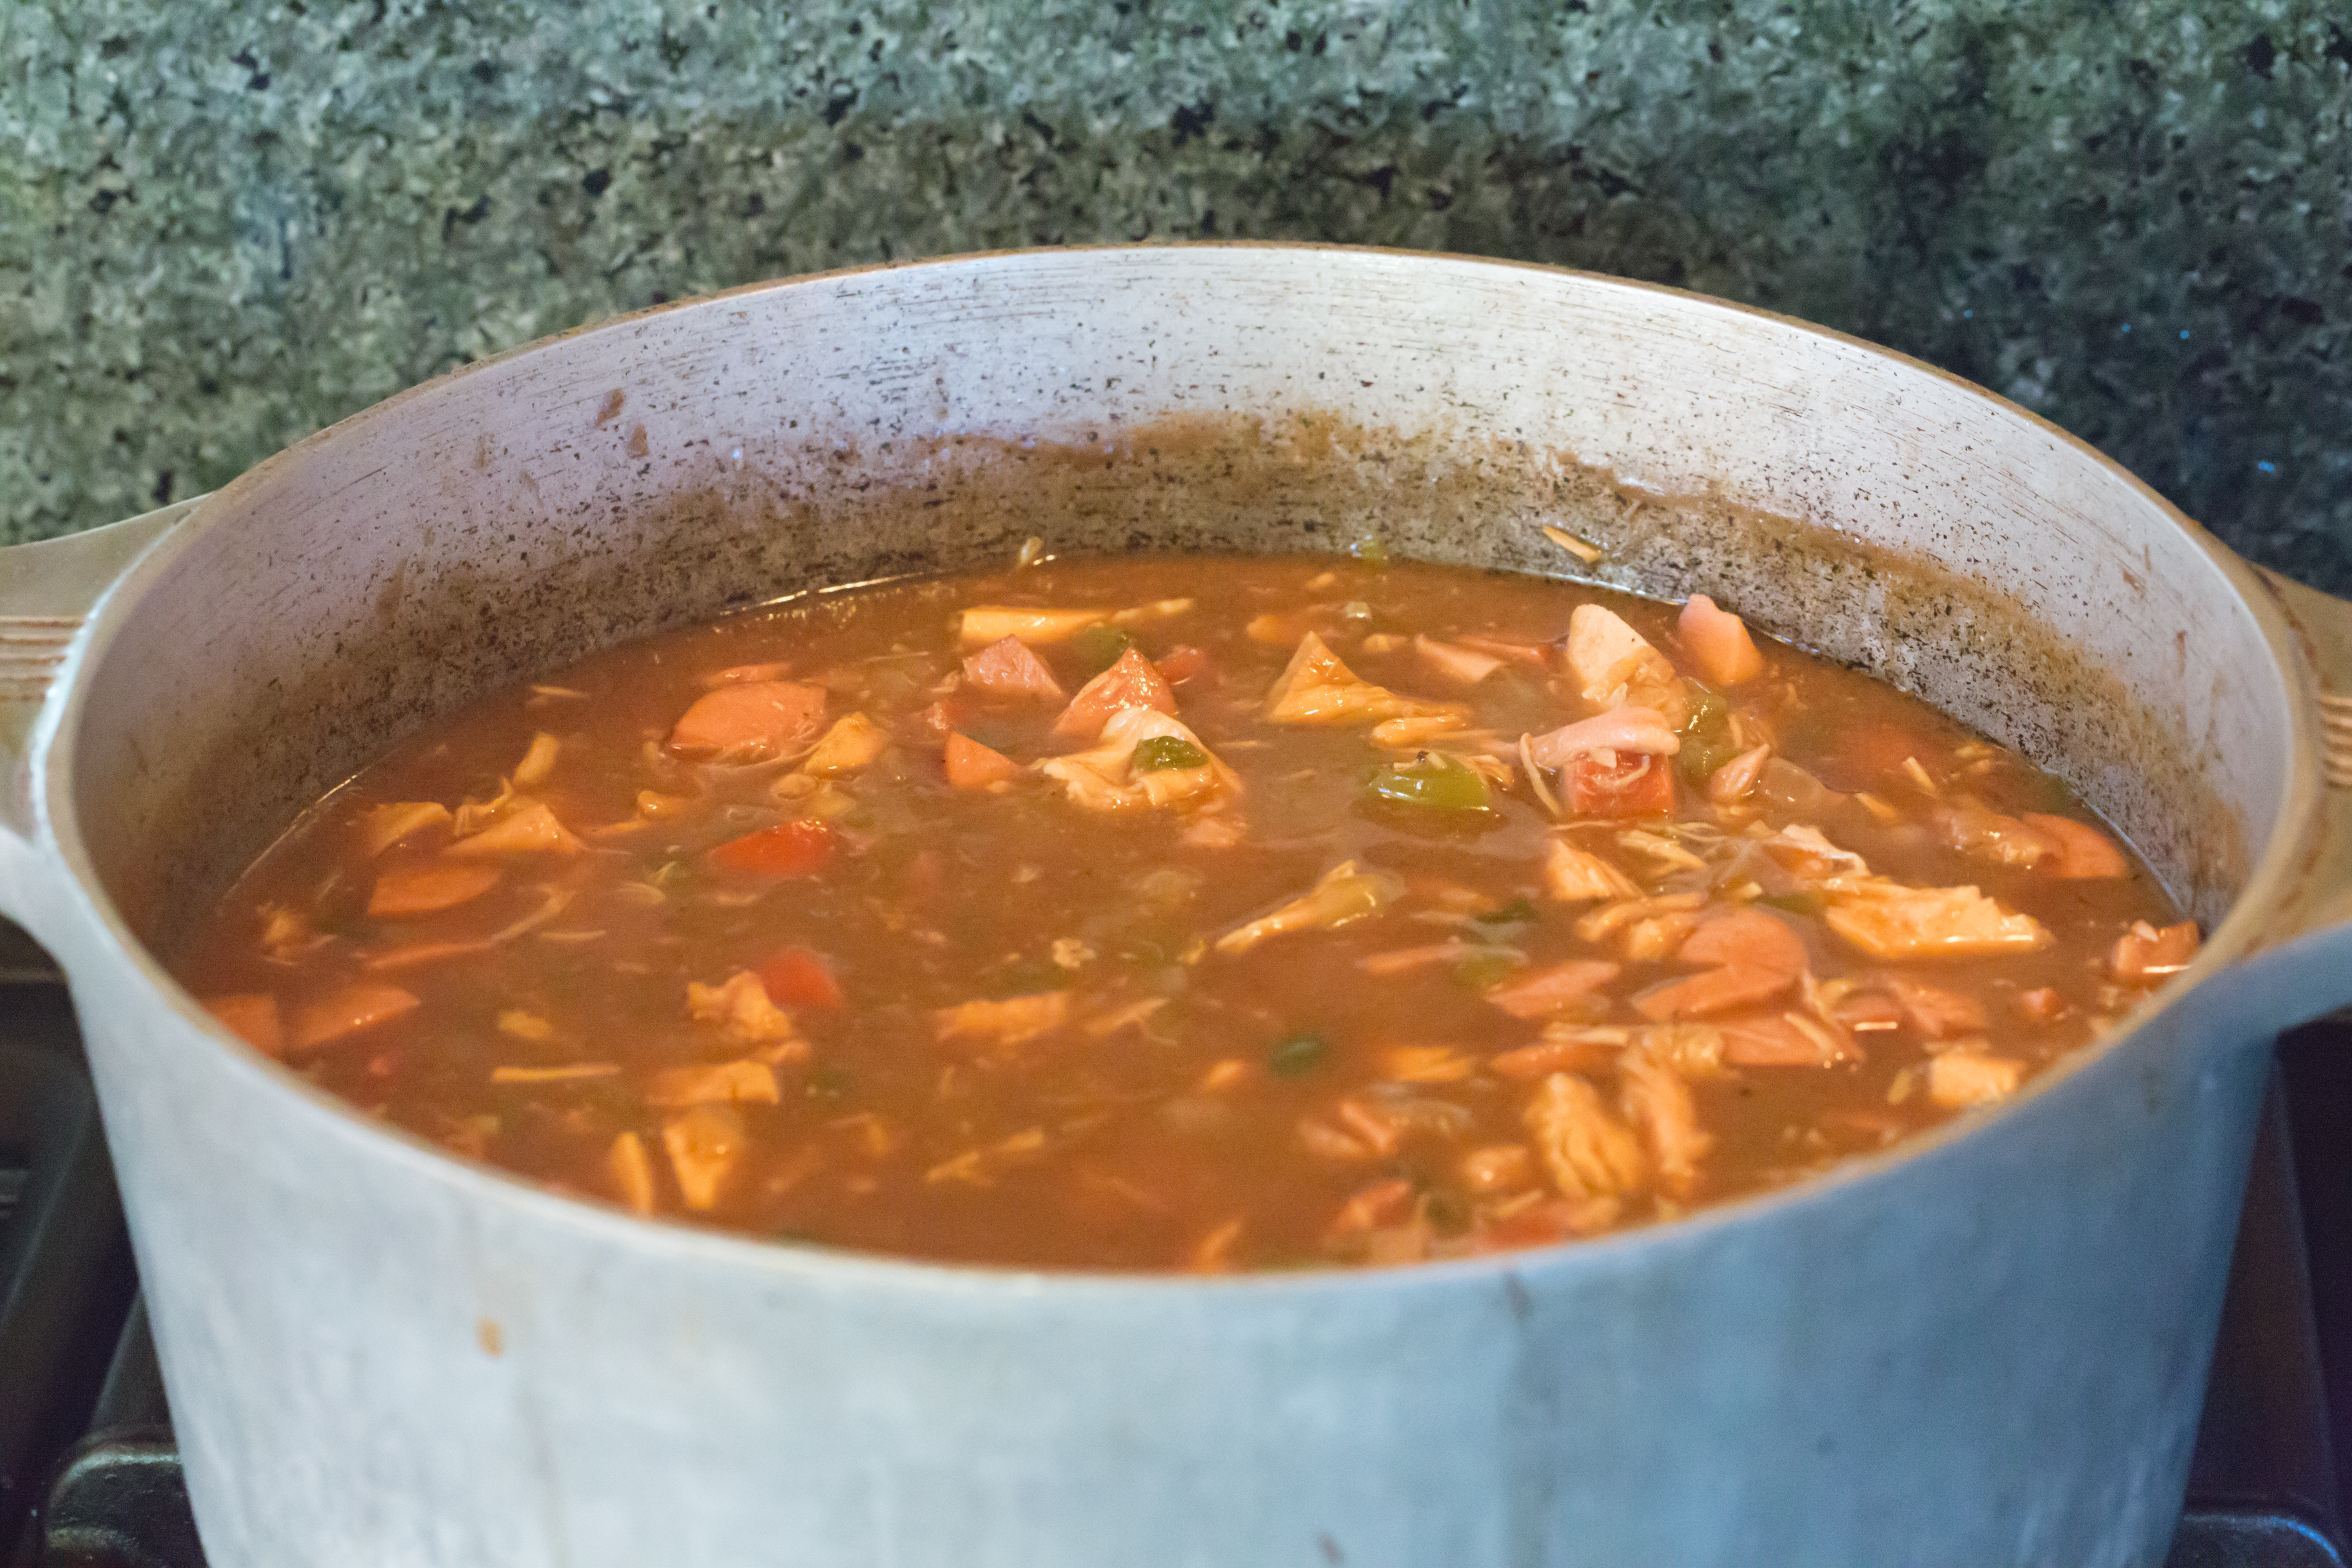
Apot of gumbo ready to be served over rice

Cooked chicken ready for the gumbo pot

Andouille sausage

Gumbo base simmering

The Cajun Holy Trinity stirred in to stop the roux from darkening too mucn

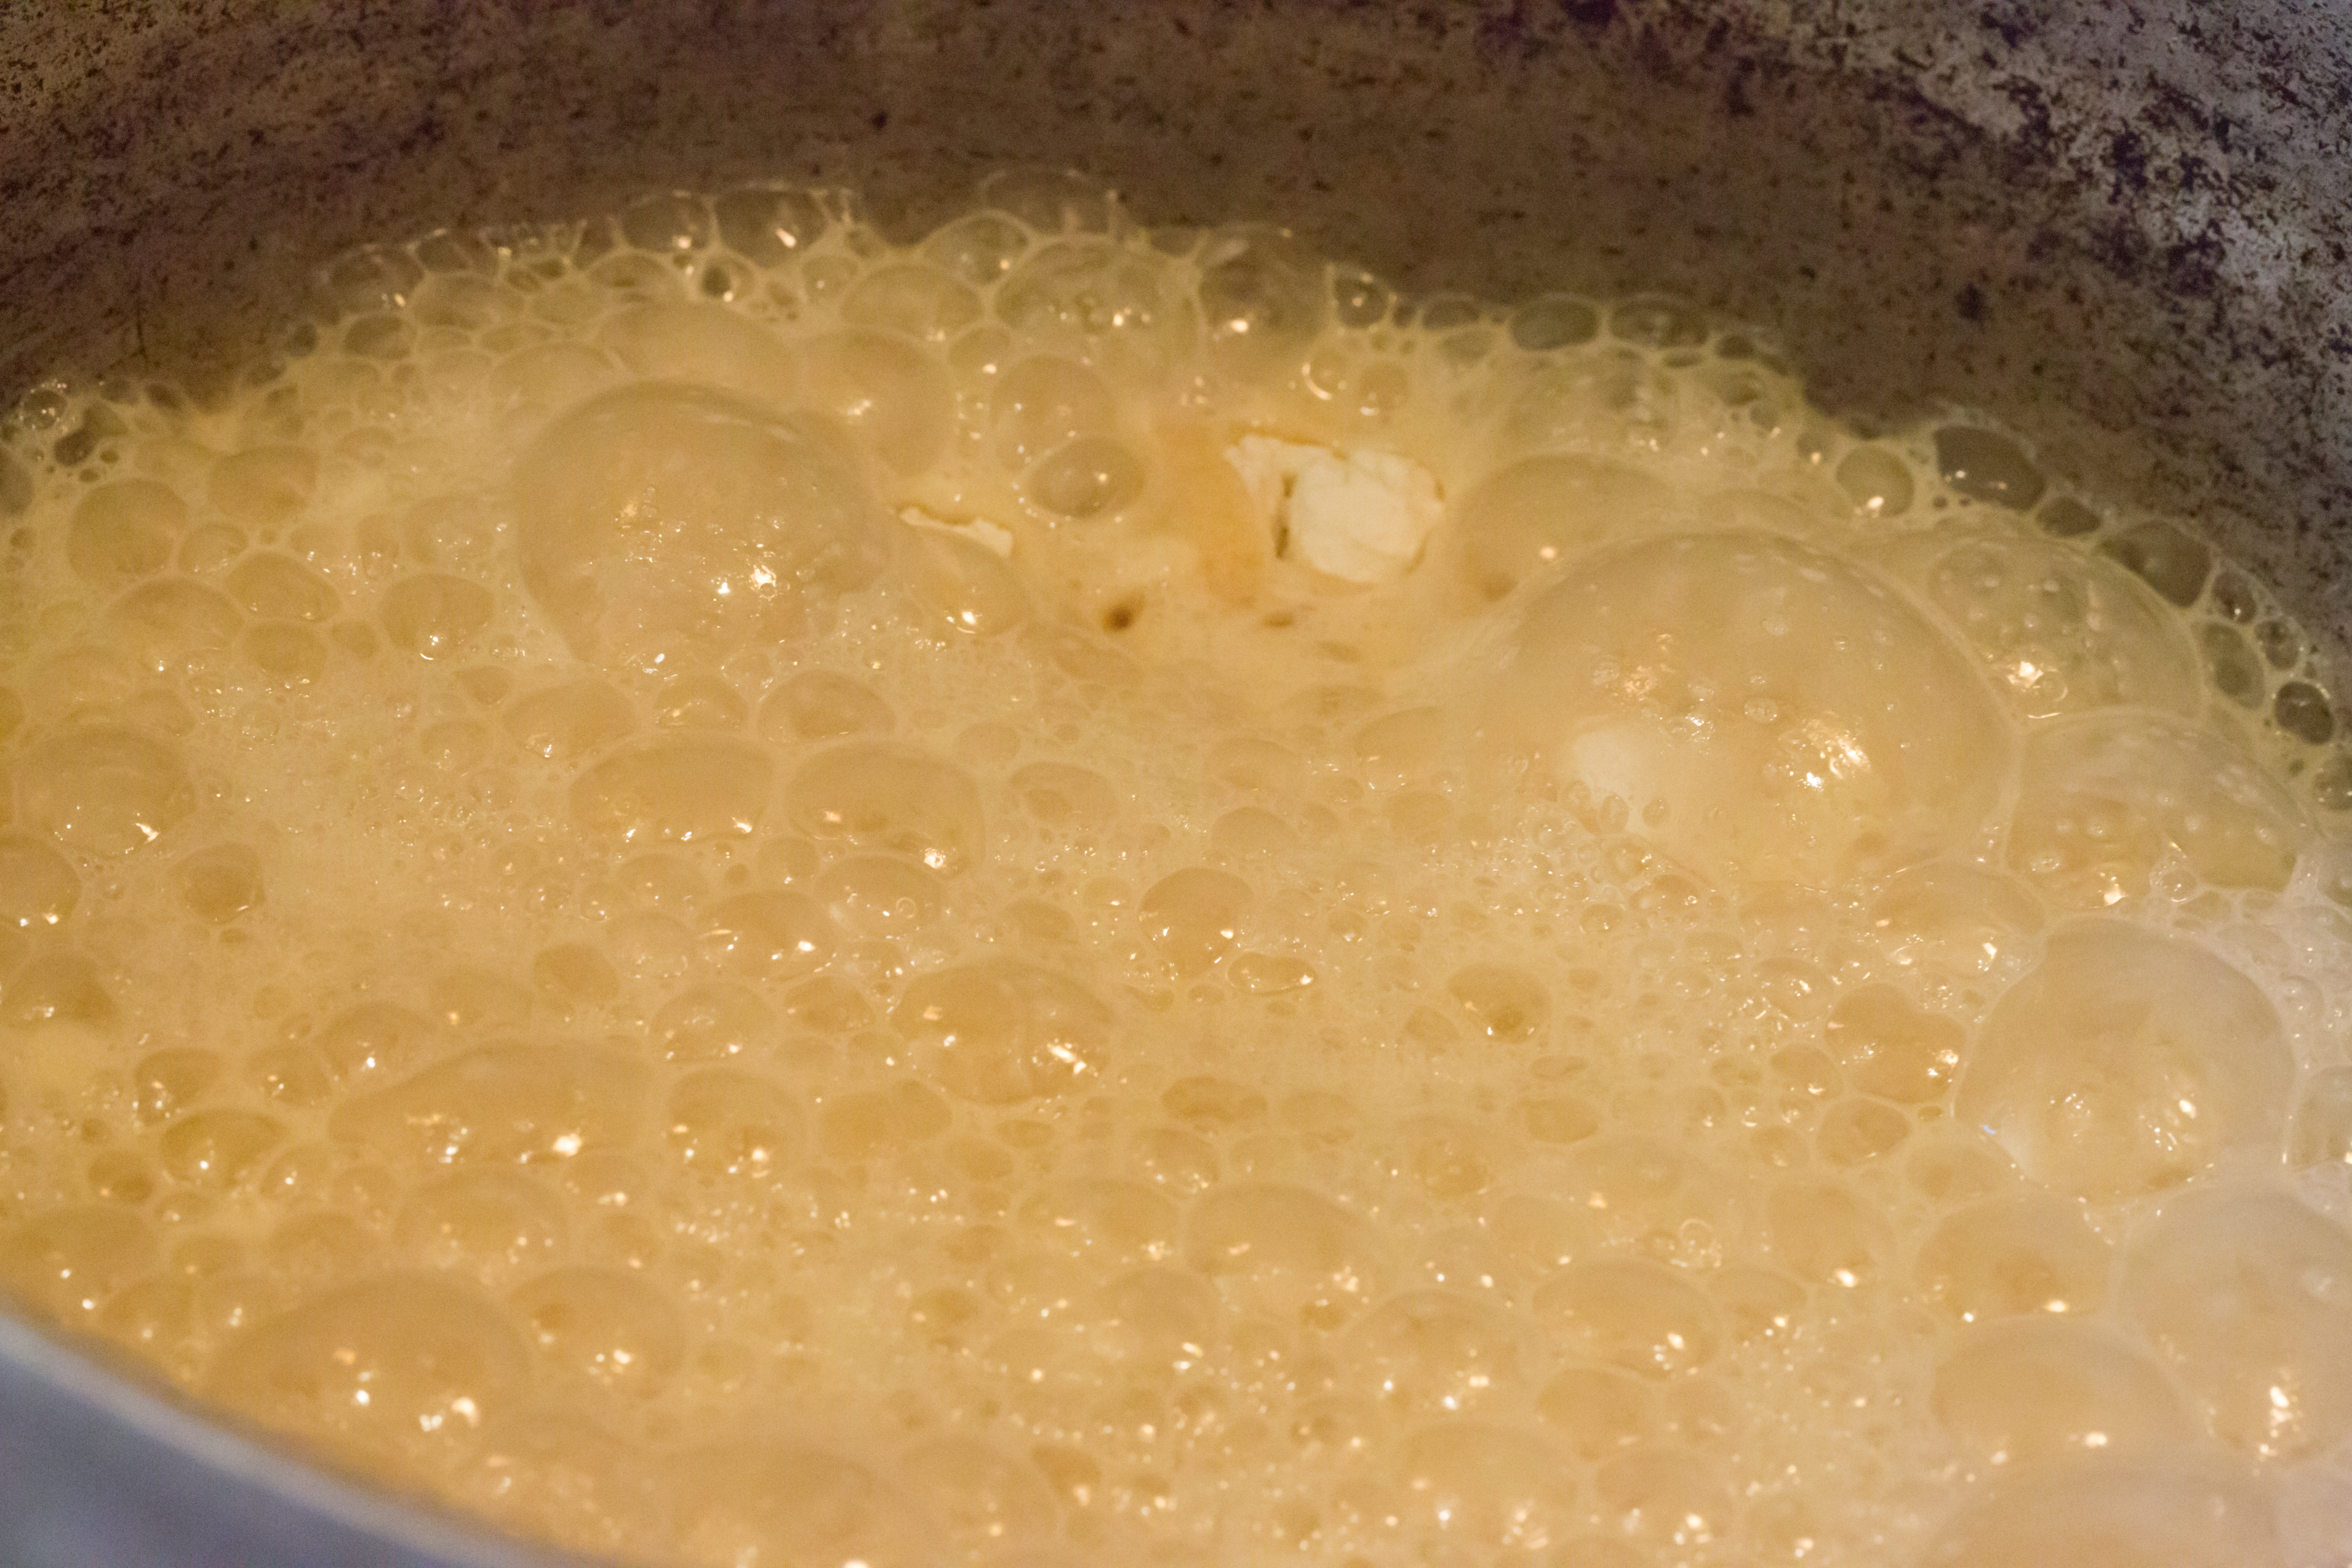
Roux beginning to cook but it needs to get a lot darker than this

You need the biggest metal spoon you can find to keep you from getting burned with Cajun napalm

The bowl of chopped vegetables ready to be dumped into the roux

Chopped vegetables

The Cajun Holy Trinity

Cooking the chicken to also make a double-rich chicken stock
This recipe should easily serve 8 to 12 hungry people