Tag Archives: biscuits

FAMILY MEAL AT RICH TABLE

We are in the Bay Area to celebrate Thanksgiving with our family. Rich Table will be closed on Thanksgiving Day, and our family will take over the space. In the meantime, grandkids are out of school while their parents are working full-time, so I am baby-sitting in San Francisco and my wife is child-tending (The girls are too old to be baby-sat, they remind us!) in Silicon Valley.

Thus, I have spent some time at Rich Table during the past several days. It is always interesting to watch the rhythm of work in the kitchen during the day. Most of us don’t even think about all the preparation that is required for a busy evening in a restaurant, but the day starts before noon. All of the line cooks are there, and preparation is going full blast along with the music playing on Pandora.

The line crew prepping for the night ahead

The line crew prepping for the night ahead

Sarah and I are there to analyze a new dessert offering that has not yet made the menu because it is not quite right: too sweet, not enough tang, subtleties that evade my amateur palate.

The pastry crew has arrived even earlier, and loaves of the popular fennel-pollen-scented levain have already been baked and are sitting on the counter to cool.


Fennel-pollen-scented levain cooling

Fennel-pollen-scented levain cooling

Marrow bones have been roasted, and the unctuous marrow is being spooned out to make a puree for the yogurt and bone marrow dip that goes with beet chips and sorrel.

Marrow bones

Marrow bones

Today  it is Stephen’s turn to make family meal, the early evening dinner that the whole crew – cooks and wait staff – share right before service. Family meal is a chance for each of the cooks to show his or her stuff and to share his real family’s favorite foods with co-workers. The meal also builds the camaraderie that is so important for a well-functioning kitchen.

Commerial mandoline - a potentially lethal instrument.

Commerial mandoline – a potentially lethal instrument.

Stephen has chosen to braise a pork shoulder and turn it into pulled pork, to be served with freshly baked home-style biscuits. The braise includes Stephen’s own flavorings, including whole mustard seeds. He has offered me a sample which, of course, I do not refuse. It is delicious, and I only wish I could join the crew for family meal.

Pulled pork - braised pork shoulder

Pulled pork – braised pork shoulder

HAPPY THANKSGIVING!

Advertisement

Leave a comment

Filed under Food, Photography, Restaurants

BISCUITS – A FAMILY SECRET REVEALED

My son enjoys cooking, and is very good at it, but  his scientist training attracts him to difficult recipes or those with a lot of instructions.   This is the edited version of Peter’s biscuits.  As I was collecting biscuit recipes from all of the good bakers in the family, I asked Peter for his version.  He sent me some copious notes in addition to the recipe: [1] Don’t use rancid shortening. Probably the voice of experience. [2] Use a pastry blender, although a large spoon works fine. [3]  Biscuits mix better on wood than Formica because the wood grain holds the flour. [4] To re-heat a day-old biscuit, put it inside a plastic bag and warm it for a few seconds in the microwave; then put it in the toaster oven for the final warm-up to remove the sogginess of the microwave. All useful suggestions either for the neophyte or experienced biscuit baker.

Other suggestions include: [1] the shortening in this recipe is on the low end of most recipes which go all the way up to 6 tablespoons of fat. The lower amounts of shortening produce flakier biscuits, the larger amounts produce soft biscuits. It’s only a matter of preference. Butter has more water content than vegetable shortening, so the finished biscuit is softer. Bacon grease is a good substitute, but it ought to be solid – not melted. [2] The less manipulation of the dough after you have added liquid the better. Folding is better than kneading so you get flaky layers. [3] Cold is better than warm. Be sure to chill the flour mixture before you add the liquid to get the flakiest biscuits. [4] Biscuits squeezed together in a cake pan will rise higher than those spread out on a baking sheet.

Peter learned the original, non-scientific version of his recipe from his maternal grandmother and then passed it on to his younger sister, who is a professional chef. She has worked in well-known restaurants in New York City and San Francisco. A common tradition in all of these places is the “family meal”. Chefs and cooks take turns preparing a meal for cooks and wait staff before evening service begins. The kitchen crews in all of those places are used to complex meals  with expensive ingredients. Yet in every single one of them, when Sarah cooks “family meal”,  cheers inevitably go up for her biscuits and barbecued brisket. There is never a single biscuit left when service starts.

In fact, the biscuits are so popular with restaurant staff that they will go to great lengths to get their share. One time a baking sheet of hot biscuits had just come out of the oven, ready to be passed around the table. Before anyone knew what was happening, the pan crashed to the floor, and the biscuits spilled out. Next stop for the biscuits was the trash barrel in spite of the cries of the hungry staff. One frustrated cook leaped up and went head down into the trash barrel to retrieve those precious gems.


PETER AND SARAH’S FAMILY MEAL BISCUITS

Ingredients

  • 2 cups flour
  • 1 teaspoon  salt
  • 2½ teaspoons baking powder
  • 2 tablespoons shortening (Crisco much preferred)
  • ¾ cup  whole milk

Method

  1. Preheat oven to 450º.
  2. In a large mixing bowl, sift together the flour, salt, and baking powder.
  3. Using a pastry blender, cut in the shortening until the mixture is consistent and the size of small peas.
  4. The biscuits will be flakier if you chill the dry mixture in the refrigerator for 30-45 minutes.
  5. Add the milk, and mix with a fork, being careful not to over-mix.
  6. Turn the dough onto a heavily floured surface. Knead the dough gently by pressing and folding. Don’t overdo it!  Four foldings should be enough, and more than six is too many.  Coat the dough with flour before the final folding to make splitting the biscuits easier.
  7. Pat the dough into a flat rectangle about ¼ to ½ inches thick. Using a two-inch biscuit cutter, cut out biscuits and place them on an ungreased baking sheet. Gather up the scraps, pat them together and flatten them, cutting biscuits until the dough is used up.
  8. Bake in the middle of the preheated oven for about 15 minutes, or until done.

Yield: Between 12 and 24 biscuits depending on size and thickness

13 Comments

Filed under Food, Photography, Recipes

RICH TABLE UPDATE

We just got back from a week-long visit to San Francisco where we tended our grandson while my daughter and her husband worked overtime to get their new restaurant – Rich Table – open by July 19.

The dining room before any renovations

First-day restaurant owner thinking, “What have I gotten into?”

To my wife and me it seemed impossible to believe that they had signed the lease and accepted the keys on May 1 and were planning to be open by July 19. Part of our disbelief was grounded in having been there the day they walked into the space. The previous owner occupied the space for 12 years, and so much of the clutter of over a decade was still around. The restaurant had only shut its doors for the last time the night before, so there were also the leftovers of last-minute meals and unwashed dishes.

Wonder what else is in that scary basement?

The space is in a very good part of the city, close to the performing arts centers as well as the city hall. Still, the space was in  desperate need of a major redo. And that’s exactly what Sarah and Evan did. Walls were torn out, the restroom was relocated so that it was ADA compliant and no longer opened into the middle of dining room, banquettes were tron out, and major cooking equipment, including the range led together with duct tape,  was either replaced or sent out for a total refurbishment. Carpet was pulled up, and lurking beneath was a beautiful hardwood floor just begging to be refinished and polished.  Other discoveries included beautiful wooden pillars hidden behind drywall covers and a great red support beam for the ceiling. An image of the red beam has become a part of the web site home page for Rich Table. Old furniture was out and natural wood tables with classic chairs were brought in.

“The Beam”

After the demolition was completed. the new construction began. Evan went to an old saw mill which was being torn down in Petaluma. He bought several hundred square feet of old barn wood to be used on the walls of the dining room. With the help of their designer, Sarah and Evan put together a new space with soft-colored wooden walls, a gleaming cherry-stained hardwood floor, complementary curtains, and interesting lighting.  The roughness of the wood was softened by welcoming throw pillows at the back of the banquette.

Finishing touches on the community table

The new corner of the banquette

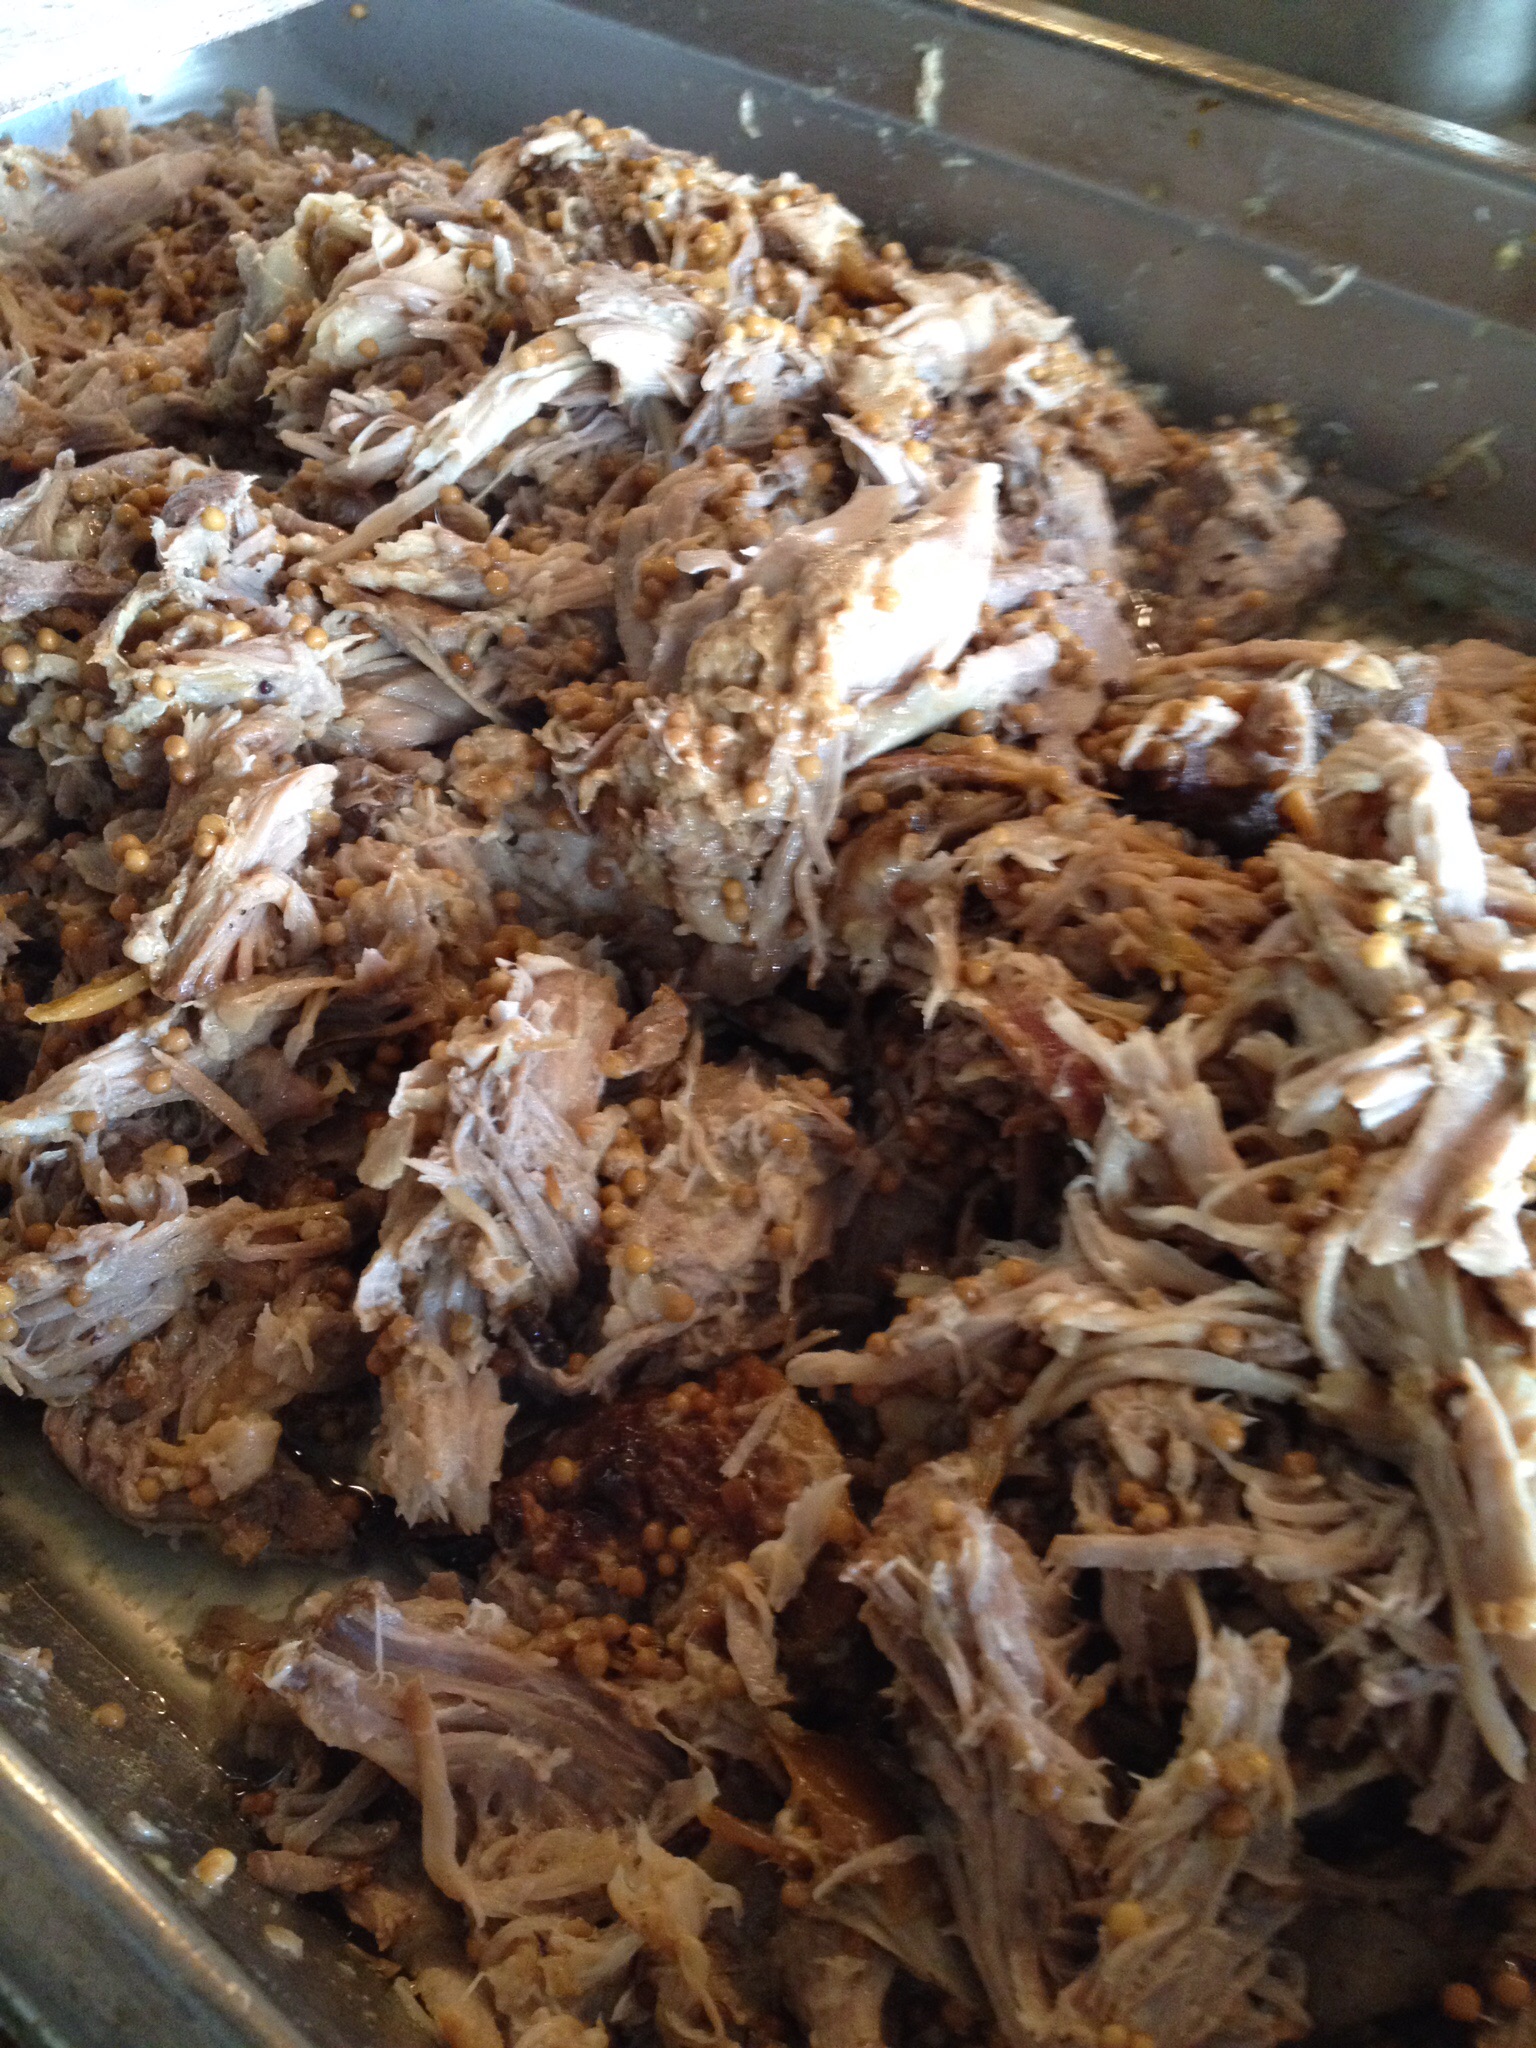
In the meantime, the two remained busy cooking for private parties, trying out some of the dishes they plan to offer on their menu. Their goal is to provide creative, well-prepared high-end food in a relaxed atmosphere without all of the fuss and with affordable prices. A couple of the dishes which will make their menu are shown here.

Grilled artichoke and crab bouillabase with ramps

Braised oxtail with foraged spring things and flatbread

They still have lots of finishing touches to put in place, but the restaurant is close enough to being ready that we wound up having a sort of family picnic. Sarah cooked some of the food at home, then brought it to the restaurant to be finished. Our son joined us from his home in Silicon Valley. After a sparkling wine toast (New Mexico Gruet, what else?) we wound up having a  feast – nothing fancy: roasted chicken, giblet sauce, fresh-baked biscuits, ears of  corn seared on the restaurant plancha, sautéed shaved Brussels sprouts, and a delicious dessert  leftover from a private party: sort of a deconstructed Black Forest cake with rich chocolate cream served between wafers of a crisp chocolate panade and topped with macerated fresh sweet cherries and whipped cream.

The big push now begins. The reservation program is not yet set up, but the plan is for Rich Table, 199 Gough, San Francisco, to be open by the end of the month.

Ready for a toast

RECIPE

Jacques Pepin says that one of the marks of a good chef is to be able to cook a perfect omelet. The other mark is the ability to roast a perfect chicken. Here is Sarah’s recipe.

Oven-Roasted Chicken

Ingredients

  • 1 fresh four-pound baking chicken
  • salt and pepper
  • 6 cloves of garlic, coarsely chopped
  • 1 lemon, halved
  • good handful of your choice of fresh herbs – thyme, rosemary, sage, or tarragon are all good choices
  • ½ cup melted butter (about)

Method

  • Thoroughly clean the chicken, inside and out, with running water
  • Salt and pepper generously inside and out
  • Stuff the cavity with the chopped garlic, cut lemon, and herbs
  • Brush the chicken all over with the melted butter and place in the middle of a heavy, oven-proof pan (cast iron works the best) over a hot flame.
  • Turning frequently and basting as needed, brown the chicken on all sides
  • Move the chicken in the skillet to the middle of an oven preheated to 425º F
  • As it bakes, turn the chicken frequently and baste it with pan juices and remaining melted butter.
  • Bake for about 1 hour or less  or until the temperature of the thigh muscle reaches 165° F using an instant read thermometer
  • Remove from the oven, let rest for about 5 minutes, and then slice into serving pieces while the skin remains crisp.

Grilling corn and Brussels sprouts on the plancha

7 Comments

Filed under Food, Photography, Recipes, Restaurants, Travel

WEST TEXAS COWBOY SOURDOUGH BISCUITS

A few months ago I wrote about Carol’s favorite biscuit recipe, the Southern classic “Touch of Grace Biscuits”.  This post is about sourdough biscuits. When we lived in West Texas, for several years I attended an annual all-male overnight fishing trip held by some rancher friends  on the banks of one of the branches of the Brazos River running through a parcel of one of the legendary West Texas cattle ranches. Menus included classic ranch fare – grilled steaks, beans, fish (if we caught enough), hamburgers,  barbecue of all sorts, and of course lots of beer. The highlight, though, was a chuck wagon breakfast. The cooks would arise before everyone else, stir up the fires that had been stoked for the night, and begin to cook huge slabs of sliced bacon and scrambled eggs in surplus Army ammunition cans set over the open fires. They also stirred up the dough for sourdough biscuits to be baked in old-fashioned spiders (three-legged Dutch ovens with flat lids) that would be buried in the coals of the campfires. This was a feast for a king, or at least some satisfied West Texas cowmen.

Three-legged spider Dutch oven

Sourdough biscuits need to be started the night before you serve them at a cowboy breakfast out on the range, so be sure to get things going before the libations and campfire stories move into full pace. Hopefully you will have a sourdough starter that you have been treasuring and “feeding” for a long time, but don’t despair if you don’t. You can start your own in a week or two before the cookout. Yeast is a fall back, but it is definitely not viewed with favor out on the ranch. Depending upon how many mouths there are to feed, you will need to increase the recipe. Allow for at least three apiece, because even modern cowboys are hungry.  If you want to bake these at home, you don’t need to dig a fire pit, you can just use your oven. However, the instructions change a bit.

A pan full of biscuits about to go into the oven

A pan full of biscuits about to go into the oven

Cowboy Sourdough Biscuits

Sourdough biscuits fresh out of the oven

Ingredients

½ Cup                    sourdough starter

1 Cup                     milk

2 ½ Cups              all-purpose flour

¾ teaspoon         salt

1 Tablespoon      sugar

1 teaspoon          baking powder

½ teaspoon         baking soda

                             bacon grease from bacon cooked earlier (or 2 tablespoons of salad oil and 2 tablespoons of melted butter)

  1. The night before, dissolve the starter thoroughly in the milk. Be sure to use a large metal container that can be covered securely to keep out any varmints – human or otherwise – during the night.
  2. Thoroughly stir in one cup of flour, cover securely, and set in a warm place: not too close to the fire, but also not out in the cold night air.
  3. In the morning, combine the remaining 1½ cups of flour, salt, sugar, baking powder, and soda.  Then add to the starter mixture from the night before, and using clean hands (!?), combine into a soft dough. Knead in the metal container for a few minutes and let rest.
  4. In the meantime, prepare the fire: quench any active flames and with a hoe or shovel pull the coals to the edge of the fire pit so that your spider or Dutch oven will fit easily into the hole.
  5. On a flat, lightly floured surface, pat the dough into a round about ½ inch thick. Then cut individual biscuits. If this is a high-class cookout use a 2½ inch biscuit cutter. Otherwise use your cleanest knife to cut 2 inch squares.
  6. Dip each biscuit in bacon grease and place it in the bottom of the cast iron pot until the pot is completely full. Put the lid on the pot and lower the whole thing into the prepared cooking pit using the bale attached to the pot and a hook or hoe.
  7. With the hoe or shovel, layer some of the coals on the top of the cast iron pot – enough to evenly cover the lid.
  8. Bake for about 30 to 35 minutes.  It is very hard to check the baking, but you can try to remove the coals from the lid to check. Just remember to put them back on top if you bake some more. It is more likely that you will just have to take pot luck (so to speak), but my observation is that the usual crowd is just happy to get something to eat.
  9. If you are baking at home, dip each biscuit in melted bacon grease or a combination of oil and melted butter (bacon grease may be too strong a flavor for a home meal). Arrange the biscuits in a 10 inch cast iron frying pan. Bake in a preheated oven at 375° for 30 to 35 minutes.
  10. Serve immediately. Cold cowboy sourdough biscuits get as hard as a rock.

Yield: About 10 to 15 biscuits

Hot sourdough biscuits ready to eat

SOURDOUGH STARTER

Sourdough starter bubbling and ready to use

Sourdough starter can last a long time if it is properly cared for. We got one from a neighbor in Utah nearly forty years ago. That starter subsequently traveled to Texas, back to Utah, on to Louisiana, back to Texas again, and now New Mexico. Starter can be easily kept out-of-the-way in a closed jar in the back of the refrigerator for years. If you haven’t used it for several months it will have to be revived before using it.  If you can’t revive it, never mind. It is easy enough to start a new one. But don’t expect your friends to help.  Years ago we gave a starter to my brother and his wife.  They enjoyed it for some time and even gave some to their friends. Calamity struck and their jar of starter got thrown out when an unknowing individual cleaned out the refrigerator.  When my sister-in-law asked her friend for a new starter batch, the “friend” refused! It’s always better to be independent of others. Sourdough is slower than commercial yeast so breads made with it often do not rise as much. For that reason, breads made with sourdough alone require a long rise or fermentation, but starter can still be used for flavoring.  The most successful recipes are for biscuits, cornbread, pancakes, traditional country loaves, and French bread.

TRADITIONAL METHOD I

Ingredients

2 Cups   milk

2 Cups   all-purpose flour

  1. Mix the milk and flour together in a large ceramic bowl until smooth. Set uncovered in a warm kitchen for 2 to 5 days, stirring occasionally.  When the mixture is bubbly and has a yeasty, sour smell, the starter is ready.
  2. Store well covered in a glass or ceramic container on the counter or in the middle of the refrigerator.  Keep at least 3 cups on hand.
  3. Replenish by stirring in equal portions of milk and flour


TRADITIONAL METHOD II

Ingredients

1 Cup                     all-purpose flour

1 Cup                     water

  1. In a 4 cup or larger clear glass jar, mix the flour and water into a smooth paste. Set uncovered in a warm place. The kitchen is usually the best choice.
  2. Every day, check the mixture for bubbles, remove any tough skin that has formed on the top, pour off about half of the mixture, and add an additional ½ cup of flour and ½  cup of water, stirring to form a smooth paste.
  3. Repeat this process each day until the mixture is covered with bubbles and expands to double size or so. You should observe frequently during the day and evening because a good starter will eventually collapse from its own weight and lose volume.
  4. You will probably need to repeat the process for a week or more before you have established a good starter.
  5. After that, you should repeat the replenishment process for at least a couple of days before you plan to bake.
  6. You may store the starter in the refrigerator, but that is not necessary and even encourages less desirable things to grow and discolor the mix. If that happens, pour off the discolored top part, keeping just a few tablespoons of the starter to rejuvenate your stock.


NEW METHOD

Ingredients

2 Cups                   all-purpose flour

2 Cups                   water or milk

1 Tbsp                   sugar

½ pkg                    dry yeast

  1. Mix the flour, milk and sugar together into a smooth batter. Sprinkle the yeast over the surface and stir in. Allow to stand uncovered in a warm kitchen until the mixture is bubbly and with good aroma. The starter is ready.
  2. Store and replenish as above.
  3. If you have not used the starter for a long time, you may need to add milk and flour in equal amounts with a tablespoon of sugar, and let the mixture stand overnight before using.

 A LITTLE SOMETHING EXTRA (IN LOUISIANA IT’S LAGNIAPPE)

Sarah and Evan cooking at one of their popular pop-up dinners

For those of you who have been wondering about Sarah and Evan’s restaurant, it is moving closer to reality. They have signed a lease on space at 199 Gough in San Francisco’s Hayes Valley. Now they are waiting on the liquor license before they start renovation and moving in. You can read all about the venture on Kickstarter and at the same time have an opportunity to participate in the project. http://www.kickstarter.com/projects/1777795794/rich-table

1 Comment

Filed under Food, Photography, Recipes

TOUCH OF GRACE BISCUITS

A few years ago, my wife Susan and I compiled a family cook book based upon the hundreds of hand-written index cards in our jammed recipe box. We also asked our children to send us their favorite recipes. Carol, our older daughter, sent us a recipe for “Touch of Grace Biscuits” which she described as one of her favorites. Although she was born in the Mountain West, she grew up in the Deep South, so her palate often favors Southern tastes.  She has perfected Touch of Grace Southern biscuits. There are lots of recipes for biscuits, but few of them seem to rise up tall with a flaky inside.  These definitely do. This recipe is one of Carol’s specialties that she gleaned from a couple of Southern cookbooks.  There are various explanations for the “touch of grace” title, but they all trace back to the noted Southern food expert and cook book author, Shirley O. Corriher. According to Bernard Clayton in his encyclopedic “Complete Book of Breads”, six Atlanta cooks including Shirley Corriher were gathered together by Nathalie Dupree to create the best Southern biscuit from a large collection of recipes. Ms. Corriher offered up her grandmother’s recipe which she described as made with a “touch of grace”. Another version says that the source was a hand-written note in the margin of the recipe. Ms. Corriher herself describes the origin of the name in her own book, “CookWise: the Secrets of Cooking Revealed”. Unable to duplicate her grandmother’s biscuits, Shirley Corriher asked, “Nannie, what did I do wrong?” to which her grandmother replied, “Honey, I guess you forgot to add a touch of grace.” Whatever the real story of the name, these biscuits remain popular and appear in many a Southern baking book.

Touch of Grace Biscuits ready for the oven

One of the key ingredients for the recipe is Southern self-rising flour. Most Southern bakers insist that the only flour to use is White Lily flour.  To the dismay of many, the original mill in Knoxville, TN closed in 2008 after operating since 1883.  Production was shifted to two mills in the Midwest by the new owner, the J.M Smucker Company, who insists that the new product is indistinguishable from the old. Blind testers refute that statement and have demonstrated that they can tell the difference. Some Southern home bakers resorted to hoarding the old stuff when they learned of the plan to relocate the mill.  Apparently, there were many reasons that White Lily was different from the flour that you buy at grocery stores outside of the South. Perhaps most importantly, White Lily was made from softer Southern wheat with only about 8 percent protein while Northern and Midwestern flours are milled from wheats with 10 to 12 percent protein. The flour was supposed to be ground more finely, bleached with chlorine rather than other bleaching agents, and sifted several times before packaging. Even without the original White Lily flour, Touch of Grace biscuits are light and delicate. I can only wonder how much better they would be with White Lily.

Touch of Grace Biscuits fresh from the oven

Here is the recipe as my daughter sent it to me. The ingredients are exactly the same as the original by Shirley Corriher with some minor modifications in the method. The dough will be much softer than usual biscuit dough. That is why you don’t cut the biscuits but rather form them into rough balls and dredge them in all-purpose flour before putting them in the pan. Crowding them will make them rise higher.

TOUCH OF GRACE SOUTHERN BISCUITS

Ingredients

1½  Cups              sifted self-rising flour

1/8 tsp                  baking soda

1/3 tsp                  salt

1 Tbsp                   sugar

3 Tbsp                  shortening (not butter)

1¼  Cups             buttermilk

1 Cup                    all-purpose flour

2 Tbsp                  butter, melted

  1. Preheat oven to 475º and spray round cake pan with cooking spray
  2. Combine self-rising flour, soda, salt, and sugar  in large mixing bowl. Work in shortening using a pastry blender until the mixture is a pea-sized meal.
  3. Stir in buttermilk  and let stand for 2 to 3 minutes. The dough should be soft and wet.
  4. Pour the all-purpose flour into a pie pan.  Spoon a lump of the dough into the flour, working and shaping it into a soft round. Shake loose any extra flour and place the round in the greased cake pan, continuing to shape and place biscuits until the pan is full. Have the biscuits touch one another as you fill the pan.
  5. Brush the tops of the shaped biscuits with the melted butter and bake for 15-20 minutes until the biscuits are a golden brown.  Serve immediately.

Yield: About one dozen biscuits

Ready to eat with butter and jam

As an aside, self-rising flour is a fairly standard Southern ingredient which may be relatively un-used or even hard to find in other parts of the country. Exactly what is it? Self-rising flour is a regular flour that has been pre-mixed with baking powder. Because of that, you should not use it when a recipe calls for yeast as a leavening agent. If Southern-style self-rising flour is not available, you can make your own by sifting together 1 cup all-purpose flour, ½ cup “instant” flour (Wondra is a popular brand which contains a mixture of wheat and malted barley flavors) and 1½ tsp baking powder.

Leave a comment

Filed under Food, Photography