
A swarm of bees has invaded one of our canales, the little troughs that drain rain water from the flat roofs of New Mexico. We don’t know the first thing about bees, so that prompted a call to the local bee expert who advised that we call Nicolas, an expert bee keeper who specializes in extracting bee hives. Part of his fee is that he keeps the queen bee for a new pollinator hive. He has many hives that he moves around the orchards and farms of Northern New Mexico. Nicolas grew up in Provence, helping his uncle move hives in the fields of lavender that are so well known in that part of France.
“Nico” assessed our situation and then returned with his bee-keeping gear including his netted hat, heavy boots, and full-length coveralls with thick gloves that extended to his elbows.
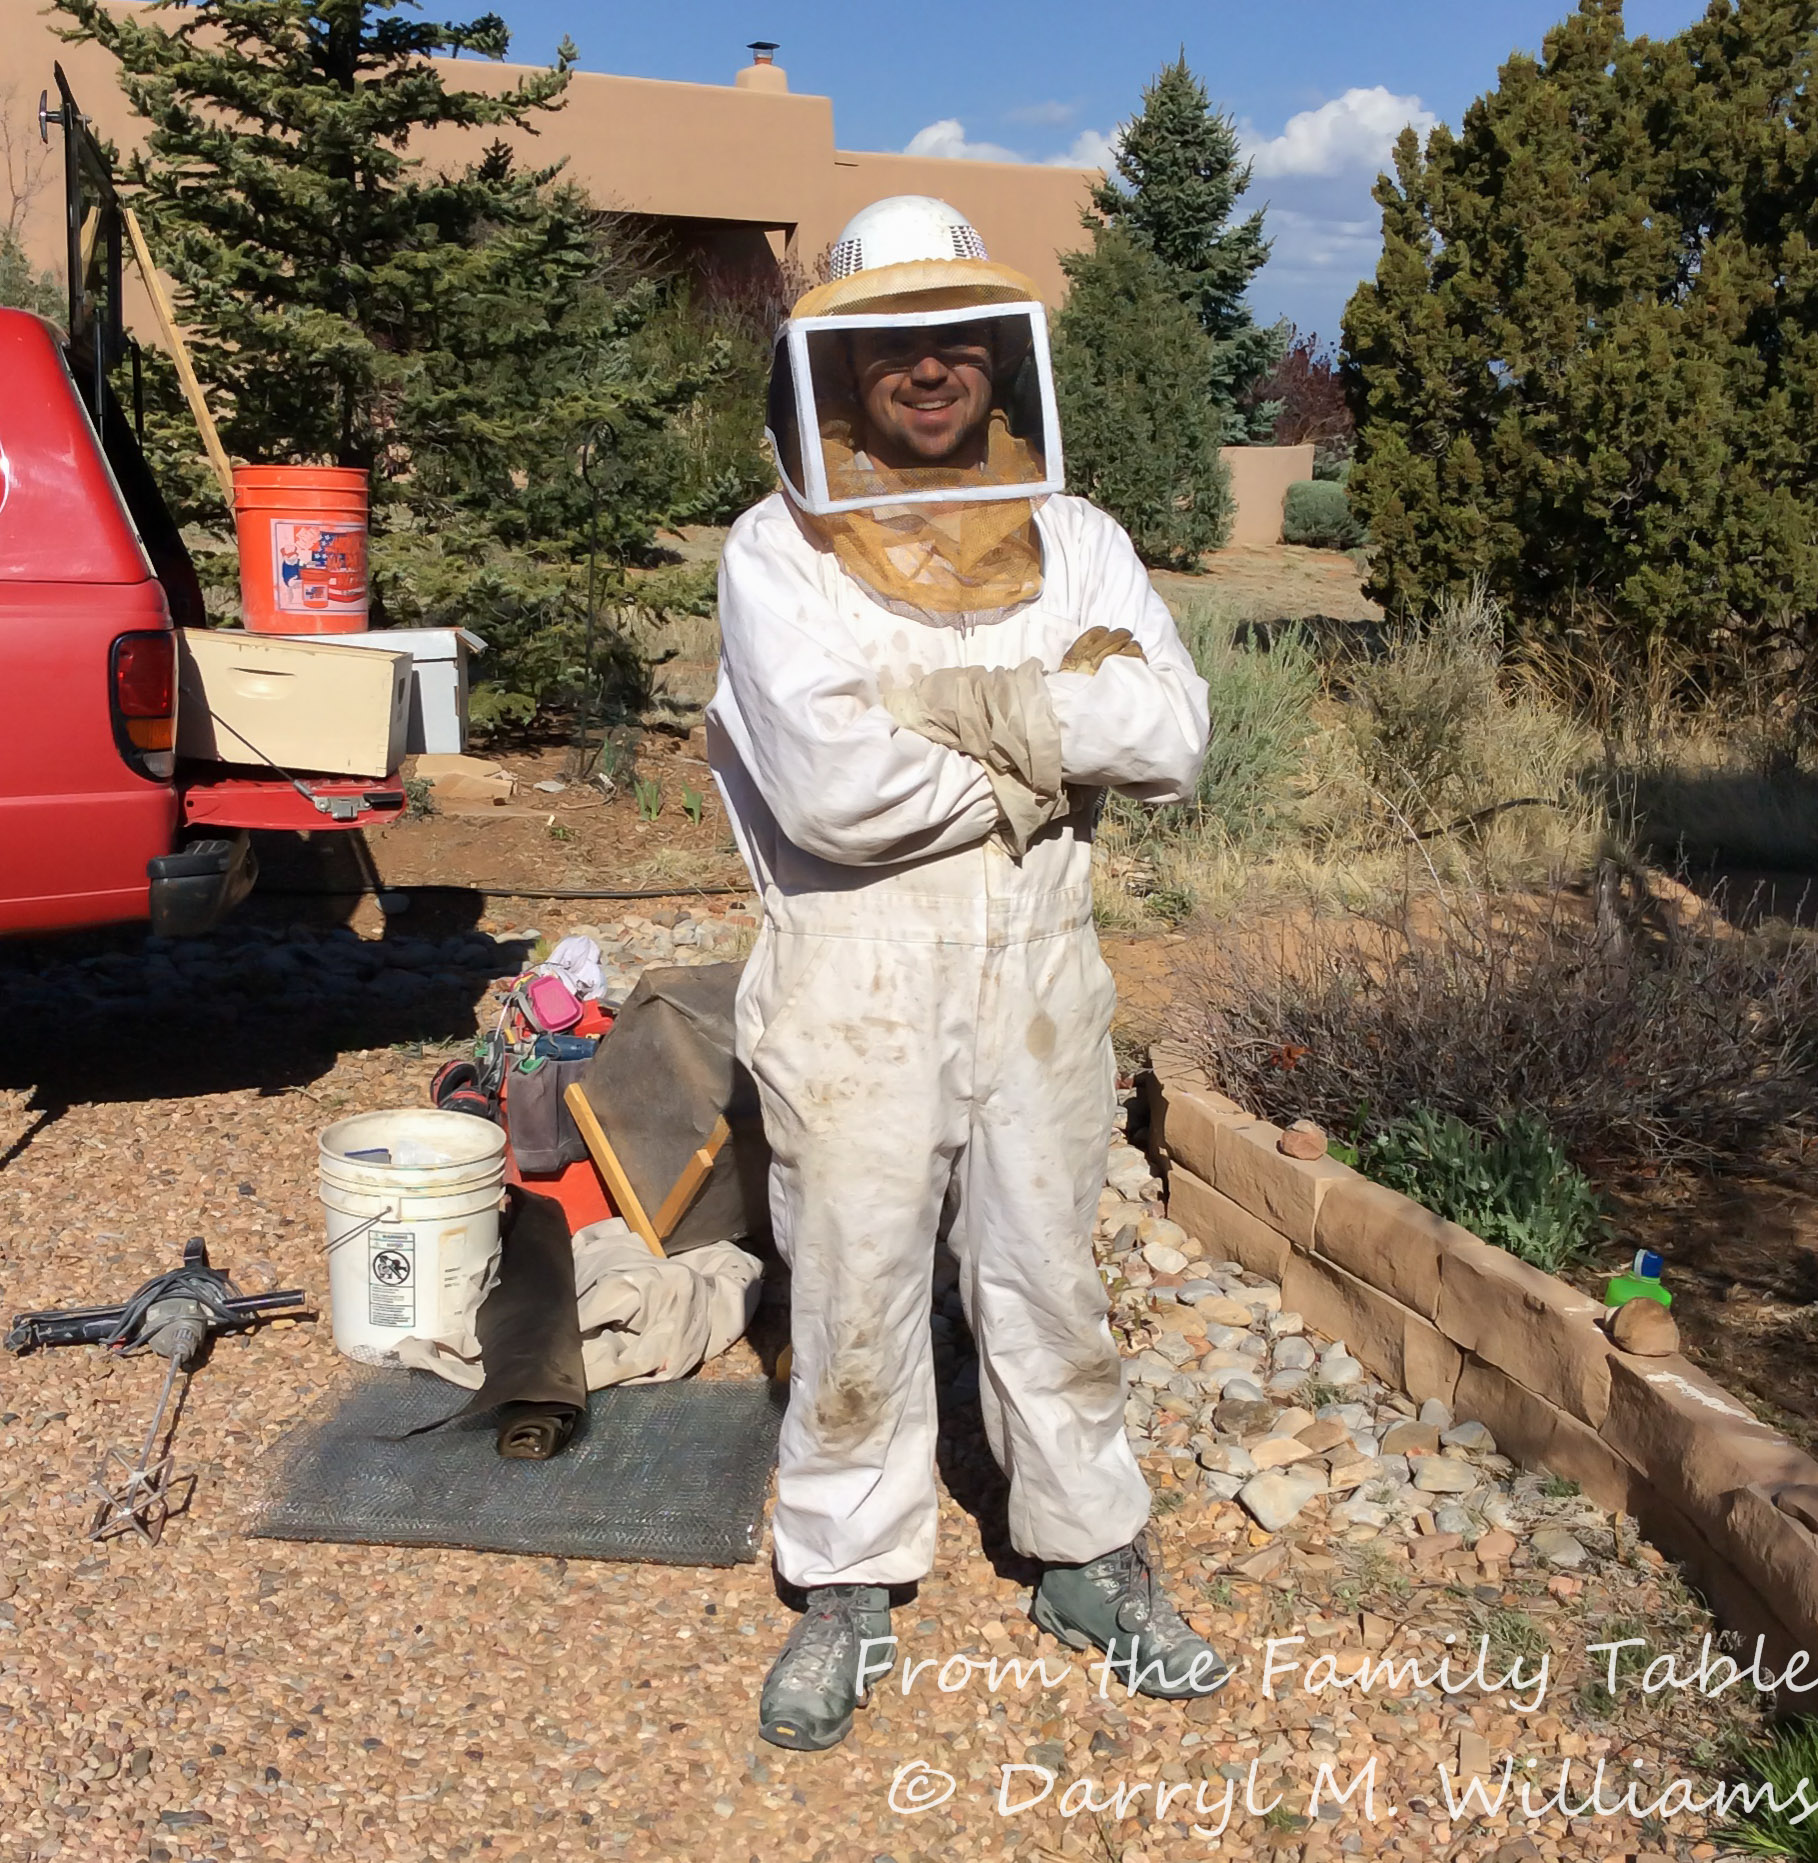
Nico in full bee-protective gear
Unfortunately, the bees proved more aggressive than usual, although Nico did not believe they had been Africanized. Still, he did not want to use the queen with her “bad genes” in his pollinator hives. He did plan to capture the bees without exterminating them. That required a new strategy, and we are still waiting for Nico to come back with additional equipment.
As spring has arrived, the bees have become more active. In fact, they dive bomb us during the afternoon if we walk below their nest. They are more peaceful when they are busy among the flowers.


As a gift, Nico brought us a small jar of honey collected from his bees. He has a business where he sells his honey, Fool’s Gold Honey. That made me think about ways to use honey beside just smearing it on a hot biscuit. What could be a better alternative than a Northern New Mexico sopaipilla? Sopaipillas are deep-fried flaky puffs very similar to the beignets of New Orleans. They are also related to Navajo (or Pueblo) fry bread and buñuelos that are such important parts of Southwestern cuisine.
As to sopaipillas, there is no doubt that they originated in Northern New Mexico. My first memory of them was in 1948 when I visited my aunt and uncle, then living in Los Alamos. The recipe that follows is theirs. The popularity of sopaipillas has spread throughout the Southwest, and they now are on the menus of practically every Tex-Mex restaurant, including those in New York City. They are usually served at the end of a meal with honey and maybe butter to pour inside, but they can be dusted with powdered sugar, coated with honey, served with jam, or even stuffed with chili con carne or carne asada as a main dish. Any way you eat them, they are delicious. My most memorable sopaipillas – actually non-sopaipillas – were served years ago in the Cactus Taqueria in Dumas, Texas. The restaurant is no longer open. While traveling, our family stopped for lunch. We ordered the usual tacos and enchiladas. Sopaipillas were promised as dessert. Next to us, three cowboys were just finishing their meal, so the waitress delivered three big sopaipillas. At first, each of the cowboys poured honey into his dessert from a plastic dispenser sitting on the table. Shortly, one of the cowboys, unsatisfied with the flow of honey from the dispenser, stuck the end in his mouth and sucked away. We paid our bill as quickly as we could, and left with the waitress chasing after us shouting, “You still have your sopaipillas coming!”
Sopaipillas are very simple, and very easy to make, but there are a few tricks. First, the dough needs to be rolled to the right thickness. Too thick or too thin, and they will not puff up. Second, the oil for frying must be the right temperature – close to 400ºF. Otherwise they will not puff and/or become greasy. Finally, they need to be held under the surface of the oil for awhile when you first put them in the hot oil. Otherwise they will not puff up. If they don’t puff up immediately or completely, they will not.


RECIPE
Sopaipillas
Ingredients
- 1 cup unbleached all-purpose flour
- 1 teaspoon baking powder
- ¼ teaspoon salt
- 2 tablespoons lard or vegetable shortening
- ¼ cup water
Method
- In a large bowl, combine the flour, baking powder, and salt. Cut in the lard or shortening with a pastry blender until the mixture resembles cornmeal.
- Add the water and knead gently until the dough comes together. If it is too sticky, add another teaspoon or so of flour. If it is too dry, add more water, a few drops at a time until the dough holds together and forms a smooth ball.
- Turn the dough onto a heavily floured surface. Knead gently by flattening it out, folding it in half, flattening out again, and folding in half again. Repeat the process 10 or so times. Then form into a ball, cover with plastic wrap, and let rest for 15 minutes
- Place the rested dough on a floured surface and roll it out into a rectangle about ¼ inch thick. Cut into rectangles, squares, or triangles about 6 inches on a side.
- Cover the individual pieces with a cloth while you prepare to fry them.
- Heat at least 3 inches of oil in a heavy skillet or deep-frying pot to 400°F. When the ol is hot, gently drop one or two pieces of dough in the oil. With a spatula or pancake turner, hold the pieces under the surface of the oil until they start to puff. When the sopaipillas are brown underneath, turn them over and brown on the other side. Remove from the oil, and drain on several thicknesses of paper towel. If you wish, at this point drench the hot sopaipillas in powdered sugar or a mixture of sugar and cinnamon. Keep the finished sopaipillas in a warm oven (170 – 200°F) while you finish cooking the remaining pieces of dough. Serve with honey and butter while still warm.
- This should make 10 to 15 6-inch sopaipillas.
After I had written this post, I realized that I had already written about sopaipillas nearly a year and a half ago (October 9, 2013). Worse, I had told the same stories about my aunt and uncle and about eating sopaipillas in the Cactus Taqueria. I guess that’s because good stories are worth hanging on to, or more ominously I should chalk it up to old age. I need to ask my kids if I have started to repeat myself. I don’t think I want to know the answer.
I have included some of the images from the earlier post, but as a request for forgiveness, I have added some images of the wildflowers and garden flowers that have attracted bees from our hive.


