THE MYSTIQUE OF COMPETITION CHILI

My friend, Reggie, has invited me to cook with him at the upcoming California State Championship Chili Cook-Off. I have accepted the offer. He is fun to be around, and the competition is in California wine country.

Reggie is an excellent chili cook, and he has won many contests over the years. I have previously written about his exploits at the Terlingua International Chili Championship. I, on the other hand, have only entered one other contest, and that was over ten years ago.

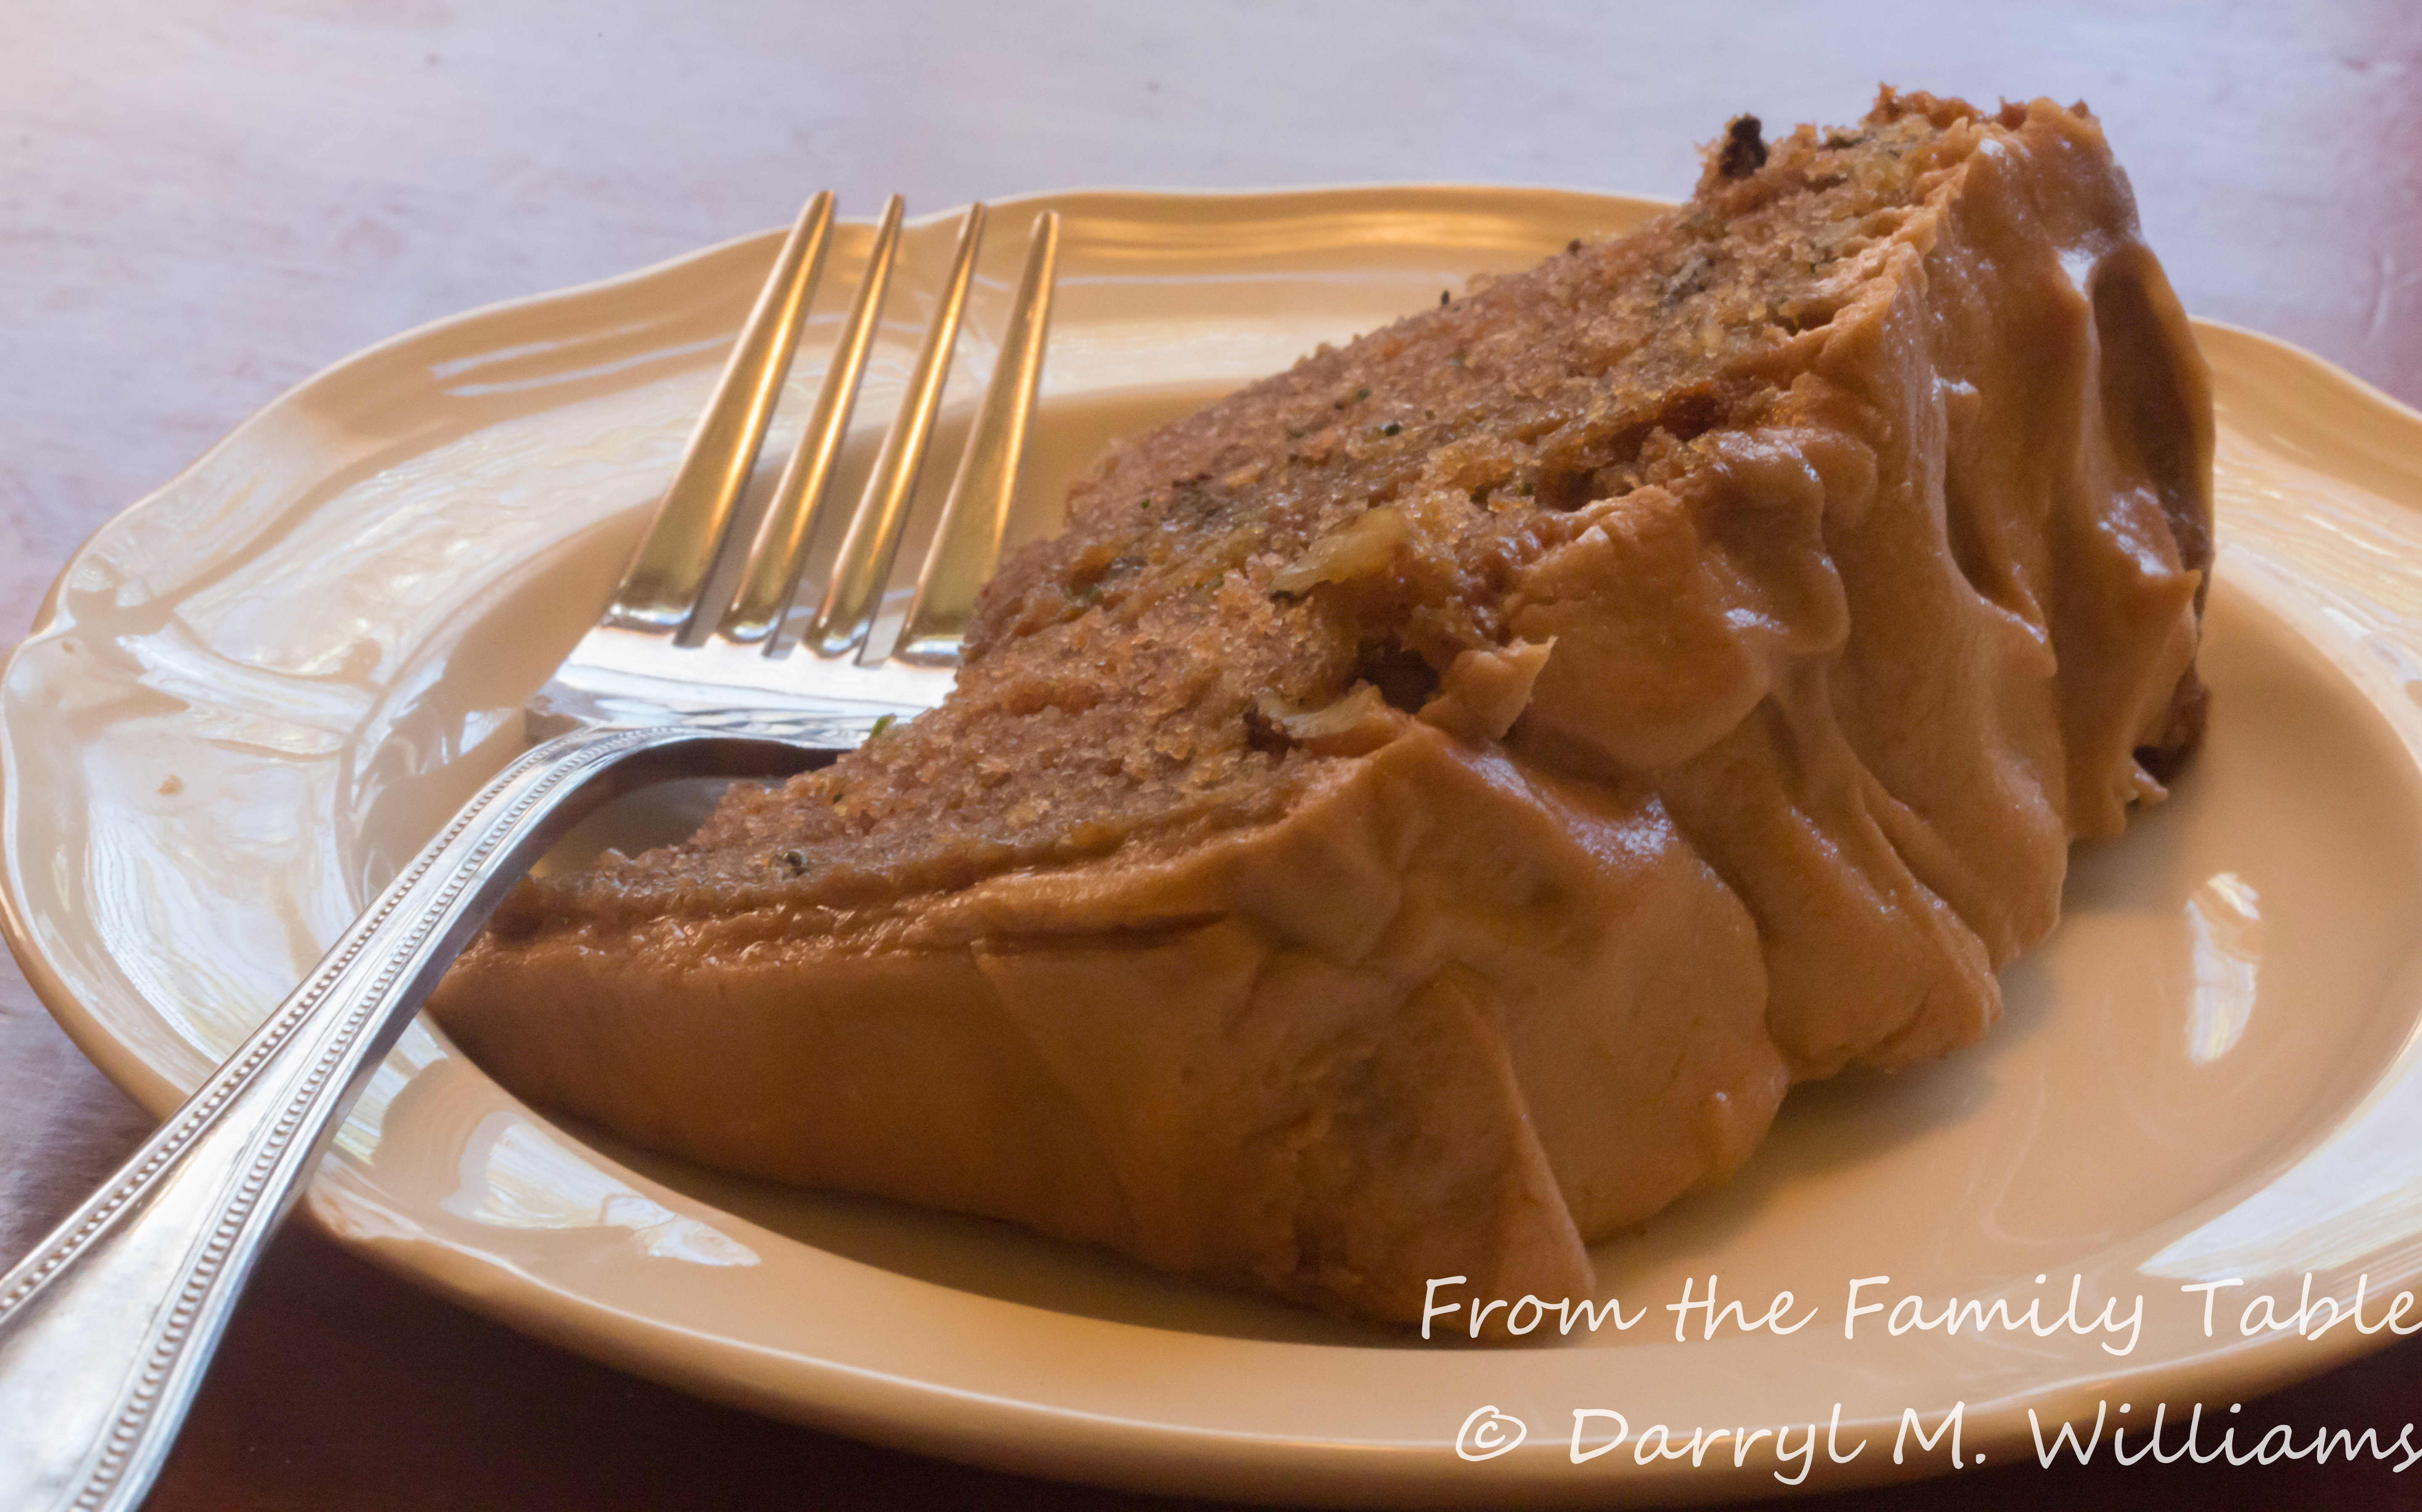
Clearly, I don’t know what I am doing (There is nothing new about that!) so I have been reading about chili and practicing my chili cooking. Reggie was very generous in giving me his recipe for competition chili, but I wanted to know a little more about the ingredients and why things got added when they did.  I made a practice run with his recipe, but I still needed more information. This is my report.

First, there is the matter of spelling. If you live in New Mexico, chile is spelled with an “E”, and everybody knows that refers to the plant, the peppers that grow on the plant, and the powder that is made by grinding up the peppers (also called ground chiles or – in Spanish – chile molido). If you live in Texas, chili is spelled with an “I”. Unfortunately, not everybody knows that the word refers to a meat and gravy concoction that includes a seasoning made up of ground-up chiles along with cumin, garlic, and other ingredients that is known as chili powder. To add to the confusion, there is an abandoned railroad line in New Mexico known as the Chili Line. I think it mainly carried forest products.  In the UK, the peppers are called chillis, so there you are.

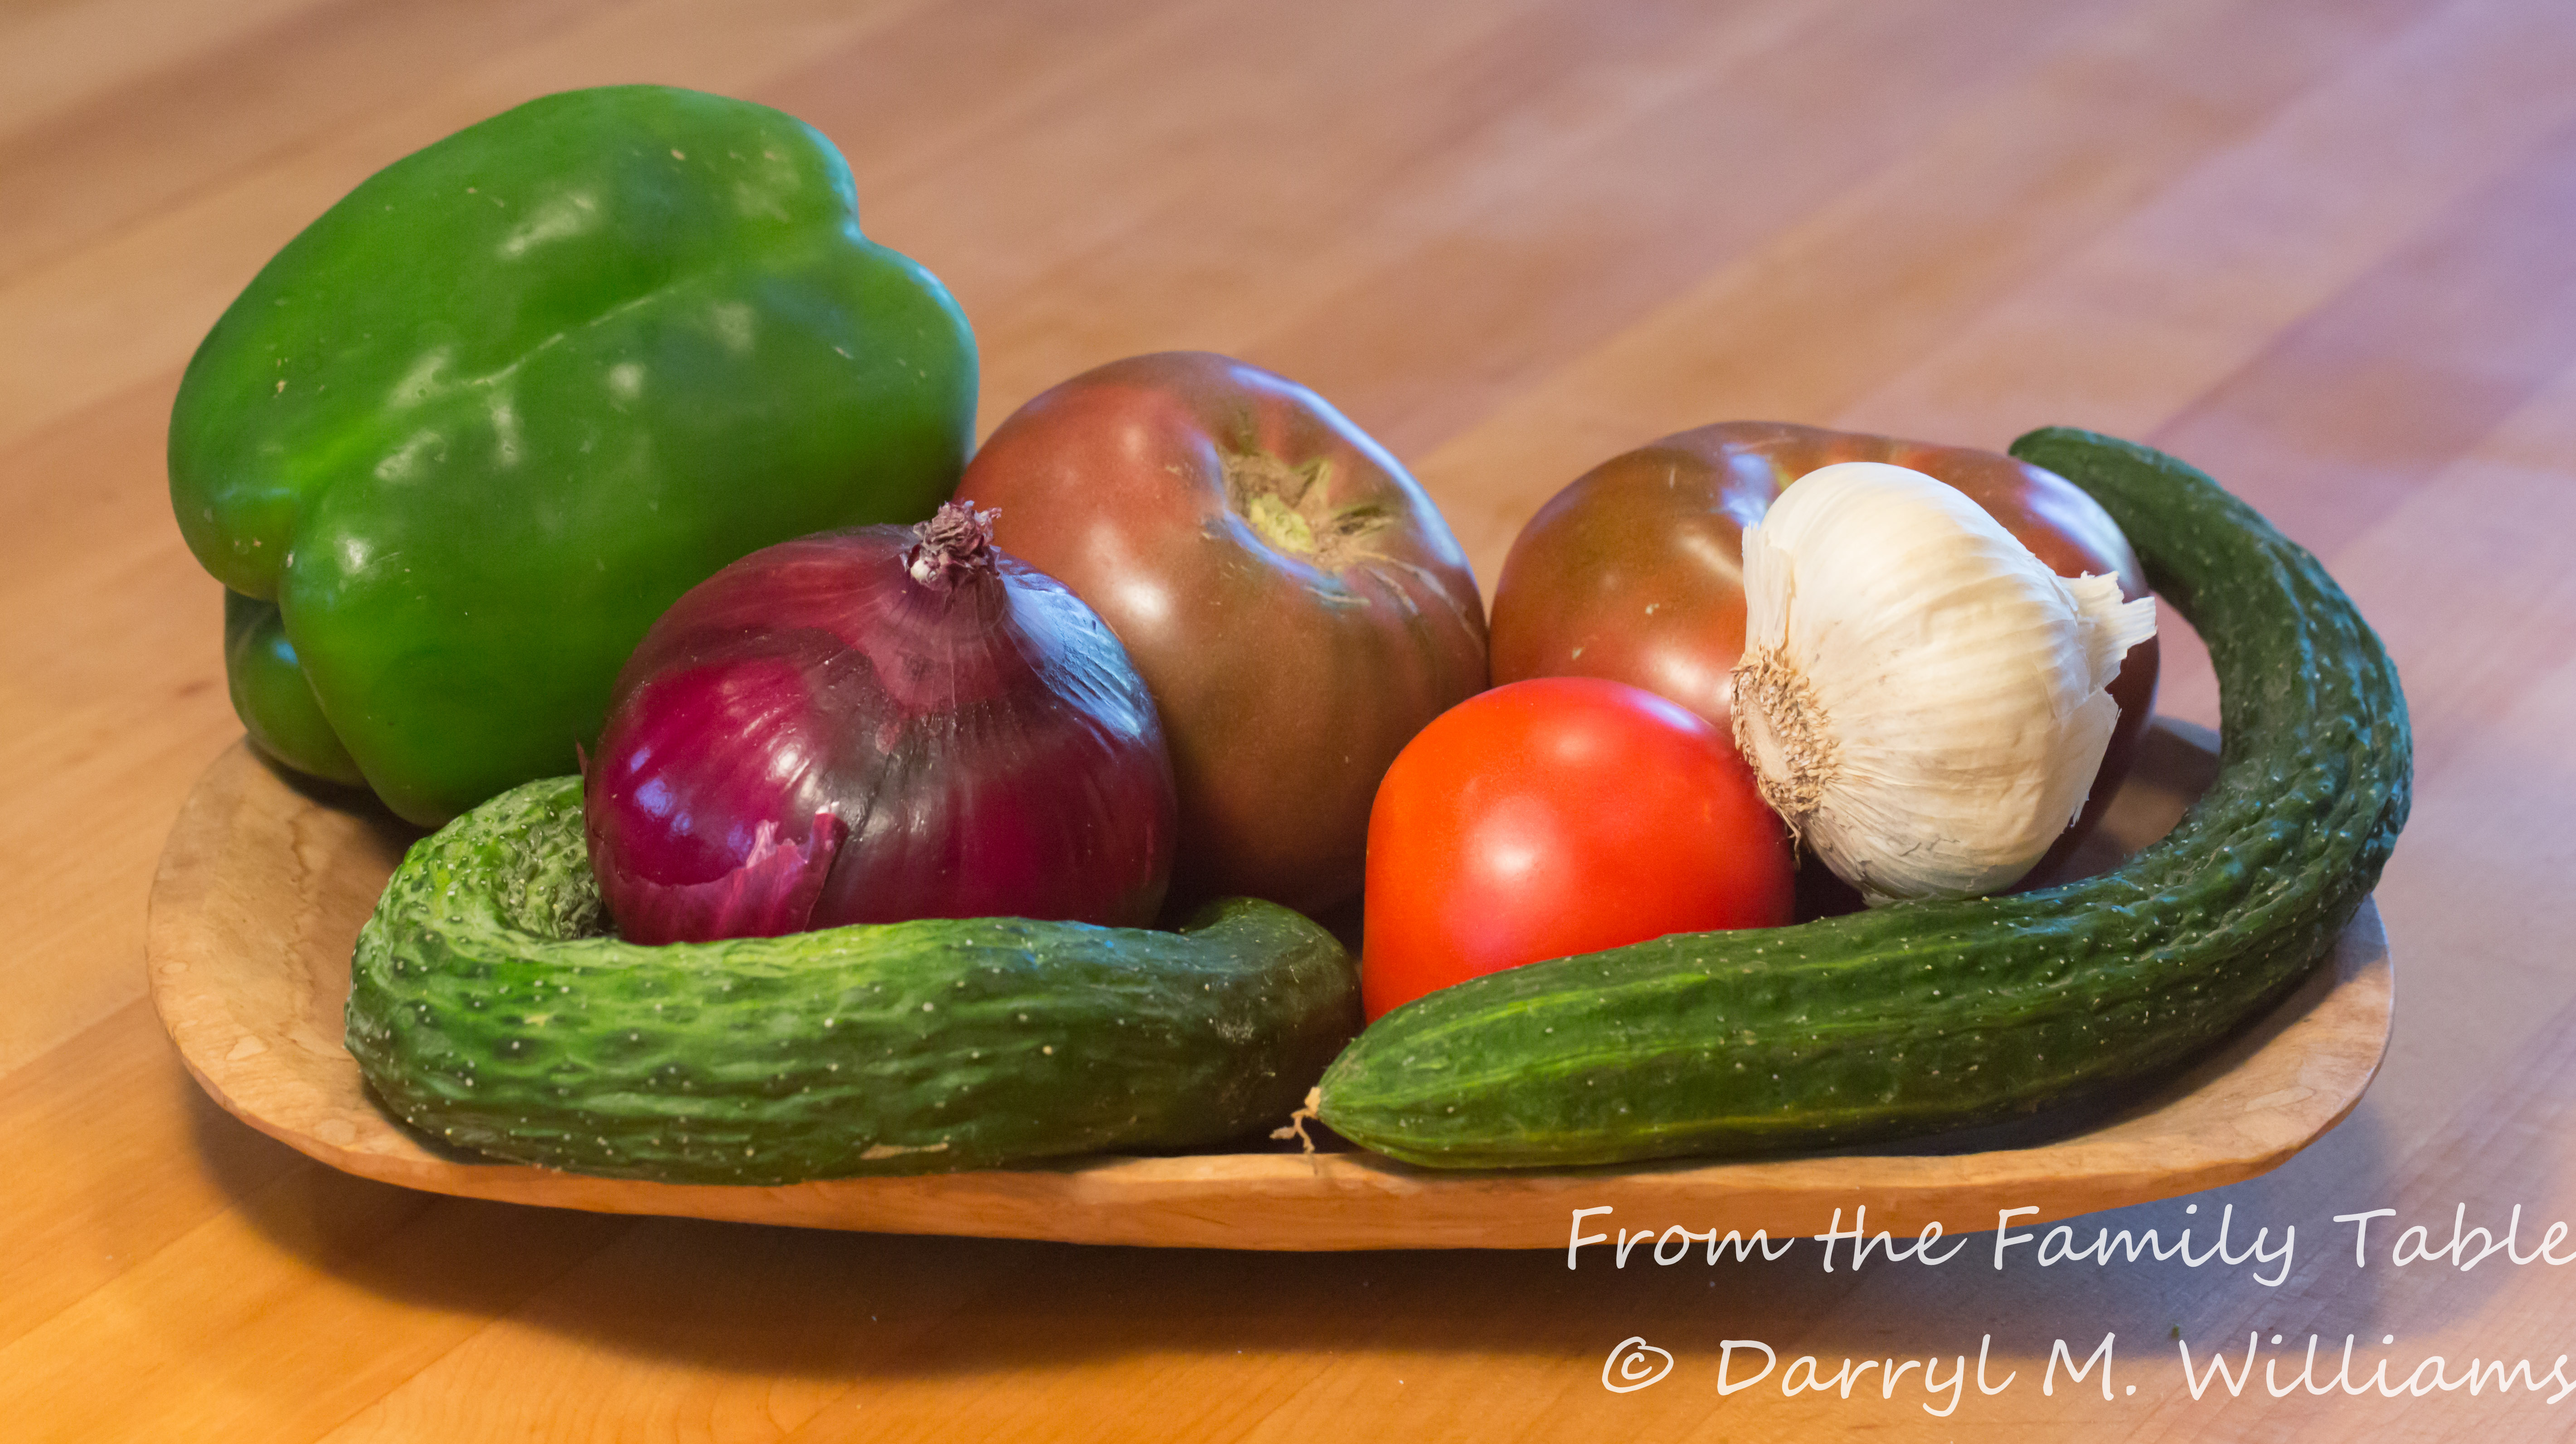
On top of all this, there are at least 200 different chiles, and new ones are being developed all the time. In the US Southwest, the most common chiles are New Mexicos, Anaheims, jalapeños, poblanos, serranos, güeros, Santa Fe grandes, habaneros, and arbols – among others. Then, if you smoke a jalapeño it becomes a chipotle. If you dry a poblano it becomes an ancho. The well-known Southwestern chef, Mark Miller, has put together a beautiful little book, complete with beautiful images, to make this understandable. The book is called, The Great Chile Book, published in 1991 by Ten Speed Press, Berkeley, CA.

It becomes clear that the spice master has a wide palette to choose from when he or she decides to grind up a batch of Texas chili powder. Besides, the chile can be left raw, smoked, dry roasted, etc., etc., giving a myriad of options, never mind the cumin (dry roasted or not) and the ingredients that are top secret. Getting the recipe for commercial chili powders is like asking about instructions for building an atomic bomb.

Then, there is the rivalry of various purveyors. Gebhardt’s and Mexene are two brands that may be available at your local grocery store, and they are still  used in cooking competitions. Pendery’s has been making chili powders for over a ceentury, and Mild Bill’s has a following because champion cooks have used their chili powders.  At both, the choices available to the buyer rival the choices in an upscale wine shop.

Fort Worth Light and the alternative Cow Town Light (Fort Worth is known as Cow Town, get it?), San Antonio Light, San Antonio Red,  RT-Rio Tejas, Spice Mistress, and New Mexico Light are different mixes that have their own characteristics as well as guidelines as to when you add them during the cooking process. Timing is everything, because with cooking, the various powders lose their punch, and it is essential to have just the right balance of flavors at the minute the chili competition entry is turned in to the judges.

Is it any wonder that it takes years of practice and the refinement of a recipe to become a competitive chili cook who is repeatedly among the top entrants? I am clearly in over my head, but competitions are more than winning (REALLY??) There is the chance to have a beer – or more – with old friends. There’s the travel and seeing new places. It’s easy to see why folks can become what they call chili heads. I shall keep you posted on my progress and my success or lack thereof.


6 Comments

Filed under Food, Photography

CHOCOLATE ZUCCHINI CAKE AND MOCHA SEVEN-MINUTE FROSTING

This is my last blogging effort with zucchini, having chopped, grated, boiled, sautéed. and baked our neighbor’s zucchini in virtually every way I can think of. The beauty of this recipe is that it uses up a fair amount of zucchini and produces a moist cake that doesn’t taste like zucchini.

You will see clearly from the images, that I am a rank amateur when it comes to cake baking, but the opposing view is that anyone can bake this cake. Part of my problem may be that I revised a sheet cake recipe from a useful little baking book if you live at a high altitude, High Altitude Baking edited by Patricia Kendall and published by Colorado State University Cooperative Extension, 2003. If you live at sea level, you will probably need to increase the baking powder.

This post will also have some tips on what cookbooks describe as “that easy, no-fail American classic”, seven-minute frosting. The first time I ever attempted this recipe was when I was about 12 years old. I had decided to surprise my mother with a birthday cake since everyone else in the family got their own birthday cake made by her. After everyone had gone to bed, I moved utensils and ingredients for a cake into the garage. Everything turned out ok except for the seven-minute frosting which the next morning fell off the cake in great blobs. Since then I have tried making the frosting many times without success. Finally, I have learned that my failures can be traced to inadequate instructions. That deficit has been corrected by Ethan Becker in his complete revision of his grandmother’s classic. Check out his instructions in The All New Joy of Cooking, (Scribner, New York), page 1001

Here are Ethan Becker’s tips: 1) Use a stainless steel bowl or double boiler instead of glass as glass heats too slowly, and the top of the cooking frosting (actually a meringue) cools too quickly to cook completely. 2) Immerse the bowl or double boiler pot so that the water level is at the level of the frosting mixture. 3) Make sure the eggs are at room temperature before beginning the process. 4) Do not stop beating the mixture while it is in the hot water bath or the egg whites will overcook. 5) Use an instant read thermometer and be sure the mixture reaches 140° F. 6) Don’t add the vanilla or other flavorings until you have finished beating the frosting.

Chocolate zucchini cake with mocha seven-minute frosting

Chocolate zucchini cake with mocha seven-minute frosting

A piece of cake

A piece of cake

RECIPE

Chocolate Zucchini Cake

Ingredients

  • 2½ cups all-purpose flour
  • 1½ teaspoons baking powder (*NB: at sea level you may need to increase to 2 teaspoons)
  • 1 teaspoon baking soda
  • 1 teaspoon salt
  • ¼ cup unsweetened cocoa
  • ½ cup unsalted butter, softened
  • 1¾ cup sugar
  • 2 large eggs
  • ½ cup buttermilk
  • ½ cup vegetable oil
  • 1 teaspoon vanilla extract
  • 2 cups grated zucchini (no need to peel)
  • 1 cup coarsely chopped walnuts

Method

  1. Grease and flour two 9-inch cake pans. Set aside.
  2. In a medium bowl, toss together the flour, baking powder, soda, salt, and cocoa. Set aside.
  3. In a large bowl, cream the butter and sugar, using an electric mixer. Beat until fluffy.
  4. One at a time, beat in the eggs. Then add the buttermilk, oil, and vanilla, beating after each addition until completely mixed.
  5. By thirds, beat in the dry ingredients. Then beat in the shredded zucchini, making sure it is completely incorporated into the batter.
  6. Stir in the chopped walnuts.
  7. Divide the batter equally between the prepared cake pans. Bake in the middle of an oven pre-heated to 350° F for 40-45 minutes or until a toothpick inserted in the center comes out clean.
  8. Remove the pans to a cooling rack for 5 minutes. Then run a thin metal spatula around the rims of the cake pans and turn out the cakes onto a rack to cool completely before frosting.
  9. When the cake is completely cooled, frost with the following seven-minute frosting.

Mocha Seven-Minute Frosting

Ingredients

  • ¾ cups sugar
  • ½ teaspoon cream of tartar
  • 1/8 teaspoon salt
  • 2 egg whites
  • ¼ cup cold water
  • 2 teaspoons vanilla extract
  • 1 tablespoon unsweetened cocoa
  • 1 tablespoon instant espresso coffee

Method

  1. In a large stainless steel bowl or in the top of a stainless steel double boiler, whisk together the sugar, cream of tartar, salt, egg whites, and cold water.
  2. Place the bowl in a large pan or the bottom of the double boiler with simmering water adjusted so that the level of the water is at or above the level of the frosting mixture.
  3. With a hand-held electric mixer, beat for 5 to 7 minutes or until the temperature of the mixture reaches 140° F or the frosting stands in peaks.
  4. Remove from the water bath and continue to beat for 2 minutes more until the frosting stands in smooth peaks.
  5. Beat in the vanilla, cocoa, and coffee powder.
  6. Cool slightly and then frost the cake. There should be plenty for two 9-inch layers.
  7. If this “no-fail” does fail, you can “rescue” it by beating in ¼ -½ cup of confectioner’s sugar.

7 Comments

Filed under Food, Photography, Recipes

ZUCCHINI BREAD

Probably everyone who reads this has a favorite zucchini bread recipe. And probably everyone who reads this has worn out that recipe in the last few weeks. “Abundance” is not the right word for our current supply of zucchini. They are in the fridge. They are packed away in the freezer. They are on the kitchen counter. And they just keep coming even though we don’t have a single plant in our garden.

Summer squashes make a light side dish for a summer supper on a hot day. But they shine in sweet breads and cakes. Like carrots, they make a moist tender cake or bread. You don’t need to peel them, just grate them in the big holes of a box grater, and pack them lightly in a two-cup measure without squeezing out any moisture.  Here is a good all-purpose zucchini bread recipe that I found in The Fannie Farmer Baking Book by Marion Cunningham (Alfred A. Knopf, New York, 1984, p. 553) I have substituted buttermilk for milk.

RECIPE

Zucchini Bread

Ingredients

  • 3 cups all-purpose flour
  • 1 tablespoon baking powder
  • ½ teaspoon baking soda
  • 1½ teaspoon salt
  • 2 teaspoons ground cinnamon
  • 1 teaspoon ground nutmeg
  • ½ teaspoon ground cloves
  • 2 eggs, lightly beaten
  • ½ cup buttermilk
  • ½ cup vegetable shortening, melted
  • 1 cup sugar
  • 2 cups grated raw zucchini
  • 2 cups walnuts, very coarsely chopped

Method

  1. In a large bowl, toss together the flour, baking powder, baking soda, salt, cinnamon, nutmeg, and cloves. Set aside.
  2. In the bowl of a stand mixer, beat the eggs lightly and then add the buttermilk, shortening, and sugar. Beat until well combined.
  3. Then, by thirds, beat in the flour mixture until completely combined.
  4. Beat in the zucchini and walnuts.
  5. Divide equally between two 8½ x 4½ inch bread pans that have been greased and floured. Bake in the middle of an oven that has been pre-heated to 350° F. Bake for 50 minutes or until a broom straw or skewer inserted straight down in the middle of the loaf comes out clean
  6. Remove from the oven and cool on a baking rack for 5 minutes before turning the loaves out to cool completely.


6 Comments

Filed under Food, Photography, Recipes

SAUSAGE-STUFFED ZUCCHINI

Zucchini season, and the bounty keeps rolling in. We do not have any squash plants in our garden patch, but there is an abundance at the farmers market and from our neighbors. It is a common situation. Many folks this time of year are experiencing zucchini burn-out. Squash blossoms are delicious, but they require immediate attention to maintain their freshness. Sautéed squash begins to get a bit boring, and so the search of the web and a shelf of cookbooks begins. Deborah Madison, the Santa Fe-based vegetarian cookbook author has numerous suggestions in her collections. I especially recommend her Vegetarian Cooking for Everyone (Broadway Books, New York) and The Savory Way (Broadway Books, New York) for all sorts of suggestions.

One of my favorite ways to cook zucchini is to grate it with a box grater, sauté it along with some scallions and sliced mushrooms in olive oil, drain any excess oil, stir in some sour cream and fresh lemon juice, and serve. So simple that no recipe is needed

Today, though, I am going to write about stuffed zucchini. The first time I ever had a stuffed squash was years ago at the home of a colleague from Greece who stuffed the tender fruits with feta, Cheddar cheese and bread crumbs. This version is a little more complicated but still not difficult.

RECIPE

Sausage-Stuffed Zucchini

Ingredients

  • 3 firm, medium zucchini (make certain they are not too big)
  • 2 tablespoons olive oil
  • ½ yellow onion, chopped
  • 4 medium crimini mushrooms, washed and chopped
  • ½ pound bulk breakfast sausage (mild or hot, your preference)
  • 4 ounces cream cheese, softened
  • ½ cup almond flour (use all-purpose flour if you prefer)
  • 1 egg, beaten slightly
  • 3 medium tomatoes, sliced thinly (or enough to cover the zucchini)
  • ½ pound Swiss cheese, grated
  • cooking spray
  • butter

Method

  1. Slice the zucchini lengthwise. With a grapefruit spoon or sharp paring knife, hollow out the squash with about ¼ inch of a rim remaining. Try not to pierce the skin of the squash.
  2. In a medium sauté  pan, heat the olive oil over a medium flame. Add the chopped onions and cook until they are translucent but not browned. Stir in the chopped mushrooms, and cook until they give up their liquid and the liquid has evaporated.
  3. Add the sausage, breaking it up with a cooking spoon so that it is completely crumbled.
  4. Adjust the seasoning with salt and pepper.
  5. Transfer the mixture to a bowl, and while it is still warm, stir in the cream cheese so it is completely incorporated. Stir in the almond flour and egg. Set aside until you are ready to stuff the zucchini.
  6. Choose a baking pan that is large enough to hold all of the squash, or use two dishes, and spray generously with baking spray.
  7. Arrange the zucchini in the pan, and spray them lightly with baking spray.
  8. Fill the hollowed-out zucchini with the sausage mixture.
  9. Top with tomato slices seasoned with more salt and pepper, and cover with the grated Swiss cheese.
  10. Dot with butter, and bake in the middle of an oven pre-heated to 350° F for 30 minutes or until the cheese is completely melted and the zucchini is tender.
  11. Serve immediately.

3 Comments

Filed under Food, Photography, Recipes

INSALATA CAPRESE (NOT QUITE)

Tomatoes and basil. An abundance of both this time of year, so it is time to make that simple classic, sliced tomatoes, fresh mozzarella slices, basil leaves torn to release their fragrant oils, and a drizzle of the best extra virgin olive oil – nothing more. Even though the salad is apparently popular in homes all over Italy, it has been claimed that the combination was first served on Capri, and hence the name, Insalata Caprese or the shorthand Caprese. I suspect that that account is apocryphal, but what is not apocryphal is the wonderful combination. Over the years, there has been a lot of messing around with the recipe – adding balsamic vinegar, using vinaigrette, etc., etc.

So why am I messing around even more? Because pesto and burrata are so delicious.

I found some beautiful tomatoes at the farmers market. They are dark purple and pear shaped. They are called Japanese black trifele tomatoes and just beg to be eaten. I have also been taken by burrata lately. It raises the game from fresh mozzarella, with creamy ricotta wrapped in a morsel of freshly-pulled mozzarella. Unfortunately, I was unable to find the hen’s egg size gems that I have seen before, and the only burrata I could find locally was at least ostrich-egg sized. So I had to modify my plans, but I think it turned out ok.

RECIPE

Insalata Caprese (Not Quite)

Ingredients

  • 2 Japanese black trifele tomatoes
  • pesto (see previous post)
  • burrata
  • basil leaves
  • extra virgin olive oil

Method

  1. Slice tomatoes lengthwise and remove seeds and the flesh with a grapefruit spoon
  2. Place a tablespoon or so of fresh pesto in each tomato half
  3. Place a ball of burrata in each tomato half. If you cannot find small cheeses, cut a larger cheese in quarters.
  4. Top with a few fresh basil leaves and a drizzle of your best extra virgin olive oil


4 Comments

Filed under Food, Photography, Recipes

PESTO

It is basil season. We have harvested the plants in our back yard, and many stalls at the farmers market have big, beautiful bunches of basil picked just that morning. That means it is time for pesto.

Pesto is really one of those things that you can make without a recipe and adjust it to your personal preferences

Pesto is also something that you can keep for a while. For years we made fresh pesto and ate it all, believing that if you didn’t do that it would immediately turn an unappetizing brown. We didn’t even think about freezing it. The truth is, you can do both.

If you want to keep it for a day or two, put it in a container with an air-tight lid, cover it completely with olive oil, seal the lid, and pop it in the refrigerator. If you are going to freeze it, divide it into amounts that fit into the cups of a muffin pan, freeze pan overnight, pop out the pesto “muffins”, and double bag them in zippered freezer bags so you can use the amount you need without having to thaw the whole batch.

RECIPE

Pesto

Ingredients

  • large bunch of freshly-cut basil, enough that the leaves will fit into the beaker of a food processor
  • ½ cup extra virgin olive oil, more if needed to make a sauce-like mixture
  • 3 cloves garlic, peeled and coarsely chopped
  • 2 ounces Parmesan, grated
  • ½ cup pine nuts
  • salt and pepper

Method

  1. Wash the fresh basil, cut or pull off the leaves, and dry them in a clean kitchen towel.
  2. Transfer the leaves to the beaker of a food processor fitted with the metal chopping blade.
  3. Add the olive oil and process until the basil has been chopped very finely.
  4. Add the garlic and Parmesan. Continue to process for 30 seconds or until thoroughly combined.
  5. Add the pine nuts and pulse until the nuts are well-chopped but not puréed. Adjust seasoning with salt and pepper. Adjust consistency with additional olive oil, if needed.
  6. Serve over cooked pasta with additional grated Parmesan and dry-roasted pine nuts. If desired, store for a day or two in an air-tight container topped with olive oil and refrigerated or freeze and double bag individual portions for later use.

PS: Here’s a little lagniappe from our garden:

2 Comments

Filed under Food, Photography, Recipes

GAZPACHO CRUDO

A couple of weeks ago, Sarah and Evan cooked at the James Beard House operated by the James Beard Foundation in New York City.  We had the pleasure of watching them via a webcam in the kitchen.

Their dinner menu included a number of the dishes that have become favorites at Rich Table in San Francisco, including gazpacho with strawberries, chicken skin, and burrata. I have enjoyed that dish several times, but I am not a skilled enough cook to duplicate it, so I’ll just need to make do with gazpacho.

For me, the taste of traditional gazpacho is wonderful. But I don’t like the mouth-feel. It reminds me of baby food. I much prefer seeing the vegetables and bread intact so that it’s almost like eating a liquid salad in a bowl or cup.

I found just the right ingredients at the farmers market, including an Armenian cucumber, aka snake melon. It is not really a cucumber, but it has the crispness and crunch of the freshest of regular cucumbers and without having to worry about seeds. It also has the charm of being slender, long, and coiling around itself. It’s easy to see why it has the name of snake melon.

Vegetables for gazpacho

Vegetables for gazpacho

Easy to make, and refreshing in the fading days of summer.

Croutons on top, ready to serve

Croutons on top, ready to serve

RECIPE

Gazpacho Crudo

Ingredients

  • juice of 1 lemon
  • ½ cup extra virgin olive oil
  • 2 ripe large heirloom tomatoes, blanched, peeled, seeded and coarsely chopped
  • 1 large green bell pepper, seeded, membrane removed, and coarsely chopped
  • 1 medium red onion, diced
  • 1 small Armenian cucumber, diced
  • 2 garlic cloves, peeled and mashed into paste
  • ½ cup Italian parsley, finely chopped
  • 4 cups chicken stock
  • salt and pepper
  • 1 large, I inch-thick slice of good-quality bakery bread, crust remove and cut into 1 inch cubes
  • 3 tablespoons olive oil
  • 2 garlic cloves, peeled and sliced thinly

Method

  1. In a large bowl, whisk together the lemon juice and olive oil.
  2. Stir in the tomatoes, bell pepper, onion, cucumber, garlic paste, and parsley, making sure to coat the vegetables with the lemon/olive oil mixture.
  3. Stir in chicken stock. Adjust seasoning with salt and pepper. Chill in the refrigerator for 2 hours.
  4. In the meantime, let the bread cubes dry at room temperature for 1 hour.
  5. In a small skillet, heat the remaining olive oil over medium heat. Add the sliced garlic and sauté for a few minutes until the garlic is lightly browned. Remove the garlic slices, and add the bread cubes, stirring frequently until lightly browned and crisp. Drain the croutons on several layers of paper towel. Cool, and set aside until ready to garnish the gazpacho.
  6. Serve the gazpacho in bowls or in large cups with a spoon. Garnish with croutons.
  7. Serves 4.

4 Comments

Filed under Food, Photography, Recipes

GREEN CHILE CHEESEBURGER – MY TAKE

The journey begins at home, they say, so after writing about my search for the perfect green chile cheeseburger, it only seemed fair that I write about my version. It is based on my observations over the years. It is what I like, so I make no claims for its being in the “best” category, and I certainly would not think of entering it in any contest. I will leave that to the pros.

The first essential is roasted green chiles. You can buy them canned or frozen, but in New Mexico this is green chile season, so there are roasters at the farmers market, and farmers from Hatch and Chimayo (Hatch’s chief competitor) bring gunny sacks filled with green chiles along with roasting cages and butane burners to parking lots all over the city. They will roast as many as you want, and then it is up to you to peel them, cook with them, and put them up for the winter ahead.

Alternatively, you can roast the few that you need for a recipe at home. There are lots of ways to do that: you can roast them under the broiler in your oven; you can use your outdoor grill. The problem with that is that the wonderful roasting smell will draw neighbors and even strangers to your back yard; you can roast chiles over a gas flame; but my favorite way is to use a chile roasting grill that I purchased years ago at the Santa Fe School of Cooking. I like it so much that I have given many of them to friends on my gift list.

The second essential is to have a tasty melting cheese. Asadero is my favorite, but mozzarella, Monterey jack, cheddar, Emmental, or even Gruyère will also work. The important thing is to make sure that whatever cheese you use, the finished product is as gooey as you can make it.

The third essential is the bun, You should use the very best quality bun you can find. Kaiser rolls are good. Hamburger buns in the cello wraps are not good, but if that is all you can find, it will have to do.

Finally, of course, the most essential ingredient is the meat. I use ground beef with 93% lean, but whatever your favorite might be – from 85% to ground sirloin –  will work. You should plan on anywhere from 4 to 8 ounces of meat per burger. I do a couple of things that are considered heretical. First, I incorporate seasoning – salt, pepper, red pepper if you wish – into the meat. With burgers that big, I don’t think salt or pepper can find their way into the middle and the finished burger tastes bland. Second, that means you will have to mix the meat lightly before you shape the burgers. Just try hard not to compress the meat too much. Third, frying the burger in a cast-iron pan or on a flat grill yields a texture that is tastier to me than from a grill

One tool that helps a lot, especially if you make half-pound burgers, is an instant-read probe thermometer. It will take 7-10 minutes or longer on each side to get the right doneness, and the old thumb-pressure trick may not work as well as you are used to with steaks and smaller burgers. Here are some temperature suggestions: Rare – 130°F (54 °C); Medium-Rare – 135°F (57 °C); Medium – 145°F (63°C); Well Done – 150°f ( 66°C).  IMPORTANT: If you are worried about possible risks with undercooked ground beef, cook longer and adjust your temperature accordingly.

Sauce and extras like thick slices of onion and tomatoes, pickles, and lettuce are your option.

Ingredients

  • 2 – 4 fresh Hatch green chiles
  • 2 teaspoons mayonnaise
  • 2 teaspoons Dijon mustard
  • 2 teaspoons ketchup
  • 2 -4 good-quality hamburger buns
  • butter
  • 1 pound 93% fresh ground beef
  • 1 teaspoon salt
  • ½ teaspoon ground black pepper
  • ¼teaspoon cayenne pepper (optional)
  • 2 – 4 slices asadero cheese

Method

  1. Heat the roasting grill until the screen turns bright red. Place the fresh chiles on the grill, turning them frequently until all sides are evenly charred. Remove from the heat and place in a zippered plastic bag. Allow them to cool. Then, under running water, peel away the charred skin. If you have roasted the chiles evenly, the skin should pull away easily. Remove the stems, slit one side, and remove seeds and ribs. Set aside.
  2. In a small bowl, mix the mayonnaise, mustard, and ketchup together.
  3. Butter both halves of the hamburger buns and toast on a dry, hot skillet.  Spread both tops and bottoms with the mayonnaise, mustard, ketchup mixture. Set aside.
  4. Combine the meat with salt, pepper and optional cayenne. Gently divide into 2 or 4 equal portions. Press into patties about the same size as the buns.
  5. Heat a cast-iron skilled over high heat. When it smokes slightly, add the hamburger patties. Sauté on one side for 7 to 10 minutes. Turn and sauté the other side. Check the temperature with your instant-read probe thermometer.
  6. About 2 minutes before you are ready to finish the hamburgers, top each with 1-2 roasted green chiles, a generous slice of asadero cheese, and the top half of a hamburger bun. Check the temperature again.
  7. Transfer the burgers and toppings to the bottoms of the buns and serve immediately.
  8. Have available sliced onions, tomatoes, pickles,  other condiments, and sides of your choice – potato chips, French fires, potato salad, etc., etc.

4 Comments

Filed under Food, Photography, Recipes

ON THE TRAIL OF THE GREEN CHILE CHEESEBURGER

The best green chile cheeseburger I have ever eaten was at Ski Apache near Ruidoso, New Mexico. I realize that there is a situational bias to that statement. Every day during ski season, weather permitting, cooks fired up an outdoor grill close to the lift line. The scents of fresh roasted green chiles and hamburger would drift up the lift line creating hunger pangs that made it hard to unload at the top. Then you had to deal with the wonderful fragrance as you made it down the trail as quickly as possible to get in line for your own burger.

Since then, I have been looking for the perfect green chile cheeseburger. I am not alone in that quest, nor am I the first. In fact, the State of New Mexico has its official Green Chile Cheeseburger Trail. New Mexico has an official state cookie – the biscochito – and two official state vegetables – the chile and the pinto bean – but it does not have an official state dish, probably because there are a lot of candidates – enchiladas, Frito pie, fry bread among them. Nor does the state have an official sandwich even though nearly every New Mexican would probably agree that the designation should go to the green chile cheeseburger.

Nobody knows exactly who invented the GCCB. Some say it was the original Blake’s Lotaburger store in Albuquerque. (Blake’s is our local junior McDonald’s or In-N-Out with stores all over the state.) Of course that claim is disputed, and there are several claimants to the honor. Whatever the origins, the GCCB can be found in virtually every city and hamlet across the state, most of them claiming that they have the world’s best GCCB.

The first GCCB to gain national recognition came from the Owl Café in San Antonio, NM, a tiny little town just off Interstate 25. It was made famous by the commentator, Charles Kuralt who discovered it in his journeys around the USA. For years I always stopped at the Owl on my many trips up and down the interstate. Then I discovered Manny’s Buckhorn Tavern, just a short distance  across the road in San Antonio. The rustic outsides, the numerous flashing beer signs and the armada of parked motorcycles suggested that it was not the place to be, but once inside, it felt comfortable and welcoming. Bobby Olguin, Manny’s son and heir was at the flat top behind a partition, frying up Buckhorn Burgers. The solitary middle-aged waitress was scurrying around taking orders, and the stuffed mountain lion and various birds of prey occupied the walls of the back room.

Bobby always stuck his head around the partition to give a welcome, and if things were slow, he would pay a little social visit at your booth. Then things changed. the Buckhorn was discovered by the Food Network and Bobby Flay, who lost a throw-down to Bobby Olguin. After that, there was a long waiting line at the front door and a sign that said, “Please wait to be seated” near the entrance. Bobby hired some cooks to work the flat top so that he could work the dining room, and sadly, the stuffed mountain lion disappeared because Bobby had watched Robert Irvine’s television series about restaurant re-dos. Bobby thought the place needed a face lift and the mountain lion had become too dusty and mangy. Nothing much else has changed, and the GCCBs are as good as they have ever been.

San Antonio, besides being the epicenter of the world of the GCCB is also the gateway to the Bosque del Apache National Bird and Wildlife Refuge. During the winter, birders from all over the world come to watch the hundreds of thousands of sand hill cranes, Canada geese, and snow geese along with bald eagles and numerous other birds. Of course, many of those tourists visit the Owl and the Buckhorn.

One of our previous governors, unwilling to get caught up in the controversy of who had the best GCCB in New Mexico, but wanting to promote the competition and with the encouragement of food writers, suggested the promotion of the GCCB. The Office of Tourism took up the effort in 2009. They created the Green Chile Cheeseburger Trail, identifying restaurants across the state with noteworthy GCCBs. The list was updated in 2011 with the help of noted Santa Fe cookbook author, Cheryl Alters Jamison, along with other food writers and cooking professionals. Their list included around 200 noteworthy GCCBs. Both the Owl and the Buckhorn recused themselves from any competitions to select the state’s best GCCB. Still, there were lots of potential candidates.

Sparky’s is a perennial favorite. In part that is because the place is in Hatch, home of the world-famous New Mexico green chile.  Bert’s Burger Bowl in Santa Fe is often mentioned as a contender because it has been featured on Guy Fieri’s  “Diners, Drive-Ins and Dives” on the Food Network. Unfortunately, some of the strongest contenders have shuttered their doors. One of my favorites was the Outpost in the town of Carrizozo, just down the road from San Antonio. It was a family biker bar with motorcycles lined up in front, 12-foot rattlesnake skins tacked up on the walls, a terrarium filled with lizards and other desert varmints, and a pool table toward the back of the dining room. They had a wonderful GCCB along with crisp but greasy French fries, but I guess the owner just got tired and decided to close.

The now-closed Outpost in Carrizozo, New Mexico

The now-closed Outpost in Carrizozo, New Mexico

In my view, the Santa Fe Bite stands in a class of its own. It formerly operated as the Bobcat Bite in a tiny little adobe building just off the interstate several miles from Santa Fe. It had quirky hours, and there was always a line waiting for coveted few seats when it was open. After a lease fight with the adobe’s owner, the restaurant relocated to much better, bigger digs in downtown Santa Fe. They are still jammed at lunch time. Their burger is made of 10 ounces of freshly ground sirloin, prepared to your liking. Because it is so big, even for medium rare it takes a while to prepare. Just be patient. You can get it plain, with cheese, with green chile, with bacon, or with all of the above along with fresh house-made potato chips and a side of onion and pickle. Of course, there’s mustard, ketchup, and mayonnaise available, but to me that just covers up the great taste. The Santa Fe Bite GCCB is definitely not for the faint-hearted, and you should be prepared to ask for a doggy bag.

Green chile cheeseburger with bacon and house-made potato chips at the Santa Fe Fite

Green chile cheeseburger with bacon and house-made potato chips at the Santa Fe Fite

If you’re interested in following the GCCB Trail, check out the website. You won’t be disappointed wherever your travel takes you.

4 Comments

Filed under Food, Photography, Restaurants, Travel

ANASAZI BEANS AND RICE

The Anasazi were a native people who lived in the Four Corners area of the United States – New Mexico, Colorado, Utah, and Arizona. What they called themselves is unknown, but archaeologists working in the area called them “the Anasazi” from a Navajo word which means “the ancient ones” or “the ancient enemy”. The modern Pueblo Indians, who live in villages throughout the Rio Grande Basin are thought to be the descendents of the Anasazi who abandoned their native homeland during a prolonged drought in order to be closer to a more reliable water source near the largest river in the region. The Pueblo Indians don’t like the name, Anasazi, for obvious reasons, but it has stuck.

The Anasazi began their civilization at least hundreds if not thousands of years BCE, living in pit houses, but they advanced rapidly to live in sophisticated multi-story stone apartments situated in secure areas like mesa tops and huge hollows in stone cliffs There they could pull up ladders leading to the valley floor and ride out sieges from marauding enemies.  When they finally abandoned their homelands in the 1400s, they had built amazing structures like Cliff Palace in what is now Mesa Verde National Park in Colorado, the White House in present-day Cañon de Chelly National Park in Arizona, and what may be the most sophisticated population center of all, Chaco Canyon in New Mexico, with advanced astronomical observatories, and a web of roads and trails leading in all directions, suggesting that the place may have been the commercial or religious center for the entire region.

Today, there are only a few remaining structural links to the ancient people: Taos Pueblo in northern New Mexico, the ruined Pecos Pueblo that I wrote about a while back, other ruins scattered around the Four Corners, and much more modest communities in the existing pueblos.

All of that is a long-winded introduction to Anasazi beans and how they got their name.  The traditional story is that a sealed jar of beans was discovered by archaeologists digging in the ruins of the Cliff Palace. The beans were spotted red and white, unlike any other beans the scientists had seen. To their surprise the beans sprouted, and were subsequently propagated. This story has its detractors who say that beans lose their ability to sprout after 50 years or so. They think that while the beans may have been discovered in the clay pot they could have not germinated, but  they were identical to beans that had continued to be cultivated in the region. Of course, there have been multiple interpolations of the two stores, so we really don’t know the truth. Nevertheless the name, Anasazi beans, was given to the beans and it has stuck ever since.

For a time, the beans were raised commercially only in Colorado, but now they are raised in many places, probably because of their unusual coloration and because of their distinctive, some say sweet, taste.

We bought a big supply of Anasazi beans at a farm stand, so I decided to make a variation on the Louisiana classic, red beans and rice. I know that late summer is way too hot to be making beans and rice, but I had the beans, so why not.

RECIPE

Anasazi Beans and Rice

Ingredients

  • 2 cups Anasazi beans
  • water
  • 2 tablespoons olive oil
  • 1 large yellow onion, chopped
  • 2 closes garlic, minced
  • 4 cups chicken stock
  • 1 stalk celery, diced
  • 1 green bell pepper, diced
  • 6 ounces ham slices, cut into ½ inch squares
  • 8 ounces link sausage, Andouille, bratwurst, or your choice, cubed
  • 1 tablespoon dried Mexican oregano, crumbled between your hands
  • 1 teaspoon ground cumin
  • salt and pepper
  • 8 cups cooked rice
  • chopped scallions for garnish
  • Louisiana hot sauce (optional)

Method

  1. Pick over the beans carefully for small stones and shriveled beans. In a large pot, cover the beans with water to at least 2 inches depth. Soak overnight.
  2. In a large, heavy-bottomed pot, heat the oil over medium heat. Add the onions and cover to sweat for 5 minutes until they are translucent but not browned.
  3. Stir in the garlic, chicken stock, celery, bell pepper,  ham pieces, cubed sausage, oregano, and cumin. Bring to the boil, and then cover and reduce the heat to the simmer.
  4. Cook the beans until they are tender, 2 to 4 hours.
  5. Uncover and raise the temperature to a slow boil in order to reduce the liquid until it is thickened to your taste. Adjust seasoning with salt and pepper.
  6. Place a cup of cooked rice in each serving bowl. Ladle on the cooked beans. Serve with optional chopped scallions and hot sauce.

3 Comments

Filed under Food, Photography, Recipes, Travel