
Mothers’ Day and Susan’s birthday coincided this year, so during our visit to Los Angeles, Carol needed a dessert for our celebration. One of Susan’s favorites is cheesecake, and this is one of Carol’s favorite recipes.
She originally found it in Gourmet magazine, and it has been published widely since then in other magazines and on the internet.
But everyone (or nearly everyone) gives credit to the Three Cities of Spain coffee house in Santa Fe for the original. Many years ago, the popular artists’ street, Canyon Road, was a narrow dirt road heading up the canyon from Paseo de Peralta. The Santa Fe artists’ colony was experiencing a boomlet in the 1950s-1970s, and this was one of the places on Canyon Road where the struggling artists hung out, drinking coffee, smoking, and eating cheesecake. There were nearby bars for more serious drinking at night.
For reasons unknown to me, Three Cities of Spain closed in the 1970s, Canyon Road was paved, and the old adobe home which housed the coffee house was transformed into Geronimo, one of the best and most famous restaurants in Santa Fe. The restaurant was named after the man who built the house in 1756.
I think you’ll like the cheesecake.

Three Cities of Spain cheesecake after the first baking
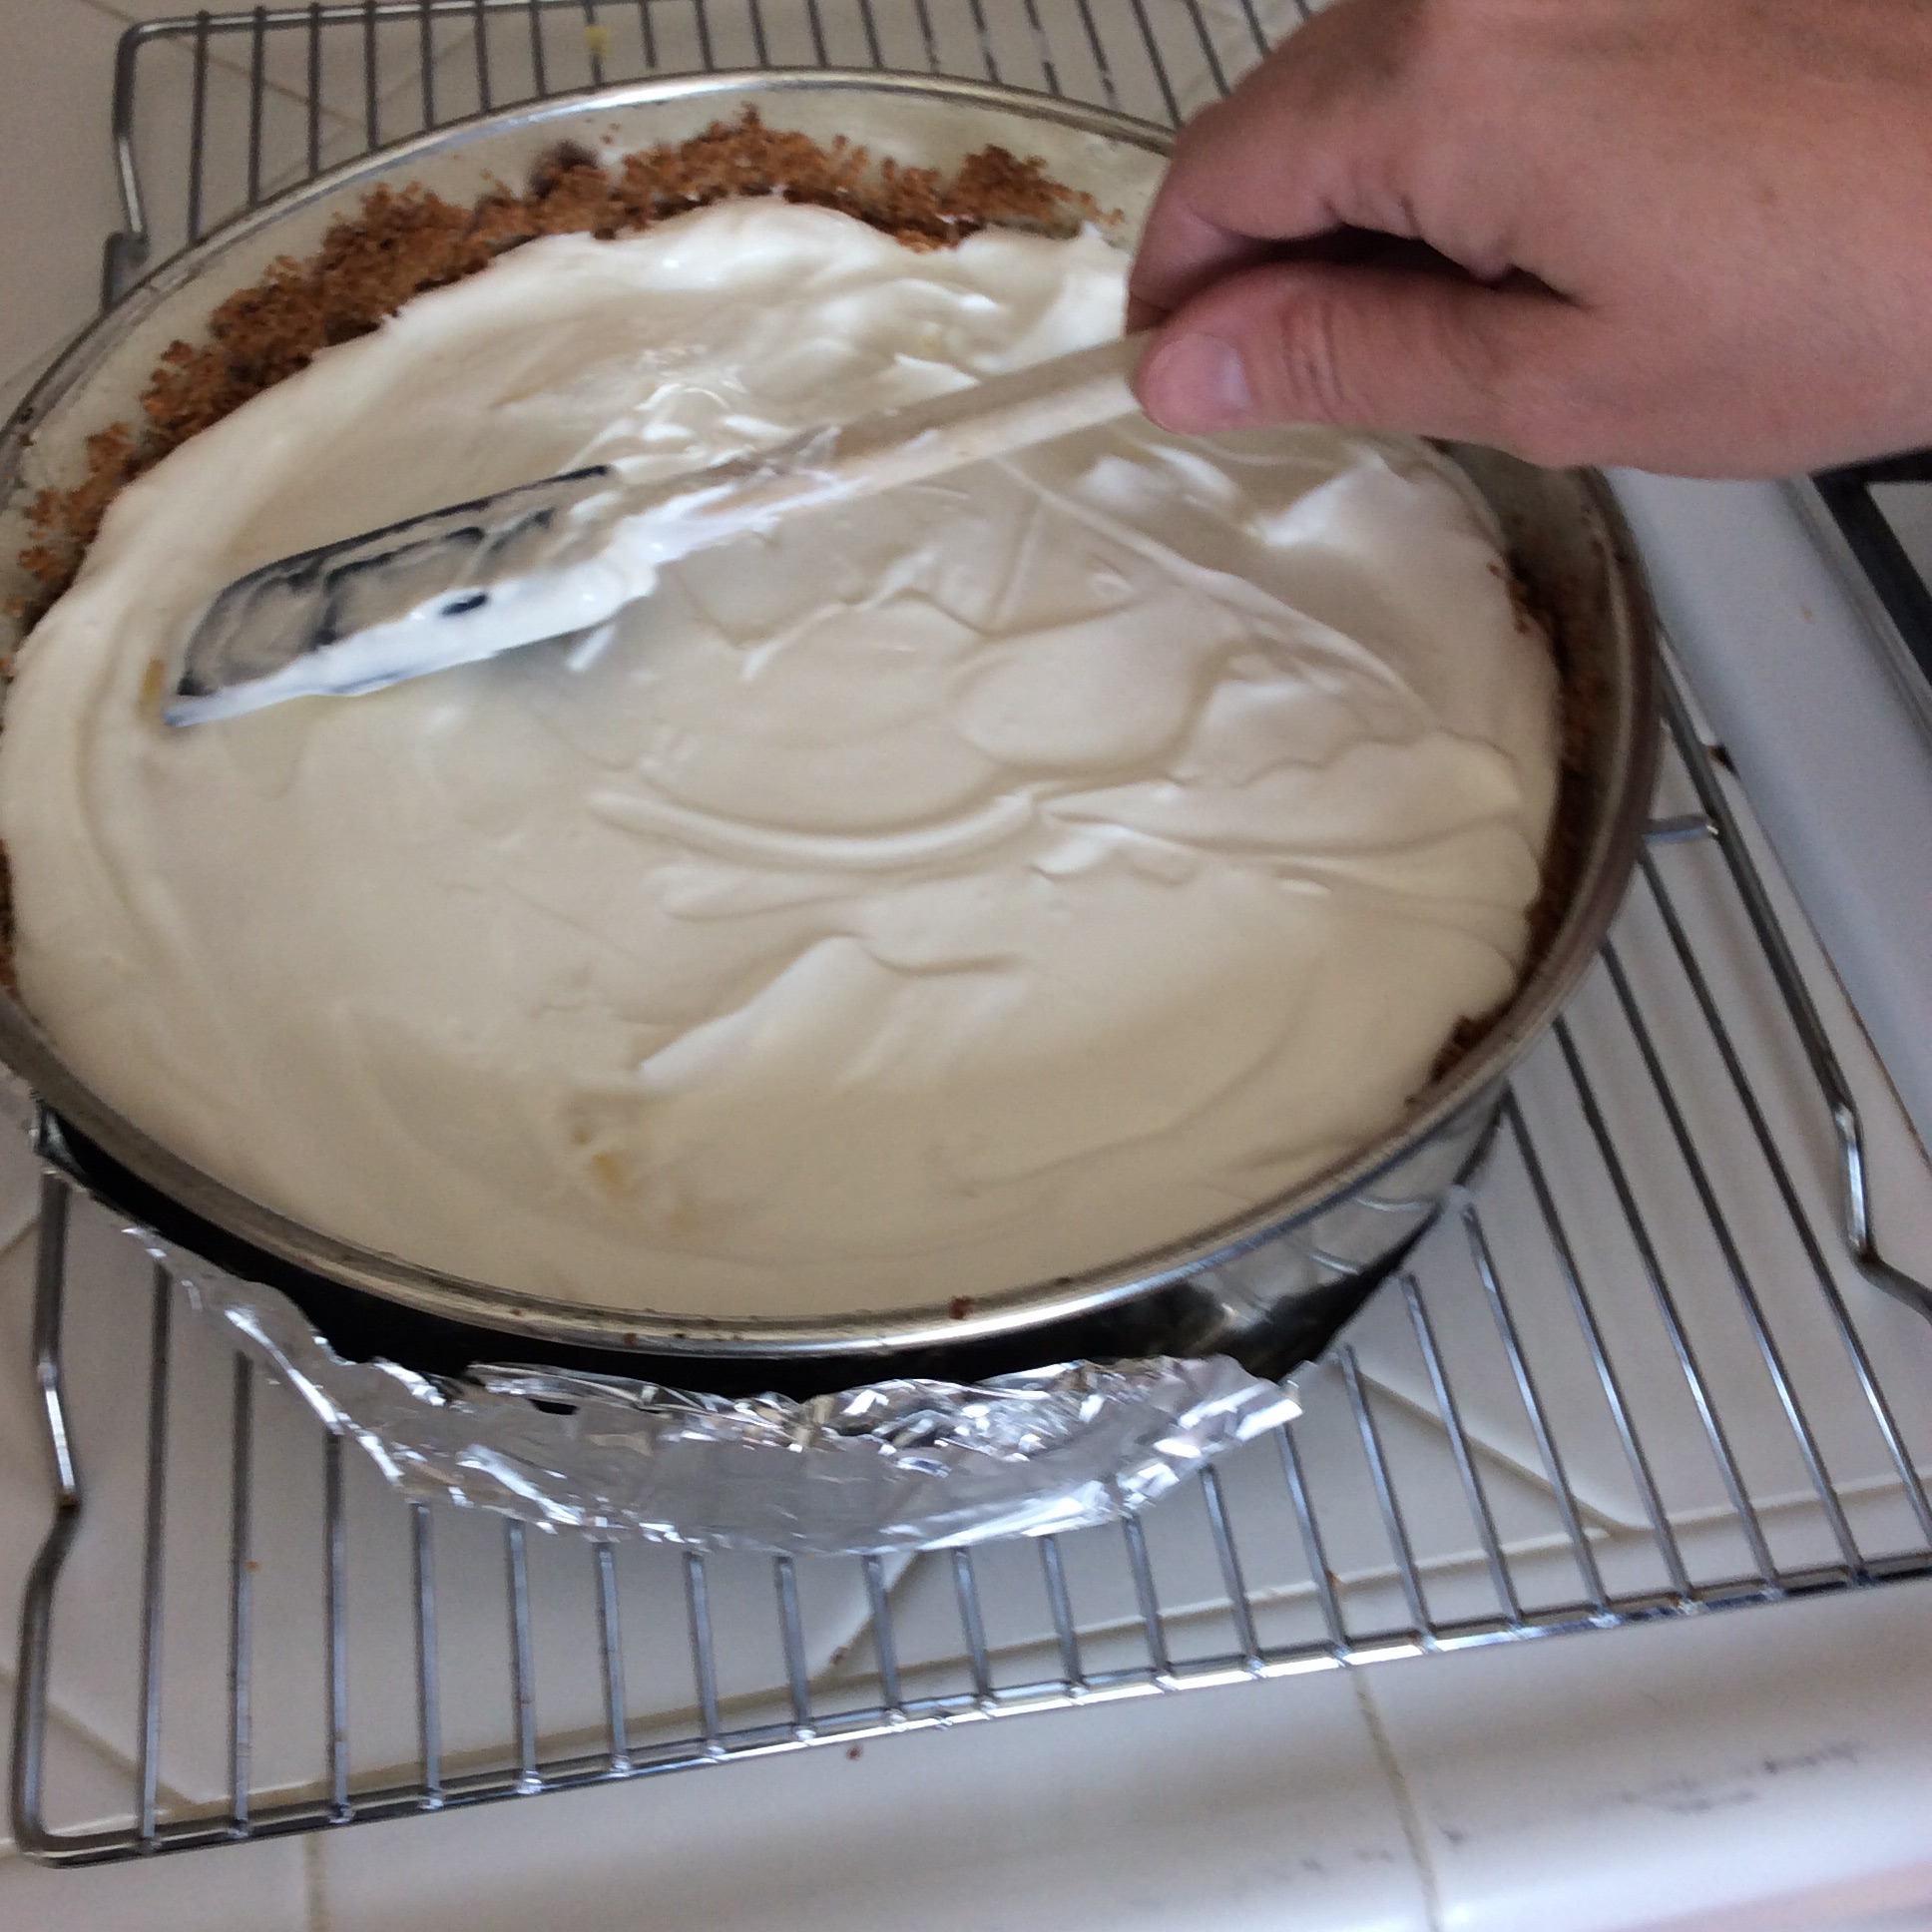
Spreading on the topping.
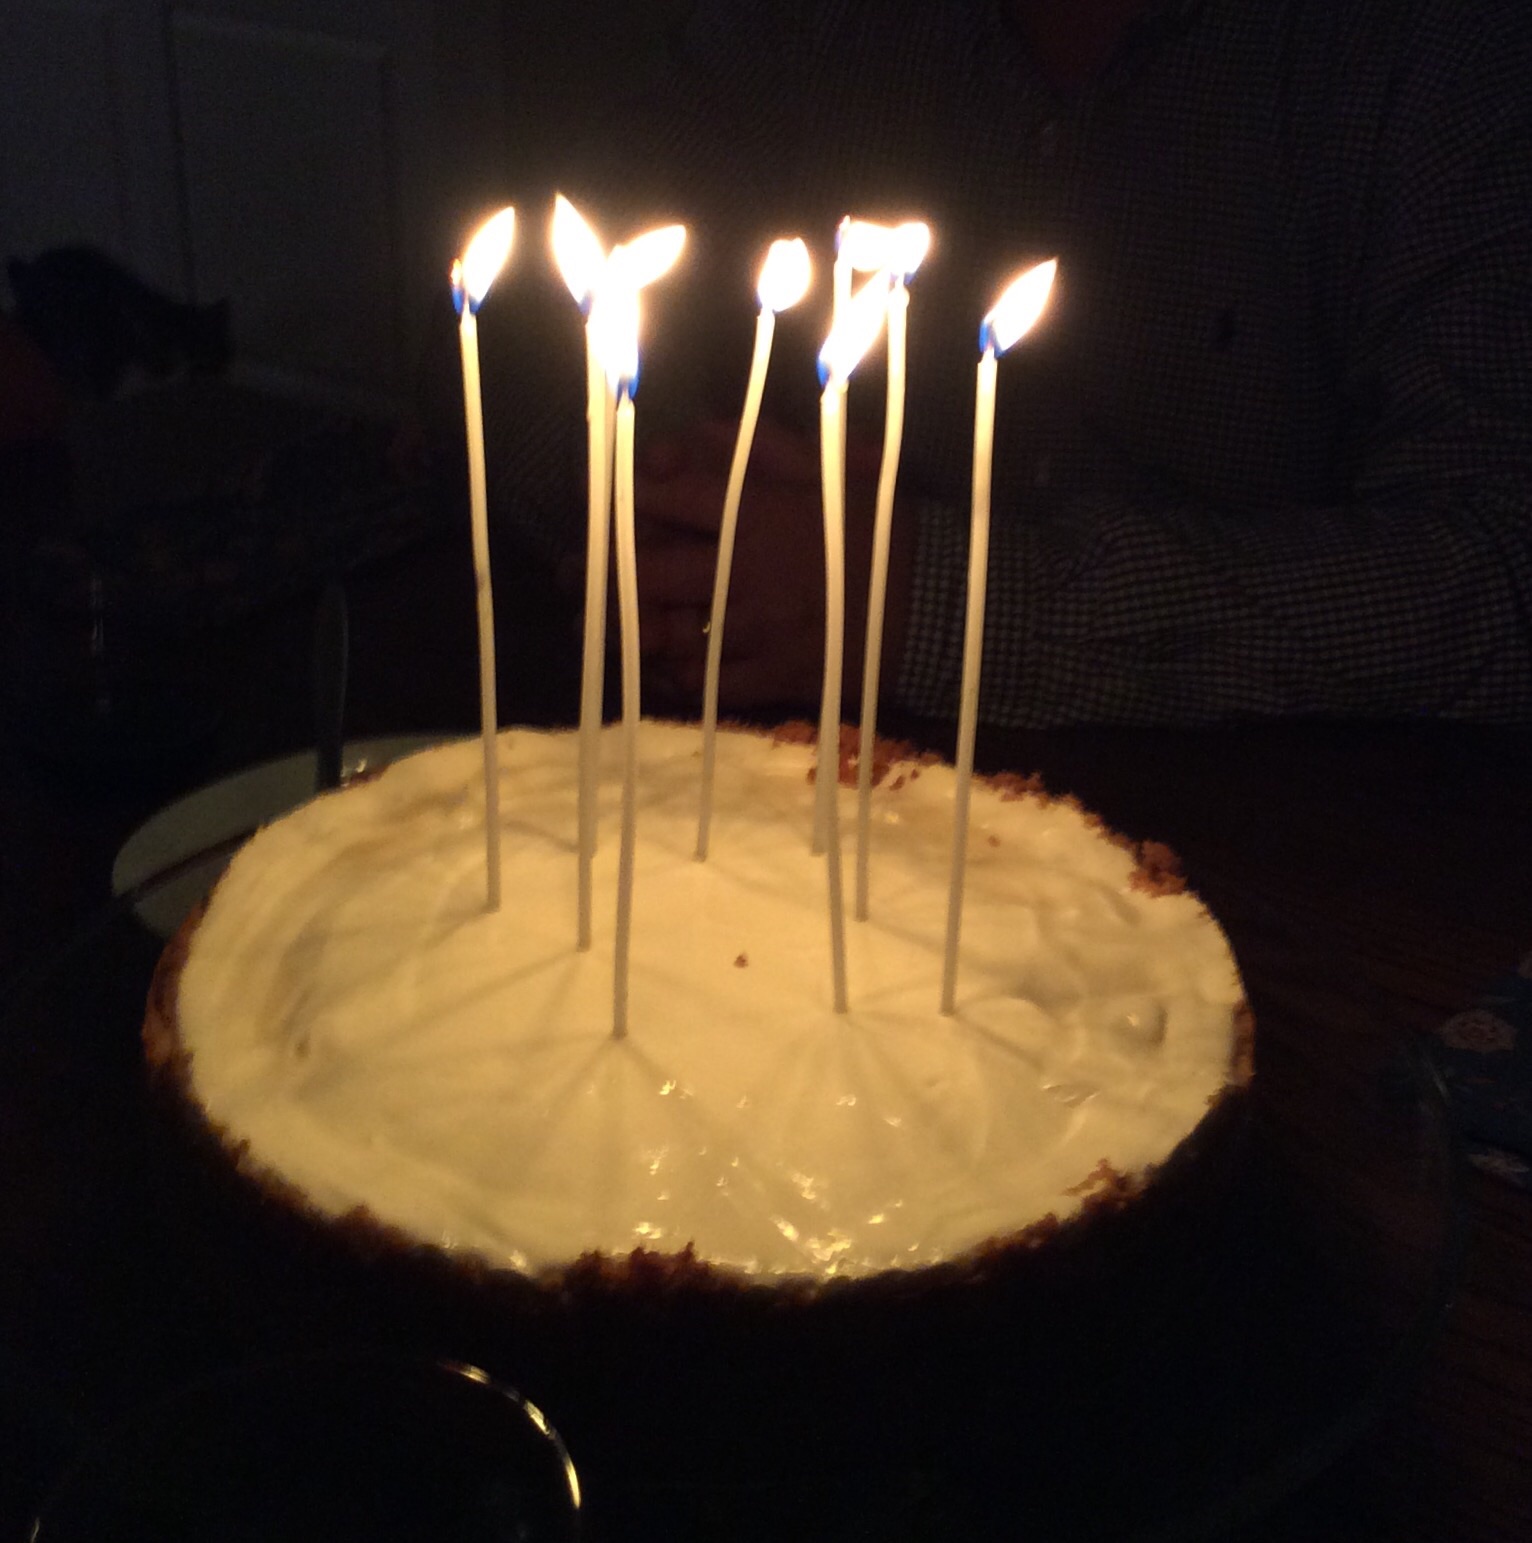
Birthday candles counted out for more mature adults
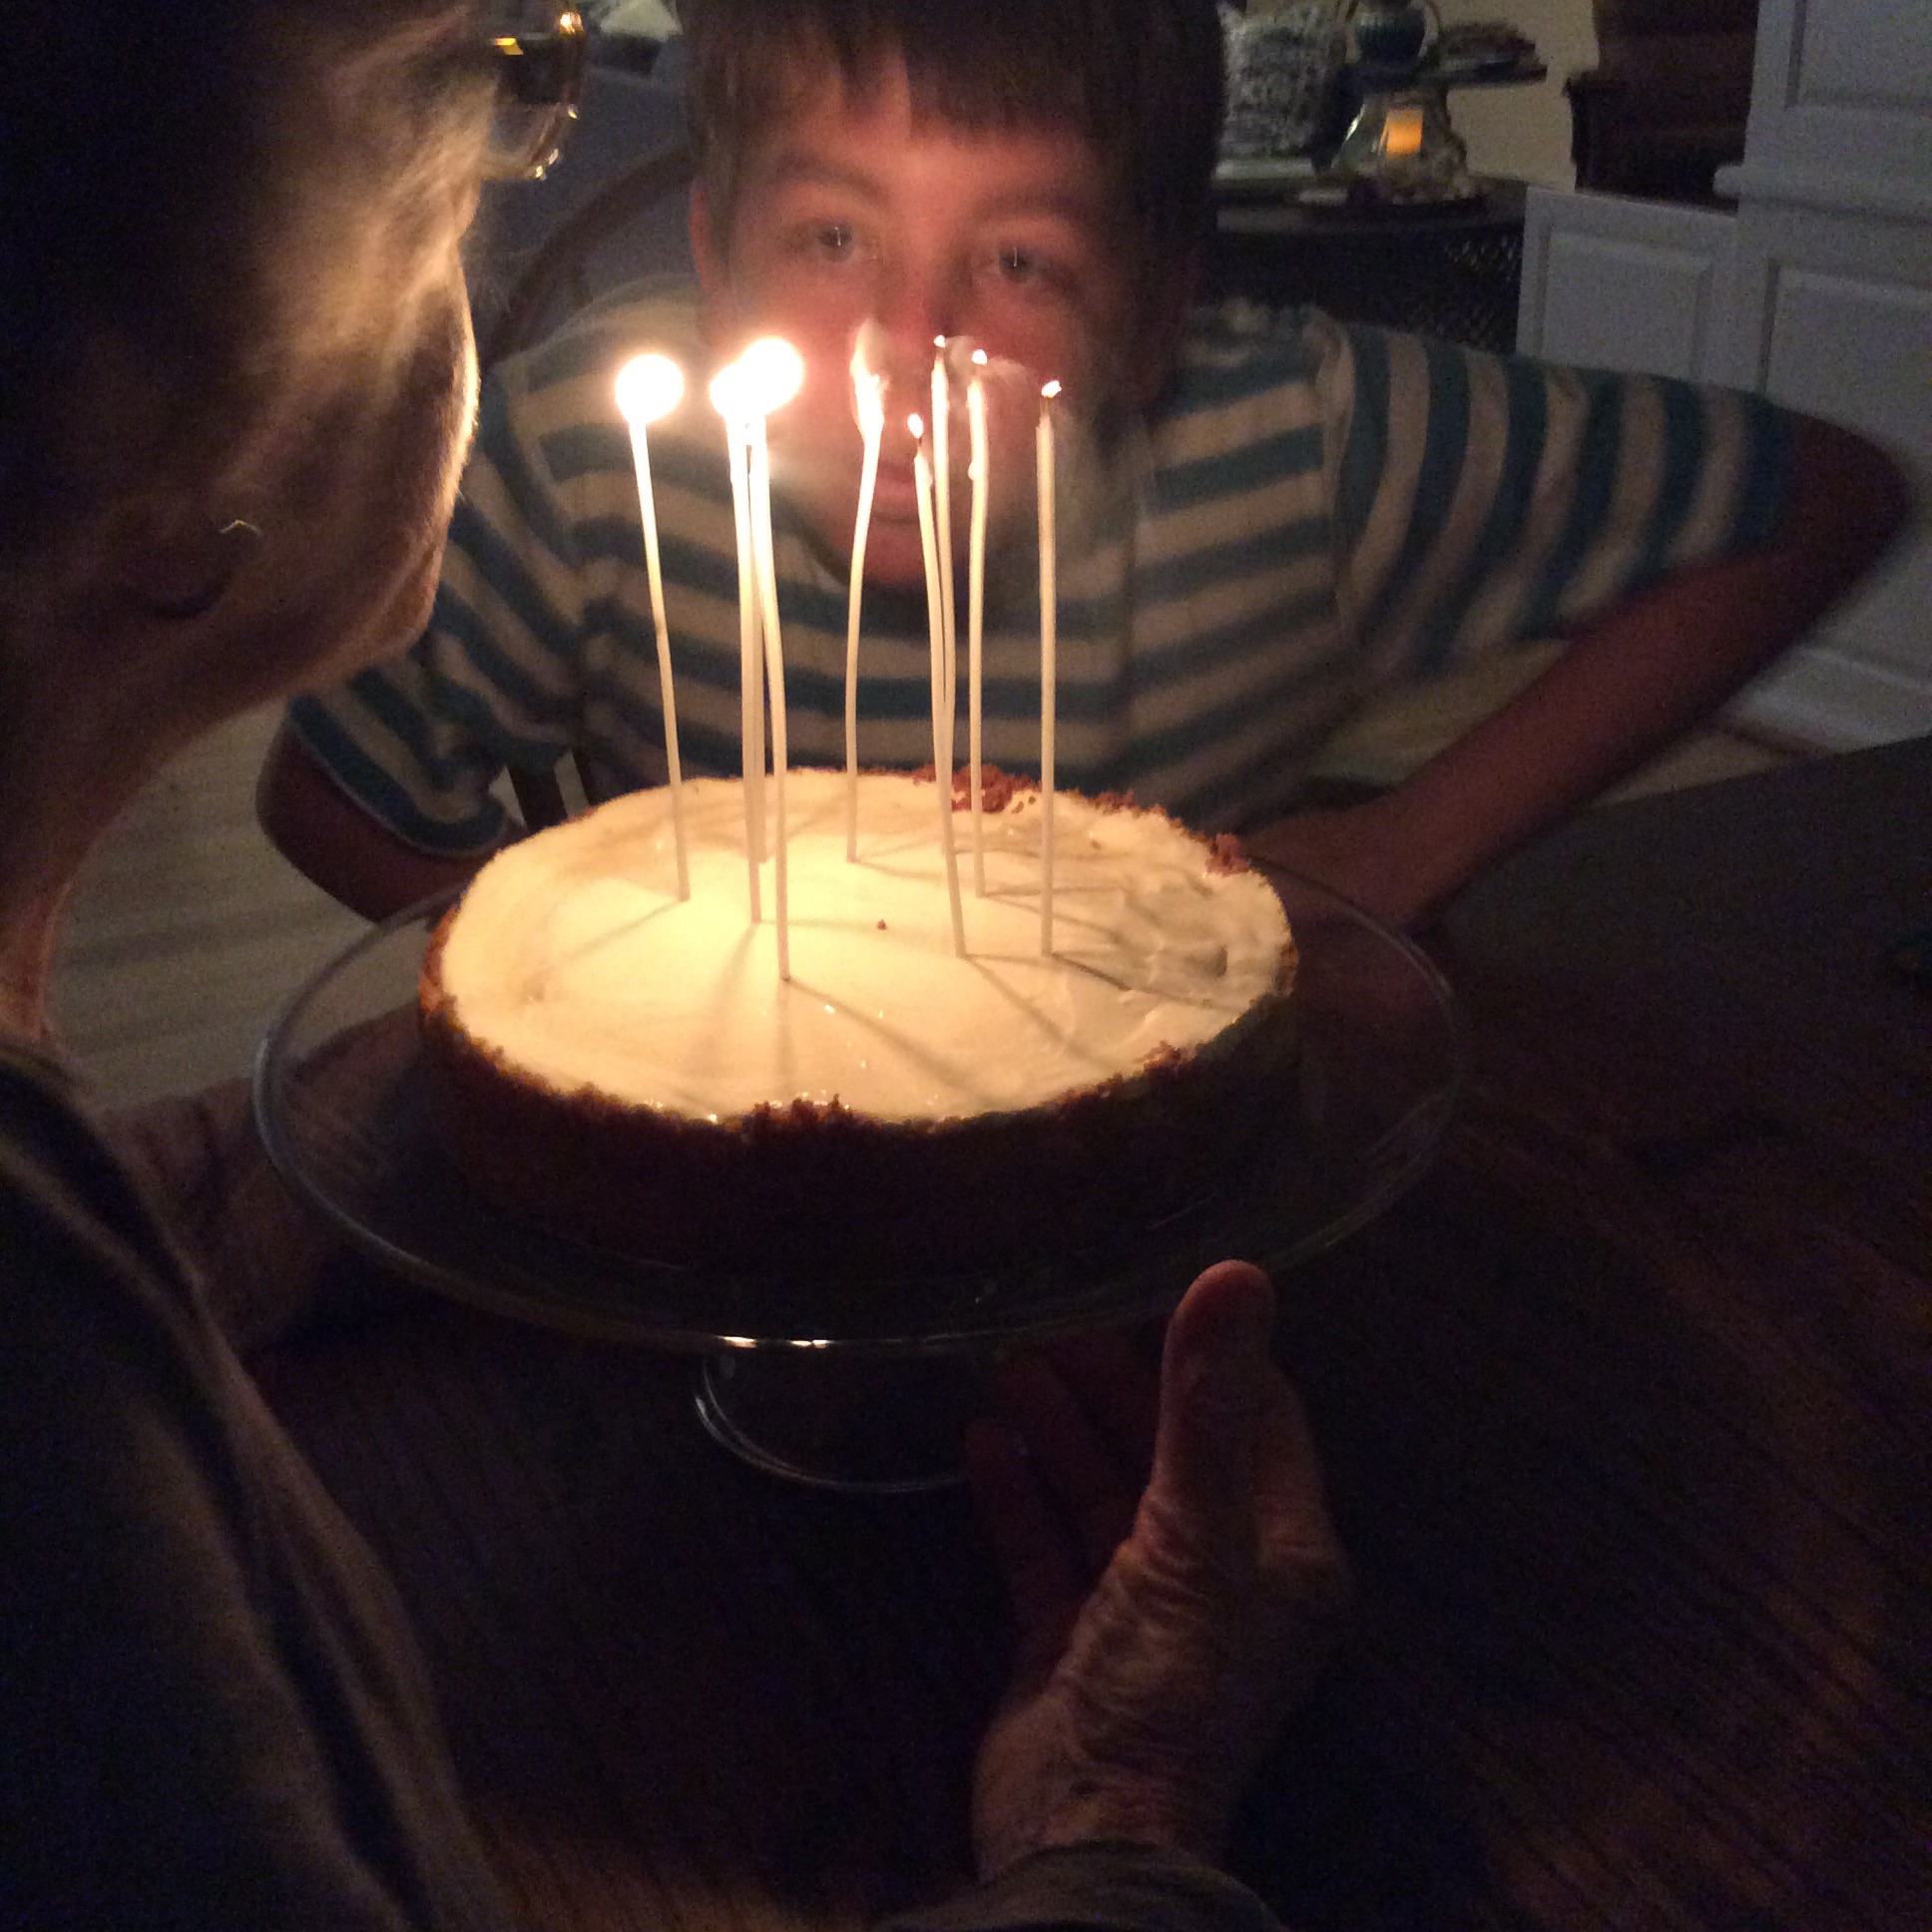
Blowing out the candles

Cheesecake with berries
RECIPE
Three Cities of Spain Cheesecake
Ingredients
CRUST
- 11 graham crackers, ground fine (1½ cups)
- 1/3 cup unsalted butter, softened
- 1/3 cup sugar
- 1/8 teaspoon salt
FILLING
- 24 ounces (3 packages) cream cheese, softened
- 4 large eggs
- 1 teaspoon vanilla
- 1 cup sugar
TOPPING
- 16 ounces sour cream
- 1 tablespoon sugar
- 1 tablespoon vanilla
- berries (optional)
Method
- Stir together crust ingredients. Sprinkle half of mixture onto the bottom of a buttered 9½ inch springform pan. Then press the mixture up the side of the pan about 1¼ inches. Sprinkle and press the remaining half of the mixture into the bottom of the pan.
- With an electric mixer, beat the cream cheese until light and fluffy. Then beat in the eggs, one at a time. Beat in the vanilla and sugar until just combined.
- Pour the cream cheese and egg filling into the crust. Bake for 45 minutes at 350ºF or until the center of the cake is set. Cool on a rack for 5 minutes.
- Stir together the topping ingredients. Drop by spoonfuls around the edge of the cake and spread gently into the center.
- Return to the 350ºF oven for another 10 minutes.
- Remove from the oven and cool completely on a baking rack before chilling overnight in the refrigerator.
- Serve at room temperature with or without optional berries.


